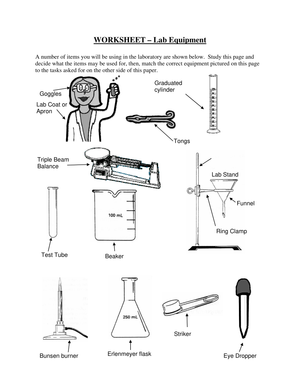
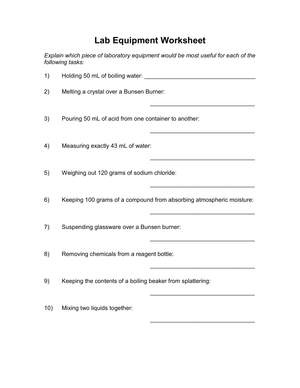
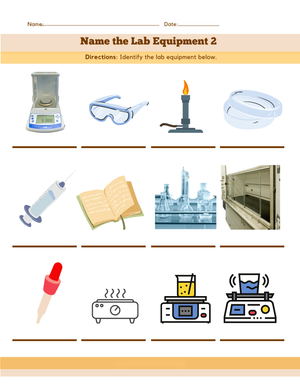
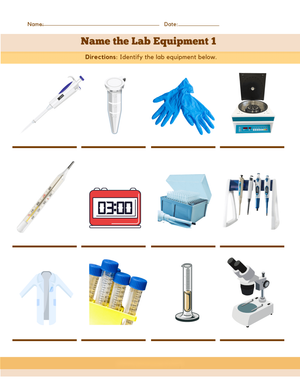
Before a single beaker leaves the cabinet, students need to know what they're holding, what it measures, and how it can hurt them. That's the practical job of lab equipment worksheets: they turn a wall of unfamiliar glassware into named, understood tools. For middle and high school chemistry teachers, a paper checkpoint the day before a lab is often the difference between a smooth stations rotation and twenty hands reaching for the wrong instrument.
Worksheets also solve a scheduling problem. You rarely have time to walk two dozen pieces of equipment around the room one at a time, and live demonstrations fade fast. A worksheet lets every student label, match, and explain at their own pace, then keep the sheet as a quick reference during the lab itself. That reference role matters most for early-finishers and for students who were absent the day you introduced the glassware.
What a strong lab equipment worksheet covers
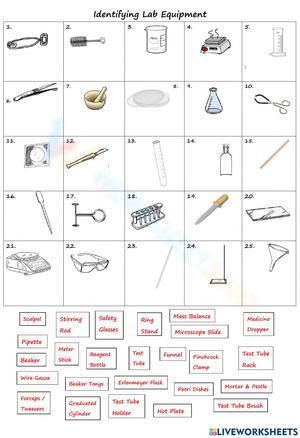
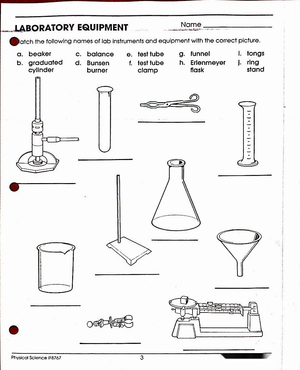
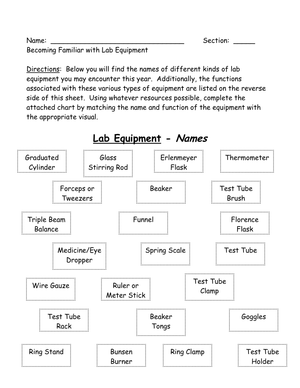
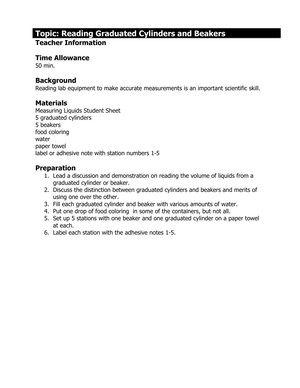
A complete identification set for middle and high school chemistry usually runs to around 28 pieces of core lab and safety equipment. That includes the measuring glassware students confuse most often, such as beakers, Erlenmeyer flasks, volumetric flasks, graduated cylinders, test tubes, and burets, plus the electronic balance and the safety gear that belongs in every room.
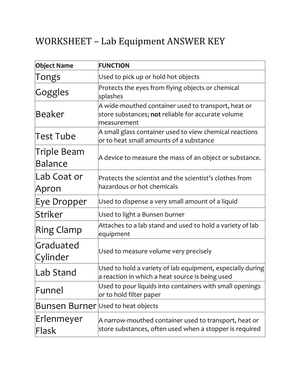
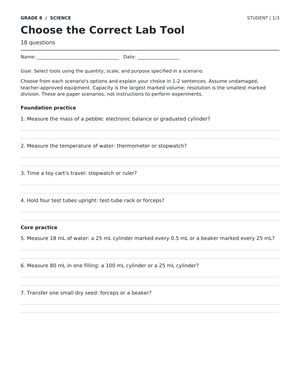
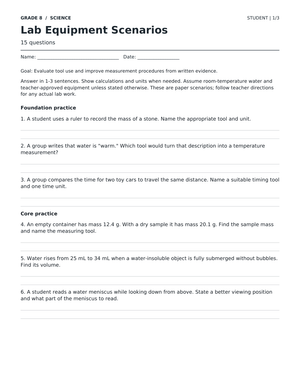
Strong worksheets go past naming. Ask students to pair each tool with its function, its typical unit of measure, and one safety note. When a student writes that a graduated cylinder measures volume more precisely than a beaker, they're already rehearsing the reasoning they'll need during data collection. Build the sheet in three columns, so identification, function, and hazard sit side by side and nothing gets treated as pure vocabulary.
Building safety and NGSS practices into equipment identification
The American Chemical Society treats safety equipment as core lab infrastructure, not an add-on, and NSTA guidance ties equipment familiarity directly to hazard analysis and risk assessment before any hands-on activity. A worksheet that asks what could go wrong with this tool? starts that risk conversation on paper, where a wrong answer costs nothing but a correction.
There's a common misread worth correcting: teachers sometimes treat equipment ID as pure vocabulary drill. But every NGSS Performance Expectation opens with a Science and Engineering Practice, so knowing that a buret delivers a controlled, measurable volume isn't trivia, it's the entry point to modeling, measuring, and analyzing data. Equipment literacy is a practice skill wearing a vocabulary costume, and grading it that way changes how students approach the sheet.
What national safety data says about pre-lab prep
According to NSTA's national STEM lab safety study, 12% of teachers did not provide safety training before lab activities and 11% did not require students to pass a safety test first. Pre-lab equipment worksheets close that gap by making identification and hazard awareness a graded checkpoint before anyone touches glassware.
Protecting people is the first reason, but protecting your budget is a close second. A basic middle school science lab setup runs roughly $300 to $600 for core glassware, stands, and safety gear. A five-minute identification review that keeps a student from grabbing a volumetric flask as a stirring vessel is a low-cost way to guard that investment and cut breakage before it starts.
Using These Worksheets in Lab Safety Instructions
Treat the worksheet as a formative gate, not busywork. Hand it out the day before the lab, then use a quick exit-ticket version to confirm mastery before students earn glassware access. Anyone who misses a safety-critical item gets a short re-teach at a side station rather than a red mark and a shrug.
Because these sheets need no equipment setup, they double as substitute-teacher plans and early-finisher stations. A sub can run an identification review with confidence even without a science background, and your regular routine stays intact. Keep a laminated answer key and a small tub of the real items nearby so students can self-check by touching the actual tool, which cements the name far better than a printed picture alone.
From equipment ID to measurement and data skills
The payoff of front-loading equipment names shows up later, in cleaner lab reports. Once students can distinguish a graduated cylinder from a beaker by precision, you can point back to the worksheet when you teach significant figures, uncertainty, and why instrument choice changes a data table. That through-line turns a one-off identification sheet into a reference students reuse across a full unit.
Frequently Asked Questions
1. How should teachers use lab equipment worksheets before a hands-on chemistry lab?
Use them as a pre-lab gate. Assign the sheet a day ahead, then require a passing exit-ticket version before students handle real equipment. This makes hazard awareness a graded checkpoint rather than a verbal reminder that's easy to tune out.
2. What grade levels are lab equipment identification worksheets appropriate for?
They work from upper elementary through high school when you adjust the task. Younger students match pictures and labels; high school chemistry students explain function, precision, and safety rationale for the same 28 or so core pieces.
3. How do these worksheets support lab safety and NGSS practices?
NSTA ties equipment familiarity to hazard analysis before any hands-on work, and every NGSS Performance Expectation starts with a Science and Engineering Practice. Worksheets rehearse both the safety reasoning and the measuring and modeling skills students will apply live.
4. Can lab equipment worksheets be used for substitute days or review stations?
Yes. They need no equipment setup, so a substitute can run a full identification review, and early-finishers can use them as a self-checking station with a laminated key.
5. How should teachers assess student mastery of lab equipment names and functions?
Combine a short labeling quiz with a function-matching column, then confirm with a hands-on spot check where students point to the real tool. Passing that check is the ticket to lab access.