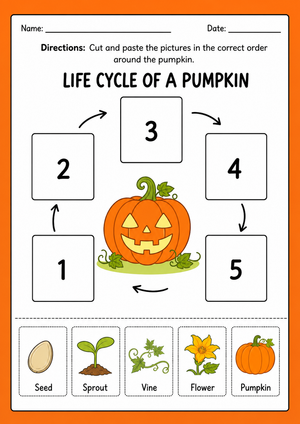
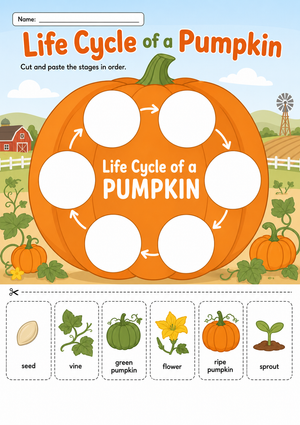
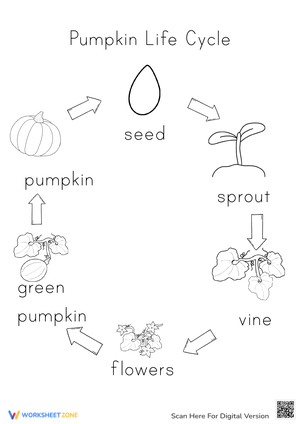
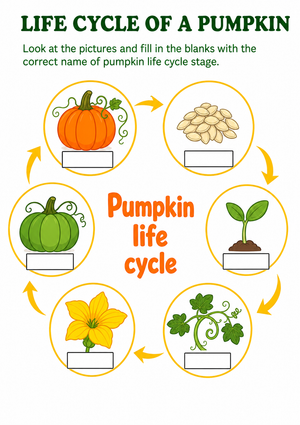
Pumpkins are already part of the seasonal backdrop in most US elementary schools, which makes them a natural anchor for a life cycle unit. Rather than introducing an abstract plant example, teachers can connect classroom instruction to something students see at home, at a pumpkin patch, or in a grocery store display. This real-world tie-in helps young learners retain the sequence of stages because they can picture where a pumpkin came from before it appeared on a porch.
A life cycle worksheet set also gives teachers a consistent visual reference to return to across several lessons. Instead of re-explaining the stages from scratch each day, you can point back to the same sequence chart or cut-and-paste page and build new vocabulary or writing tasks on top of it.
The Seven Stages Students Need to Know
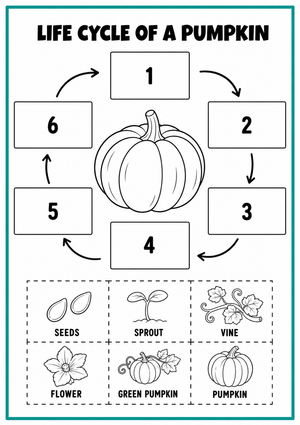
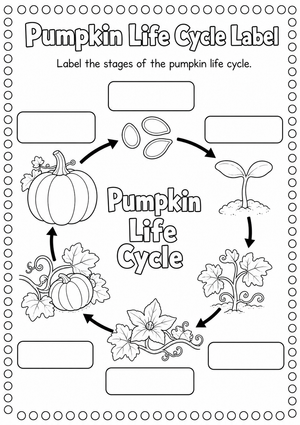
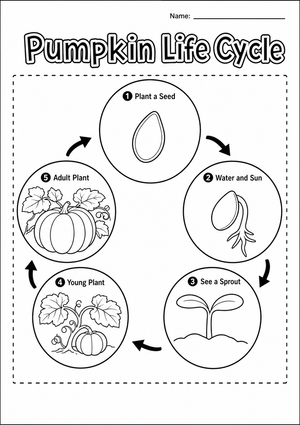
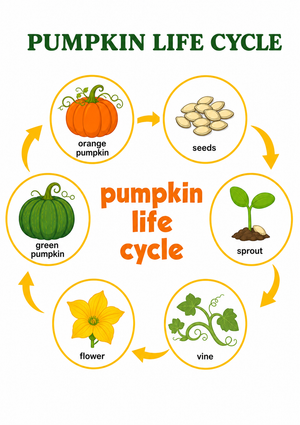
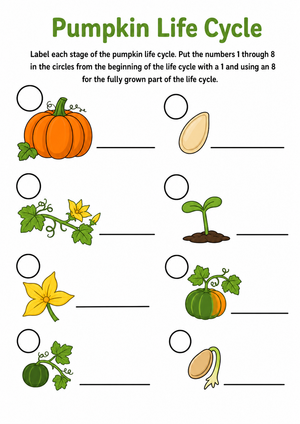
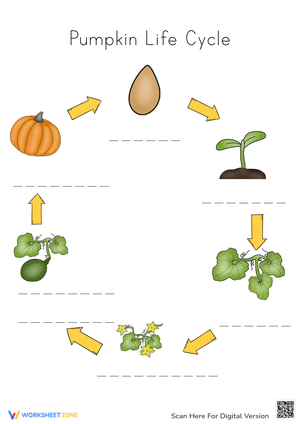
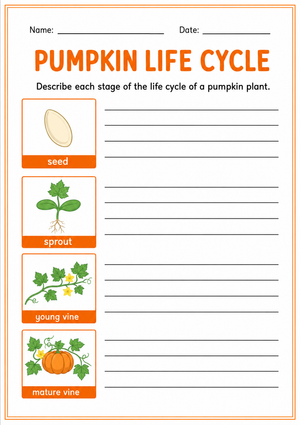
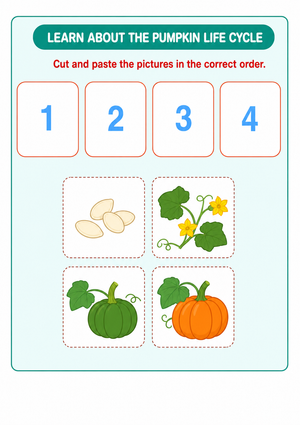
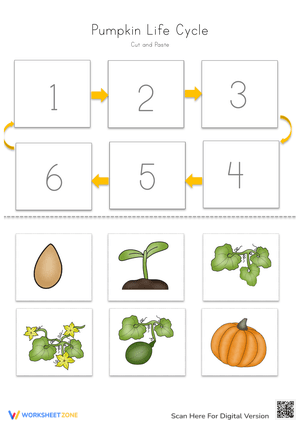
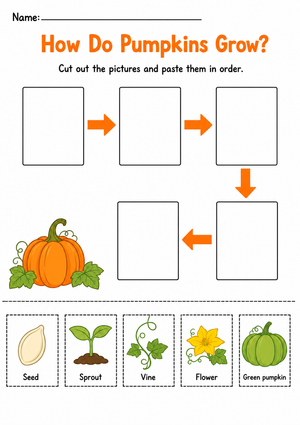
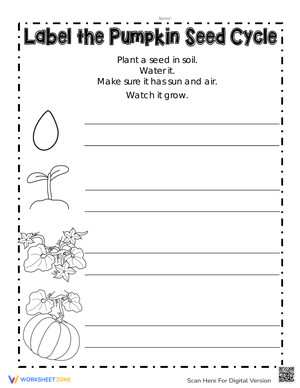
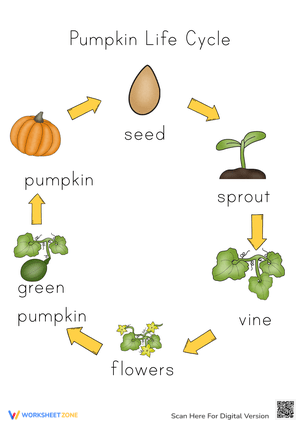
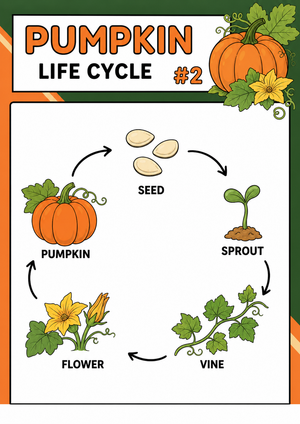
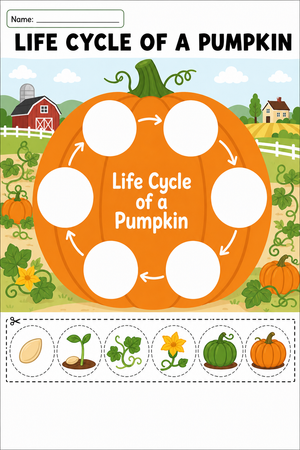
For K-2 instruction, the pumpkin life cycle is generally taught as seven stages: seed, sprout or seedling, vine with leaves, flower, pollination, small green pumpkin, and mature orange pumpkin ready for harvest. Presenting exactly these seven stages keeps the sequence manageable for young students while still covering the full growth process from planting to picking.
One detail that often surprises new teachers planning this unit: pumpkin vines produce separate male and female flowers, and only the female flower develops into a pumpkin, and only after it has been pollinated. If a worksheet or read-aloud skips this step, students can walk away thinking any flower on the vine turns into a pumpkin, which creates a misconception that is worth correcting explicitly during instruction.
Building Vocabulary Alongside the Sequence
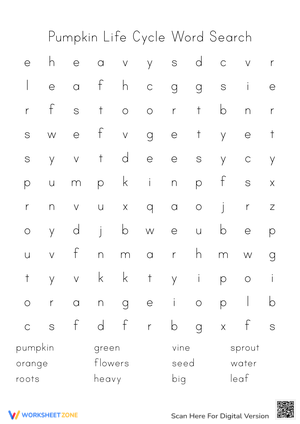
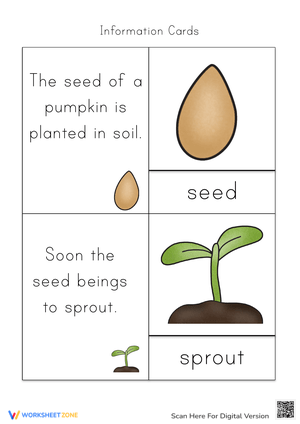
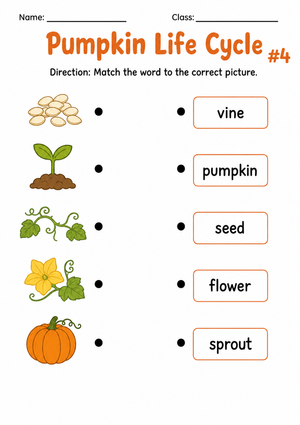
A pumpkin life cycle unit is also a strong vehicle for content vocabulary instruction. Core terms to teach explicitly include seed, sprout, vine, flower, pollination, and harvest. Introducing these words before students see the worksheet, rather than during it, reduces the reading load and lets the worksheet focus on sequencing and comprehension rather than decoding new terms cold.
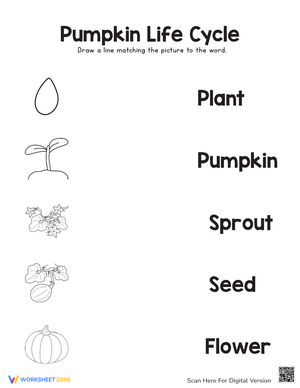
Consider a short vocabulary warm-up where students match each word to a simple picture before they see the full life cycle worksheet. This pre-teaching step is especially useful for English language learners and for students receiving small-group reading support, since it isolates the vocabulary demand from the sequencing task.
Using Worksheets for Formative Assessment
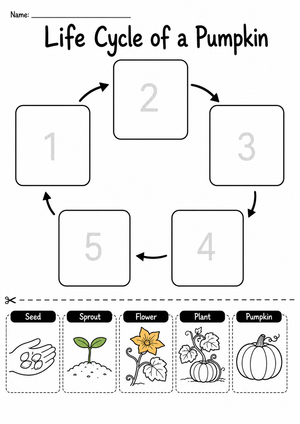
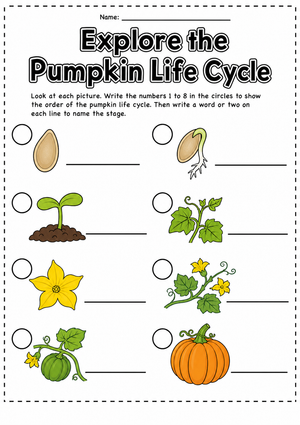
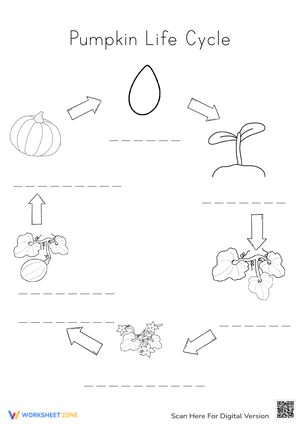
Because the life cycle has a clear, fixed order, these worksheets double as a quick formative check. After teaching the full sequence, hand out a blank or shuffled version of the stages and ask students to reorder them independently, without a word bank. How well a student places seed, sprout, vine, flower, small green pumpkin, and mature pumpkin in order gives you a fast read on whether the concept has landed, without needing a formal quiz.
For students who struggle with the independent version, a scaffolded worksheet with picture cues or partial labels can serve the same purpose while still giving you useful information about where the breakdown is happening, whether it is the sequence itself or the vocabulary attached to each stage.
Classroom Implementation
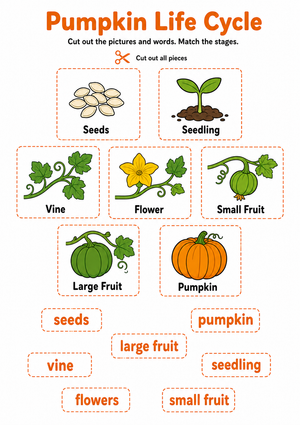
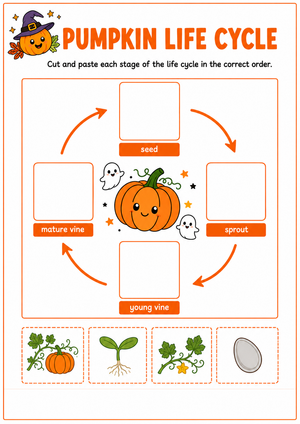
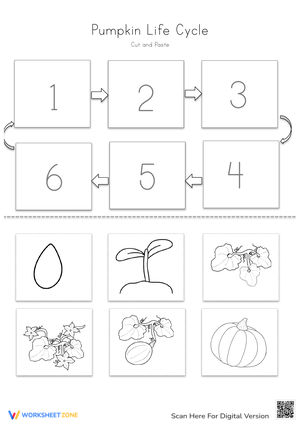
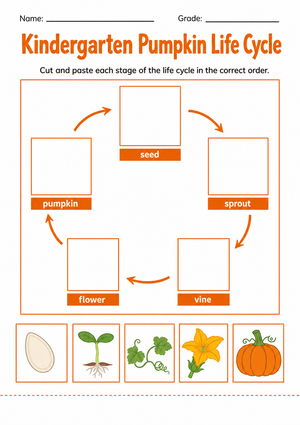
To build a full lesson arc around these worksheets, start with a short vocabulary introduction, move into a shared reading or video of the pumpkin growth process, then hand out the cut-and-paste sequencing worksheet for guided practice. Close with an independent sequencing check the next day to confirm retention before moving on to a related plant, such as an apple or sunflower life cycle, later in the unit.
If your school has access to a garden bed or even a few pots, pairing the worksheet unit with a real planted pumpkin seed and a simple observation journal reinforces the same sequence students are learning on paper. Students can check their journal drawings against the worksheet stages each week, which turns a one-time lesson into an ongoing, low-prep observation routine through the fall term.
Frequently Asked Questions
1. What are the main stages of a pumpkin life cycle for elementary students?
Most K-2 instruction covers seven stages: seed, sprout or seedling, vine with leaves, flower, pollination, small green pumpkin, and mature orange pumpkin ready for harvest.
2. What grade level is pumpkin life cycle worksheets best suited for?
These worksheets are best suited for kindergarten through second grade, where the focus is on sequencing skills and introductory science vocabulary rather than detailed plant biology.
3. How long does it take a pumpkin to grow from seed to harvest?
Pumpkins typically take about 90 to 120 days from planting to harvest, with germination occurring in about 7 to 10 days and pumpkin maturation taking roughly 45 to 55 days after pollination.
4. How can teachers use pumpkin life cycle worksheets for sequencing practice?
Teachers can use cut-and-paste sequencing pages where students order the growth stages, then extend the activity with one sentence per stage or a shuffled version used as a quick formative check.
5. What vocabulary should students learn with a pumpkin life cycle unit?
Core vocabulary includes seed, sprout, vine, flower, pollination, and harvest, ideally pre-taught before students work through the sequencing worksheet.












 Interactive Worksheet Maker
 Quiz Maker
 Word Search Maker
 Crossword Puzzle Maker
 Word Scramble Generator
 Sentence Scramble Generator
 Handwriting Worksheet Generator
 Name Tracing Generator
 Fill In The Blank Generator