Where students get stuck on homeostasis
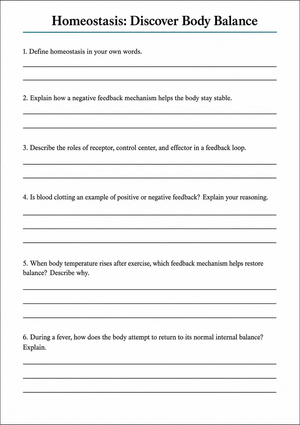
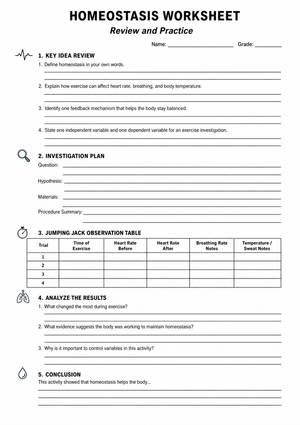
Ask a class to define homeostasis and you'll usually hear "keeping the body the same." That answer sounds right, but it hides the idea students actually need for biology: homeostasis is a dynamic process, not a frozen state. These homeostasis worksheets move students from a vague definition toward the concrete feedback-loop reasoning that NGSS HS-LS1-3 expects. Each page anchors an internal condition, a triggering change, and the body's response, so students practice cause-and-effect logic instead of memorizing a term.
Whether you teach middle school life science or a full high school biology unit, the goal is the same. Students should trace how a stimulus becomes a response and explain why that loop keeps a condition inside a safe range. The worksheets in this set are built for that progression, from labeled diagrams to short investigation prompts you can drop into a lab day or a review block.
The four feedback-loop parts every worksheet reinforces
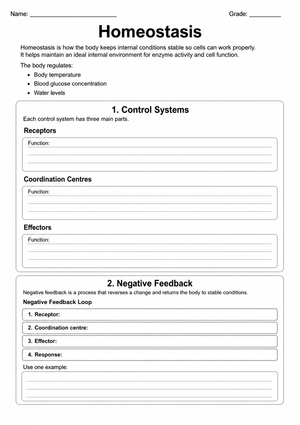
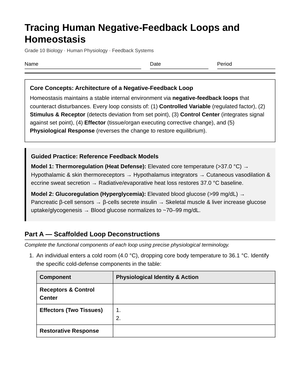
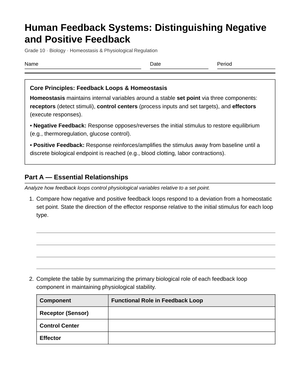
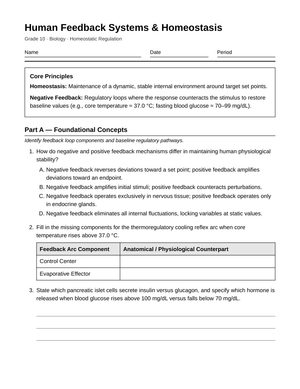
Feedback loops are the backbone of homeostasis, and they break down into four parts students can name and label. When students identify all four in an example, the rest of the unit gets easier because every homeostasis case follows the same structure.
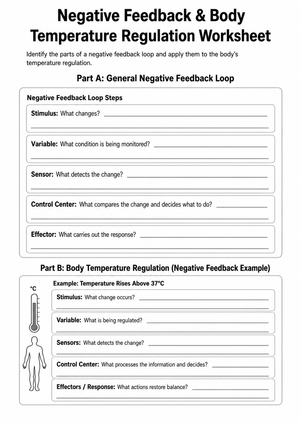
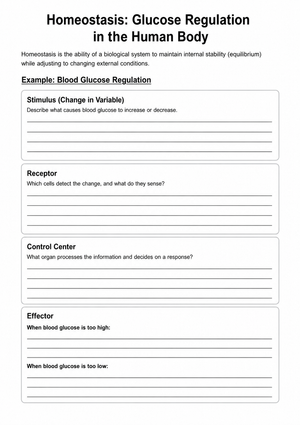
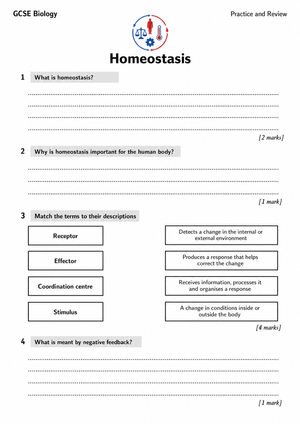
- Stimulus: a change in an internal condition, such as rising body temperature or a spike in blood glucose.
- Receptor: a sensor that detects the change and sends a signal.
- Control center: the part that compares the signal to a set point and decides on a response, often the hypothalamus or an endocrine gland.
- Effector: the muscle or gland that carries out the response and pushes the condition back toward normal.
Worksheets that keep this vocabulary consistent let students transfer the pattern from one body system to another. Once they label the loop for temperature, they can apply the same four boxes to glucose or calcium without relearning the framework.
Why body temperature is the best starting example
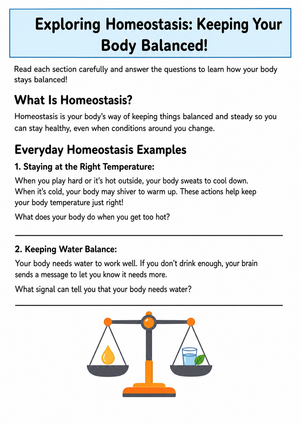
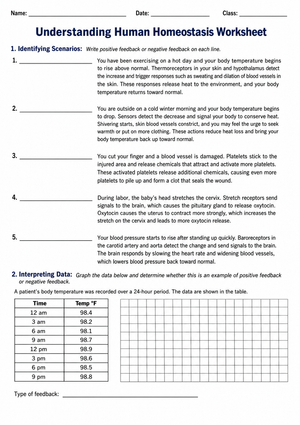
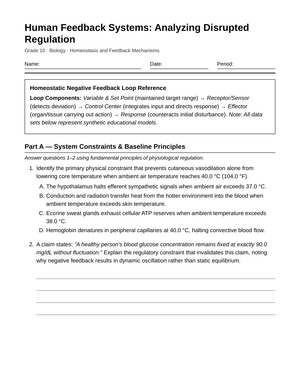
Temperature regulation is the most classroom-familiar case of homeostasis, which makes it the strongest entry point. Students already know what shivering and sweating feel like, so worksheets can connect a lived experience to the underlying loop. When core temperature drops, receptors signal the hypothalamus, which triggers shivering and narrowed blood vessels; when it rises, sweating and widened vessels shed heat.
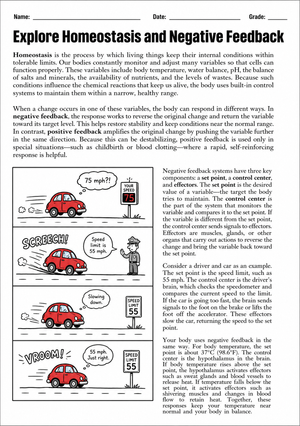
According to Britannica, homeostasis is the self-regulating process by which biological systems maintain stability while adjusting to changing external conditions. The human body holds core temperature near 37°C (98.6°F), and even a few degrees of sustained deviation can disrupt enzyme activity and threaten survival.
Starting here gives students a reference model. Every later example, from blood sugar to calcium, becomes like temperature but with a different set point and different effectors.
Applying homeostasis across body systems
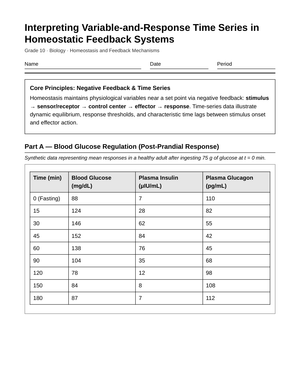
Homeostasis regulates several internal conditions at once, and worksheets that show this parallel structure help students generalize. Body temperature, blood glucose, and blood calcium each have their own sensors, control centers, and effectors, but all three follow the same feedback logic.
Here is the shift that separates surface recall from real understanding: students who treat homeostasis as a single temperature story rarely score well when a test swaps in glucose or calcium. The four-part loop is the transferable skill, not the temperature example itself. When a worksheet asks students to fill the same stimulus-receptor-control-effector table for three different conditions, teachers watch the fixed-state misconception collapse, because students see the set point stay constant while the body's response constantly changes around it.
This cross-system framing also mirrors how NGSS builds toward systems thinking. Once students see three loops sharing one structure, they are ready to argue from evidence that feedback keeps the whole organism stable.
Using These Worksheets In Biology Classes
These worksheets flex across the arc of a unit rather than sitting in one slot. Here are practical ways US biology teachers put them to work:
- Lab or investigation day: pair a temperature or heart-rate activity with a worksheet so students plan and record evidence, matching the investigation language of HS-LS1-3.
- Pre-test review: assign a mixed worksheet that jumps between temperature, glucose, and calcium to check transfer.
- Formative check: use a single labeled-diagram page as an exit ticket to catch the static-state misconception early.
- Small-group intervention: give students who struggle a scaffolded loop with two of the four parts filled in.
Because the worksheets keep one vocabulary set, you can differentiate by changing how much of the loop is pre-filled rather than swapping in a whole new page.
Frequently asked questions about homeostasis worksheets
1. What grade level is homeostasis typically taught at?
In US schools, homeostasis appears in middle school life science as an introduction to body systems and again in high school biology at a deeper level. High school is where students are expected to reason with feedback loops and evidence, matching NGSS HS-LS1-3.
2. How do these worksheets align with NGSS HS-LS1-3?
HS-LS1-3 asks students to plan and conduct an investigation showing that feedback mechanisms maintain homeostasis. Worksheets that pair an investigation prompt with the stimulus-receptor-control-effector loop give students the vocabulary and structure that standard calls for.
3. What is the difference between negative and positive feedback?
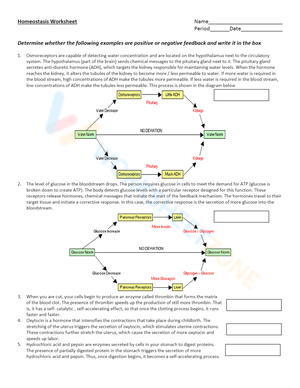
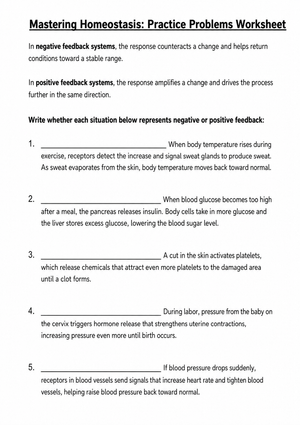
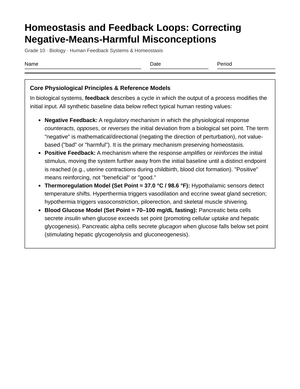
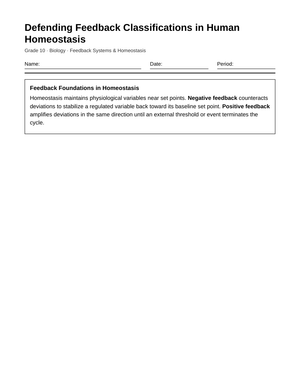
Negative feedback reverses a change and returns a condition to its set point, like temperature regulation. Positive feedback amplifies a change until a goal is reached, like childbirth or blood clotting, then stops. Most body systems use negative feedback.
4. Can these worksheets be used for both labs and review?
Yes. Use an investigation-style page during a lab day to collect and interpret evidence, then use a mixed-system review page before a unit test. The shared loop vocabulary means students see the same framework in both settings.