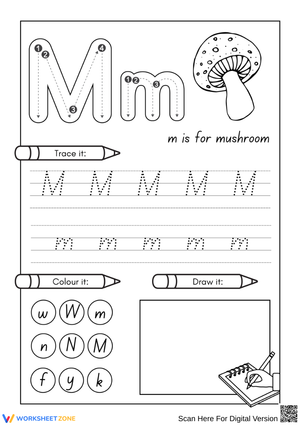
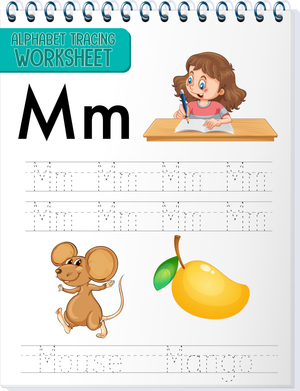
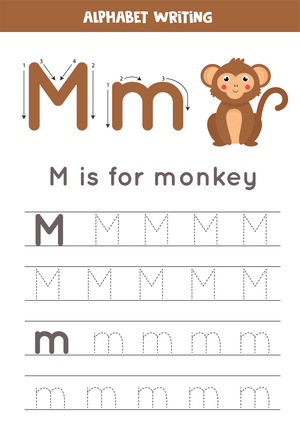
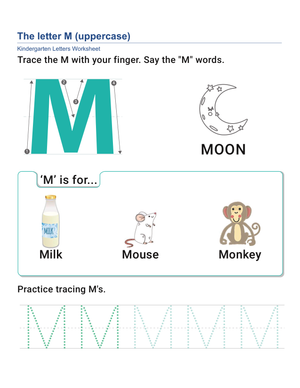
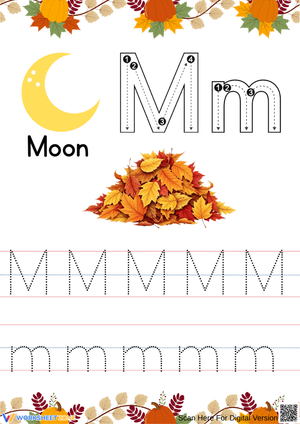
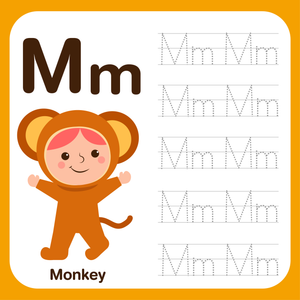
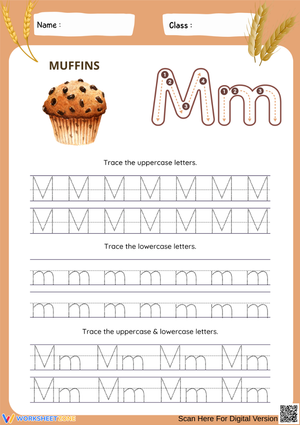
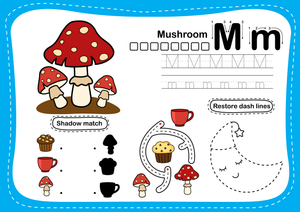
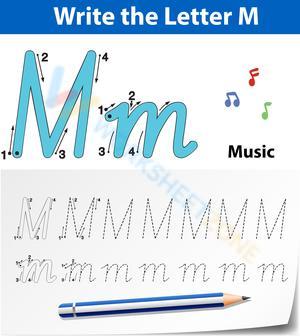
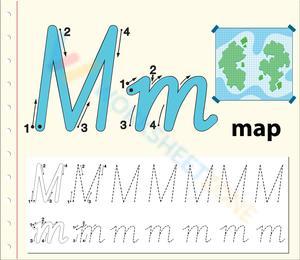
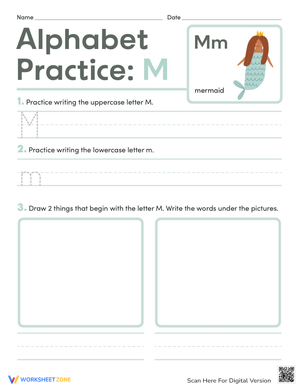
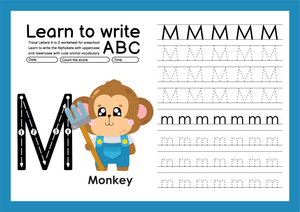
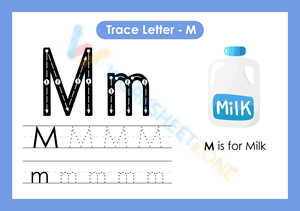
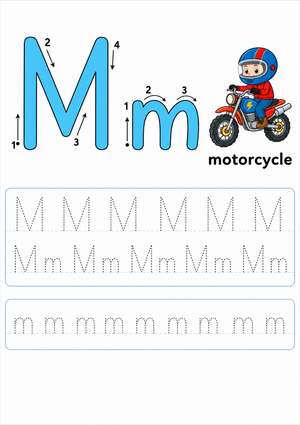
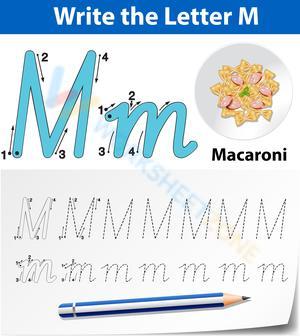
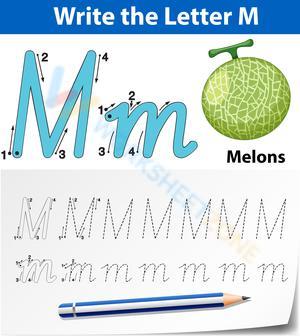
These kindergarten letter m tracing handwriting printable worksheets address one of the more structurally demanding letters in the early alphabet sequence — a letter where imprecise formation habits solidify quickly without direct correction. Uppercase M requires four distinct strokes including two inward diagonals that five-year-olds consistently struggle to control, while lowercase m demands a retrace-and-double-arch sequence that no other letter in the alphabet quite prepares students for. The set gives teachers a repeatable practice tool that builds correct muscle memory before incorrect formations get locked in.
What Each Worksheet Targets
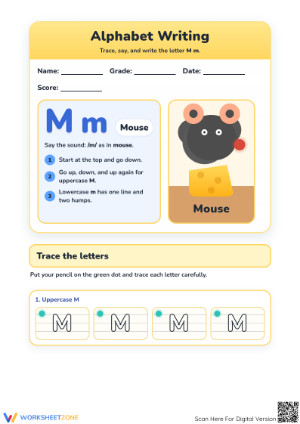
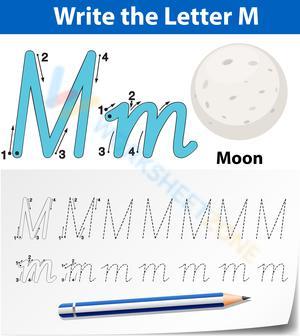
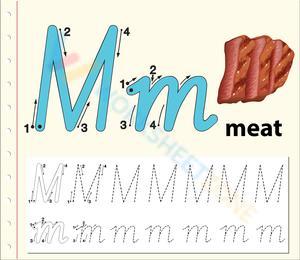
Uppercase M and lowercase m are not equally difficult, and kindergarten letter m tracing handwriting printable worksheets treat them as separate problems worth addressing on their own terms. Uppercase M: two vertical lines anchored at top and bottom, with two inward diagonals meeting at the midline. Students who rush this letter tend to round those diagonals into humps — effectively producing something that sits between a W and a rounded arch. Lowercase m starts with a single downstroke from the midline to the baseline, retraces back up, then produces two distinct arches in sequence. That retrace motion trips up students who have only practiced letters with continuous, uninterrupted strokes.
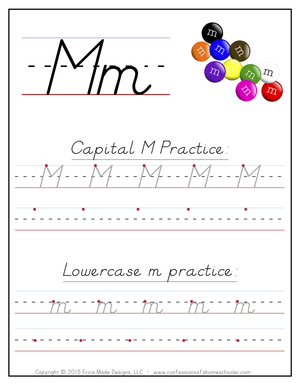
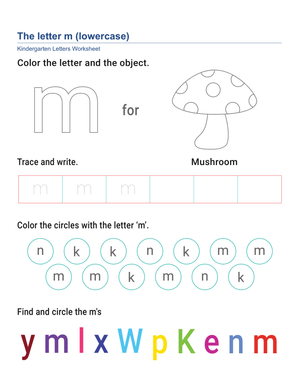
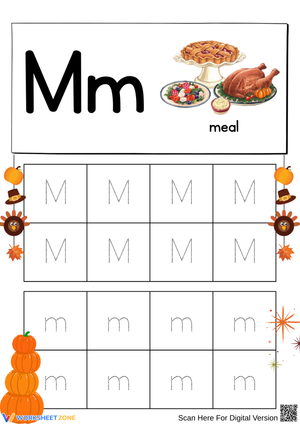
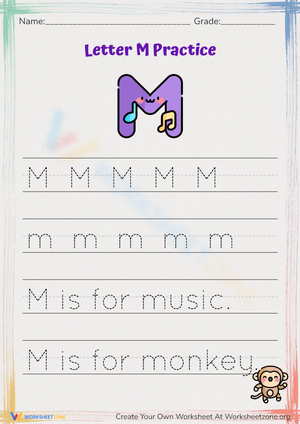
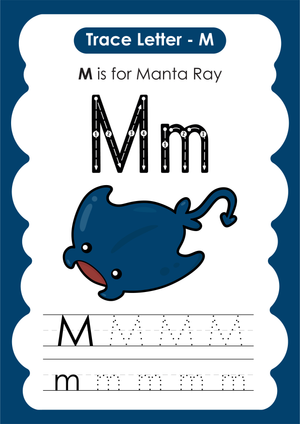
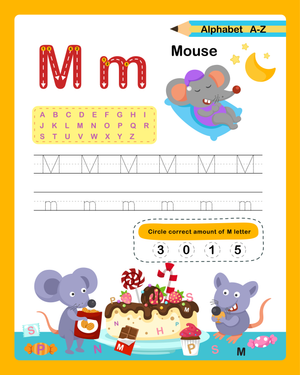
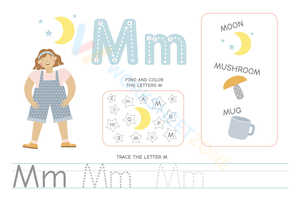
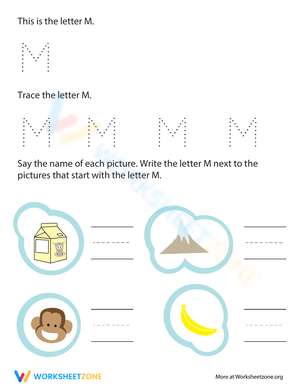
The skills built across the set include accurate formation of both letter forms, consistent sizing relative to ruled lines (uppercase M touching both the top line and the baseline; lowercase m contained between midline and baseline), and letter-sound correspondence for /m/ through picture cues embedded in each worksheet — images like moon, mitten, or monkey that connect motor practice to phonics without requiring a separate activity.
Fitting These Worksheets Into the School Day
The most effective use pattern starts before students ever touch pencil to paper. A 30-second sky-writing warm-up — students trace a large M in the air using full arm and shoulder movement — activates larger muscle groups and primes the hand for finer work. After sky writing, model each stroke on the whiteboard while narrating it aloud: "Start at the top, straight down. Back to the top, diagonal to the middle, diagonal back up to the top-right, straight down." That sequence — large motor rehearsal, modeled demonstration, guided tracing — noticeably reduces the number of students who start a stroke in the wrong place or move in the wrong direction.
During small-group rotations, sit with four or five students and observe the first tracing row closely. Errors in row one almost always repeat across the remaining rows unless you catch them immediately. For morning arrival, a short tracing strip with one row of uppercase M and one row of lowercase m keeps students productively settled during the four to five minutes before morning meeting — a routine that requires zero prep once strips are cut and staged on desks.
Stroke Errors Teachers Should Expect and Address
The diagonal strokes of uppercase M are where errors concentrate most reliably. Students who learned N first often transfer that motor pattern to M — they produce two rounded humps instead of sharp inward diagonals, or they complete only three strokes instead of four. Color-coding each stroke during early practice helps: one color for the two vertical lines, a second color for the two diagonals. That visual separation makes the four-stroke count concrete rather than something students must hold in working memory on top of fine motor demands.
For lowercase m, the most persistent error is writing a single arch instead of two, producing something that looks like lowercase n. This happens partly because n appears in classroom alphabet displays and early books as frequently as m, and students conflate the two. When that confusion shows up, pause simultaneous n practice and spend several sessions on m alone before reintroducing both. A subtler but common issue is wildly inconsistent letter size — some students trace the dotted letters at the right scale, then write freely at twice the height on the blank lines below. Pointing explicitly to the ruling works better than assuming students read the lines on their own: "M is a tall letter, it needs to touch this top line and come all the way down to this bottom line."
Standard Alignment
Two standards directly govern the work these worksheets address. CCSS.ELA-LITERACY.L.K.1a (Conventions of Standard English) requires kindergarteners to print many upper- and lowercase letters — formation practice is the direct target. CCSS.ELA-LITERACY.RF.K.1d (Print Concepts) addresses letter recognition, which students reinforce when they name each letter before and after tracing it. The phonics picture cues embedded in each worksheet connect to CCSS.ELA-LITERACY.RF.K.3a, which covers initial consonant letter-sound correspondences.
In practical classroom terms, kindergarten letter m tracing handwriting printable worksheets belong in the first six to eight weeks of instruction, when M appears in most systematic letter-introduction sequences — early enough that formation habits are still forming and before students begin writing M independently in journals or interactive writing blocks.
Adjusting the Set for a Range of Learners
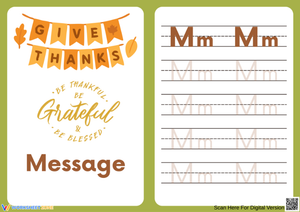
Students who arrive with strong fine motor foundations can move quickly through the guided tracing rows and spend more time on the independent writing lines at the bottom of each worksheet. For those students, proportion and stroke consistency are the useful challenges — holding letter size steady across a full row rather than just getting the stroke sequence right once or twice.
Students with weaker hand strength or limited pre-writing experience need more time with the guided tracing sections. Pairing a worksheet with a sand tray or playdough letter-building activity before pencil work begins is not a detour — it shortens the time those students spend struggling with the fine motor demands of writing on paper. For students receiving occupational therapy services, sharing the stroke sequence descriptions from these worksheets with the OT keeps the language students hear consistent across settings, which matters more than most teachers anticipate.
Students working well above grade level who have already internalized both letter forms can use the picture cue section as a springboard: generate additional /m/ words beyond the printed example, write them on the blank lines below the tracing rows, and illustrate one. That extension keeps the kindergarten letter m tracing handwriting printable worksheets productive for advanced students without requiring a separate lesson or different materials.
Frequently Asked Questions
What is the correct stroke order for uppercase and lowercase M?
Uppercase M uses four strokes: start at the bottom-left, draw straight up to the top line, diagonal down to the midpoint, diagonal back up to the top-right corner, then straight down to the baseline. Lowercase m: start at the midline, draw straight down to the baseline, retrace up to the midline, arch over and down to the baseline for the first hump, then arch over and back down to the baseline for the second hump. Each worksheet in the set uses numbered arrows to make this sequence visible so students can follow stroke order independently after an initial teacher demonstration.
Should uppercase or lowercase M be introduced first?
Follow the sequence your school has adopted — consistency across grade levels matters more than any general preference. That said, many programs introduce uppercase letters first because the strokes are larger and easier for students to see as distinct moves. Each worksheet presents both letter forms side by side, so students always see them paired even when practicing one at a time.
How do these worksheets work for students still developing pencil grip?
For students who have not yet stabilized grip, start with sky writing and playdough activities until hold is functional enough for pencil work. A triangular pencil grip or slightly thicker pencil reduces the effort those students spend on tool control, freeing up more attention for stroke direction. The tracing rows remain useful regardless of tool — the arrow cues and dotted lines work the same way — but the physical setup matters as much as the printed resource for students still building hand strength.
Do these worksheets support phonics instruction or only handwriting?
Both. The picture cues on each worksheet reinforce the /m/ phoneme alongside formation practice. After tracing, ask students to name the picture, say the beginning sound, and point to the letter. That brief extension — under two minutes — connects motor practice to phonemic awareness and print concepts without requiring a separate phonics activity or additional materials.