These letter H tracing worksheets give pre-K and kindergarten students structured practice forming one of handwriting's more teachable letters — two parallel verticals and a crossbar — making H a natural early priority in any alphabet sequence. The set addresses uppercase and lowercase formation separately, pairs each tracing task with beginning-sound pictures, and uses starting dots with directional arrows to establish correct stroke sequence from the first attempt. Teachers use them as morning warm-ups, guided small-group work, and center rotations.
What's Inside the Set
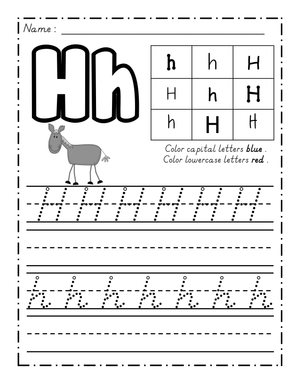
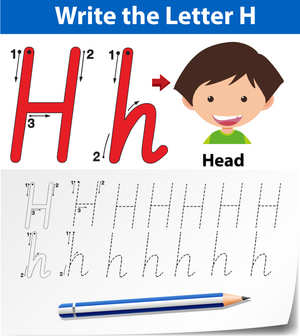
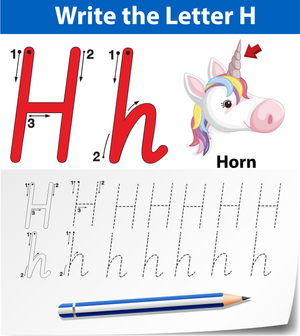
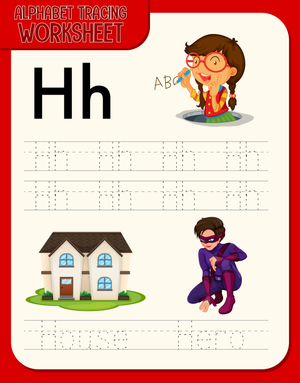
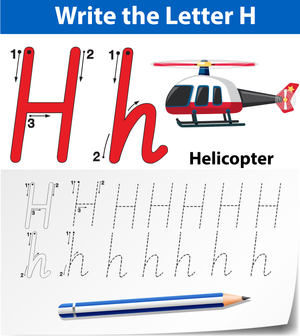
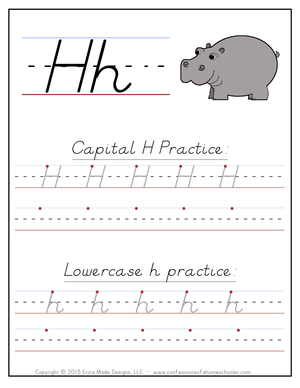
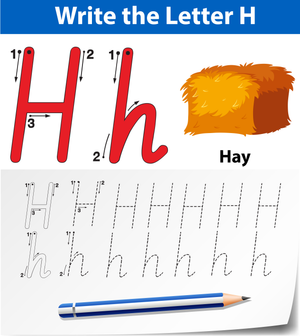
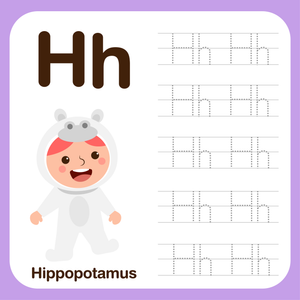
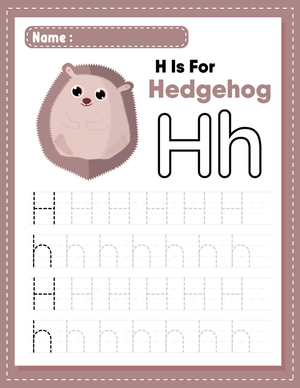
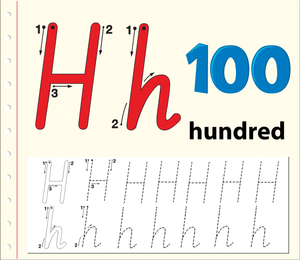
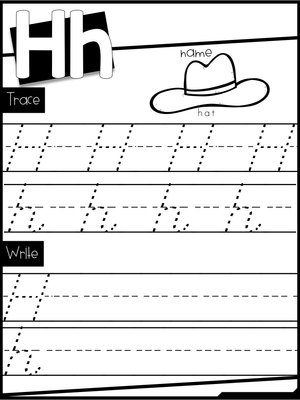
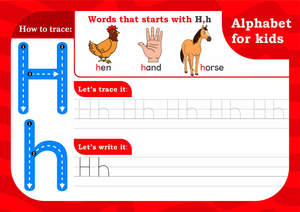
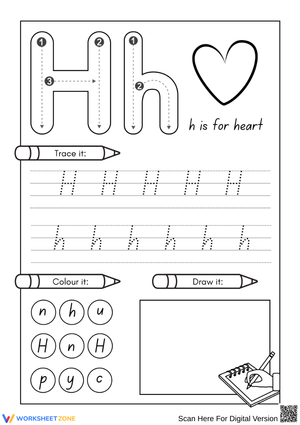
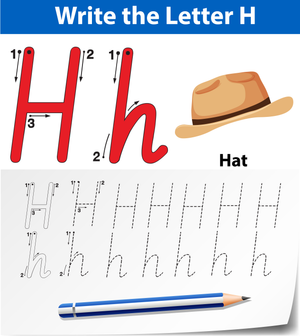
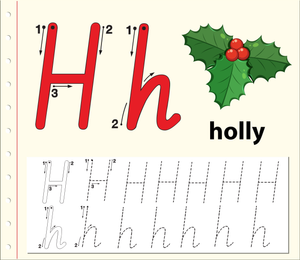
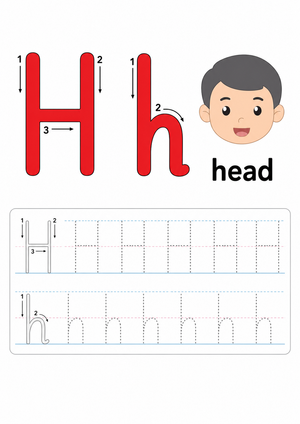
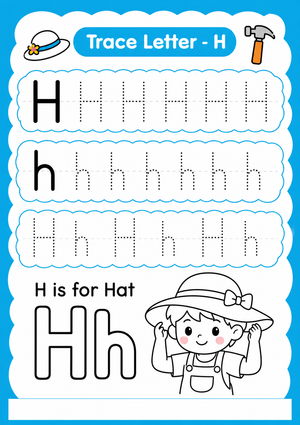
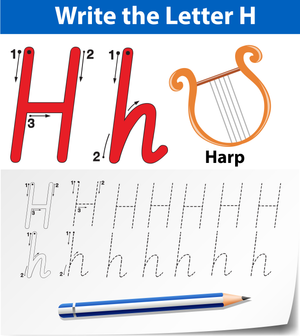
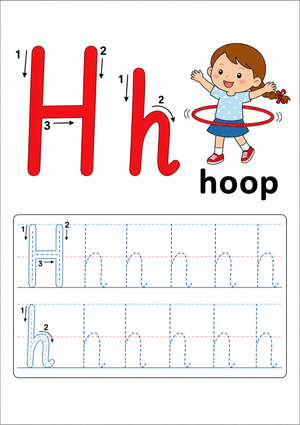
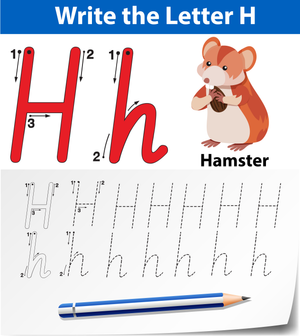
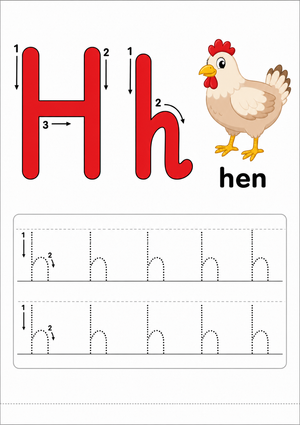
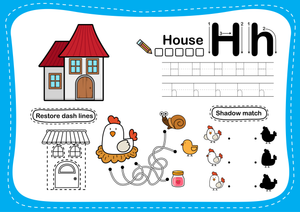
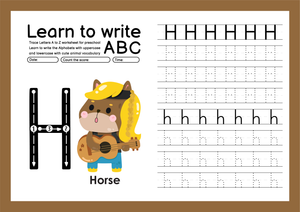
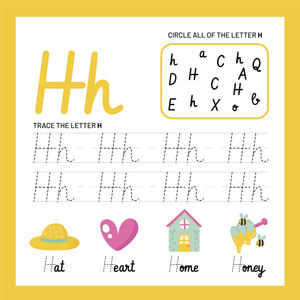
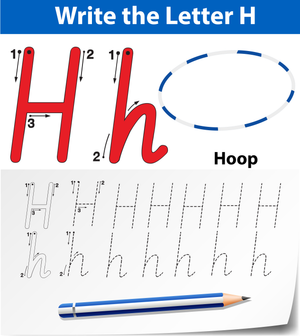
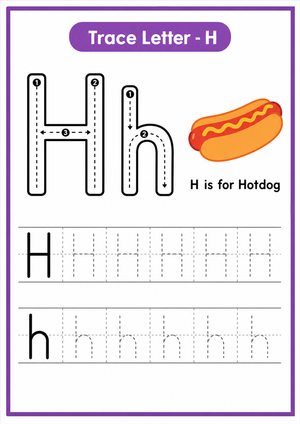
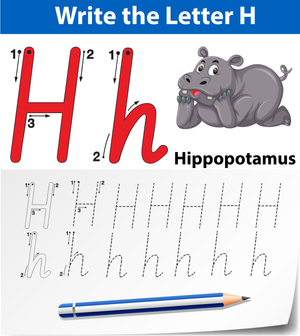
The uppercase H is built from three discrete strokes: a top-to-bottom vertical on the left, a matching vertical on the right, then a horizontal bar connecting them at the midline. Each worksheet targets one or both letter forms and includes dotted tracing paths that fade across the row, moving students from guided tracing toward freehand attempts by the end of the line. Pictures anchoring the /h/ sound — hat, horse, house, hill — appear beside the tracing lines rather than as decoration at the bottom, so students see the connection while their pencil is still moving.
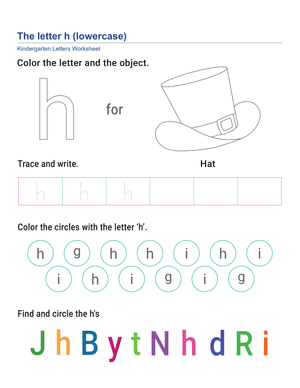
The lowercase h demands different control. Students start with the same top-to-bottom vertical, then retrace upward to the midline and curve into the hump — a continuous motion rather than three lifted strokes. This retrace-and-curve pattern has transfer value beyond the letter itself: students who master it tend to pick up n, m, and b more quickly because the motor path is structurally related. Both uppercase and lowercase forms appear across the set, side by side in several worksheets, so students compare the two shapes rather than treating them as unrelated symbols.
Mistakes Students Make That These Worksheets Help You Catch
Crossbar placement is the most consistent error with the uppercase H. Students draw the horizontal stroke too high — bumping against the topline — or too low, pulling it toward the baseline. When that happens, the letter reads as two separate I's or as a shape students can't identify on sight. Asking students to place a finger at the midline before drawing the crossbar tends to correct this quickly and costs about five seconds per student during a small-group check-in.
For the lowercase version, the retrace stalls students who have learned to lift the pencil between every stroke. They draw the vertical, lift, then start the hump as a separate arc from the midline — producing what looks like a broken n. The finished letter shows a visible gap where the retrace should be, and it's easy to spot in completed work. Students who do this aren't being careless; they've generalized a rule from letters like T and F where lifting is correct. Naming the difference explicitly ("this letter stays connected") resolves the confusion faster than additional tracing alone.
Fitting These Worksheets Into Your Planning Week
Morning arrival is the most reliable window. A worksheet face-up on each desk means students have purposeful work the moment they sit down, and the teacher has several uninterrupted minutes for attendance and logistics. The tracing task is self-starting — students don't need verbal setup to begin — which matters more than it might seem at 8:05 a.m.
Small-group time is where letter H tracing worksheets do their most targeted work. Three to five students at a table gives the teacher a clear view of each pencil in motion — who lifts during the lowercase retrace, who grips too far up the barrel, who rushes the crossbar. Catching these patterns live, early in the unit, is worth more than correcting them after the habit is set. For independent practice, slipping each worksheet into a plastic sleeve lets students reuse the tracing paths with a dry-erase marker, which cuts paper use and gives hesitant writers a lower-stakes entry point since the marks erase completely.
Handwriting and Phonics in the Same Five Minutes
The pictures on these worksheets aren't decorative. Before students touch the tracing lines, a brief conversation about the images — "What's this? What sound does hat start with?" — primes the phonological network that letter recognition draws on. Students who say the /h/ sound aloud as they form the letter build a stronger letter-sound connection than students who trace in silence. This matters most for English language learners, who may recognize the letter's shape from prior exposure but haven't yet locked in the English phoneme. Discussing the vocabulary in the pictures gives the tracing task a second instructional purpose without adding time to the lesson.
Adjusting the Work for the Range of Learners You Have
Students still building grip strength handle tracing better with a short golf pencil or a triangular crayon. The shortened tool restricts how far the fingers extend, which tightens the grasp without a verbal correction. For students who fatigue quickly, completing the uppercase row one day and the lowercase row the next keeps the motor load reasonable and prevents the rushed, careless strokes that appear when young writers push through tiredness.
For students who already form the letter reliably in isolation, letter H tracing worksheets work as a brief warm-up before freehand writing on primary-ruled paper. Pairing the tracing task with an independent prompt — "write three words that start with H on the back" — gives these students a productive extension without requiring a separate material. Students with fine motor delays often benefit from tracing with a finger on a laminated copy before picking up a pencil; the tactile input from finger tracing helps them internalize the stroke path before they're also managing a tool.
Standard Alignment
These worksheets address CCSS.ELA-Literacy.L.K.1a, which requires kindergartners to print many upper- and lowercase letters. In classroom terms, this standard surfaces during writing workshop and word work — the instructional contexts where students move from letter recognition to reliable, legible production. Letter formation is a prerequisite for that standard, not a peripheral skill, so tracing practice belongs inside literacy instruction rather than treated as a separate motor-development activity.
Frequently Asked Questions
How do I make sure students follow the correct stroke order rather than just filling in the shape?
Choose letter H tracing worksheets that show a numbered starting dot and directional arrows on the first letter in each row — not just a dotted outline students can fill in from any direction. Verbalize the stroke sequence during modeling: "down, lift, down, cross." Students who quietly repeat the steps while they work hold the sequence more consistently than those tracing in silence.
My student has a firm pencil grip but the letter still looks uneven. What's happening?
Grip is one variable; wrist angle and paper position are others. A student who grips correctly but rests the wrist at an awkward angle will produce strokes that drift. Check whether the paper sits flat and is positioned slightly to the dominant-hand side. Also watch whether the student anchors the non-dominant hand — a page that slides produces irregular lines even when grip and stroke sequence are both correct.
When should a student stop tracing and write the letter independently?
When a student completes three consecutive rows with consistent midline crossbar placement and no gap in the lowercase retrace, the tracing support has done its job. Move that student to primary-ruled paper with a model letter at the top rather than a dotted path. Some students make this shift after a few days; others need two or three weeks. Tracing is not a failure mode — it's the right place to be until the motor pattern is stable enough to reproduce without a guide.