Letter N tracing worksheets in this set address two separate formation challenges — the uppercase N's three-stroke diagonal sequence and the lowercase n's proportional hump — rather than treating both cases as a single skill.
What Each Worksheet Targets
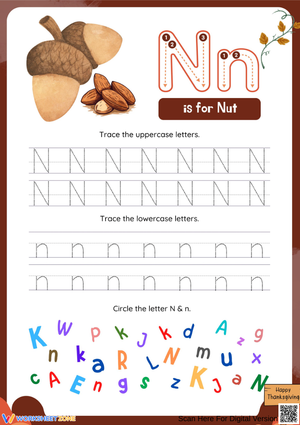
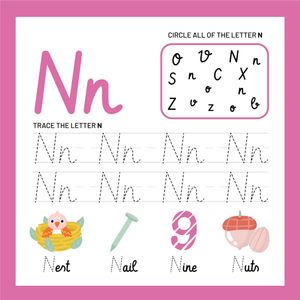
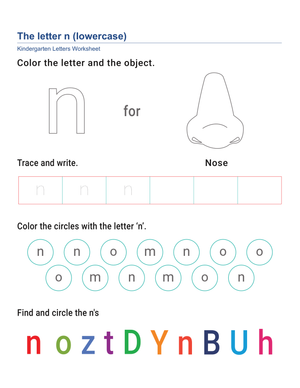
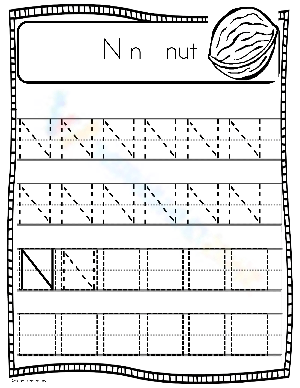
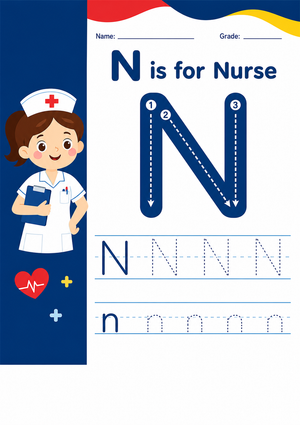
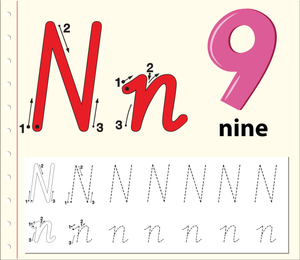
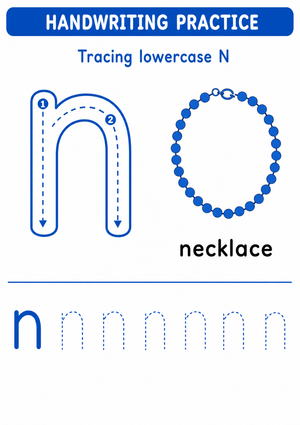
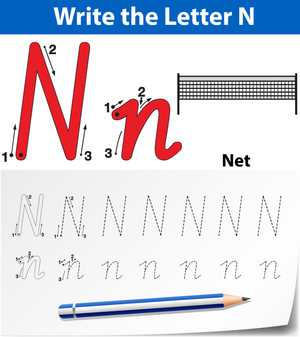
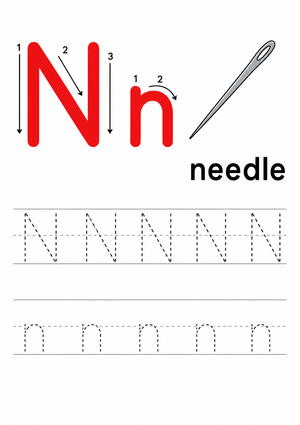
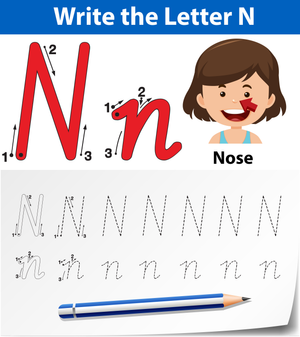
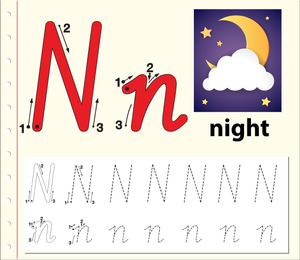
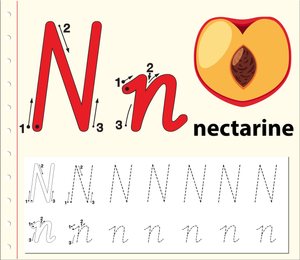
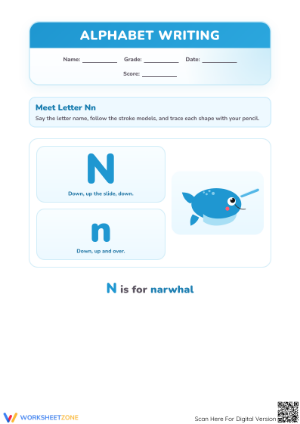
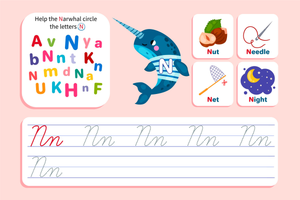
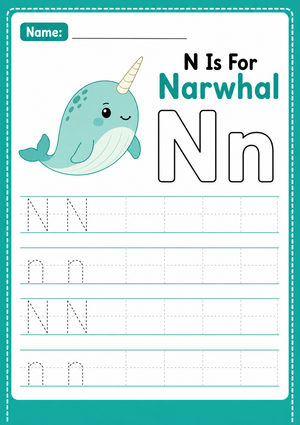
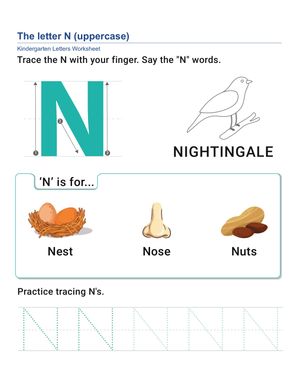
The uppercase N worksheets isolate the hardest part of the letter: the diagonal stroke. Students practice a vertical line down on the left, then a diagonal from that top-left point down to the bottom-right, then a final vertical line up. Each stroke is numbered and marked with a directional arrow so students know when to lift the pencil rather than guessing. The lowercase n worksheets focus almost entirely on hump height — specifically, that the arch should reach the midline but not the topline. This single distinction separates a correct lowercase n from what most children accidentally write instead, which is an h.
Across the set, students:
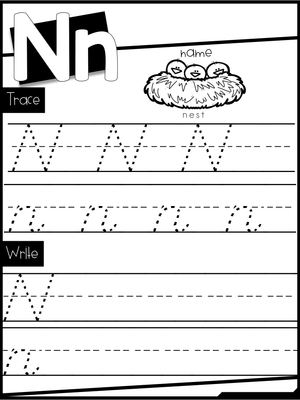
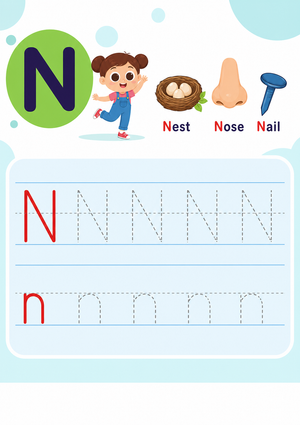
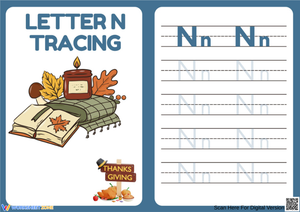
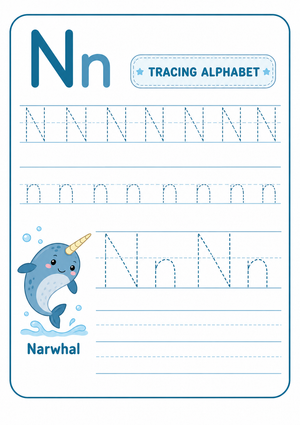
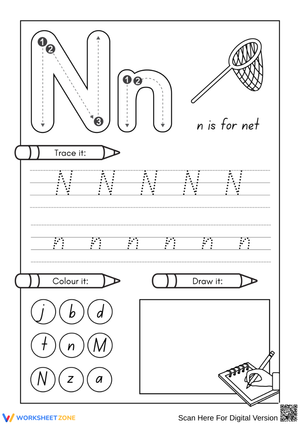
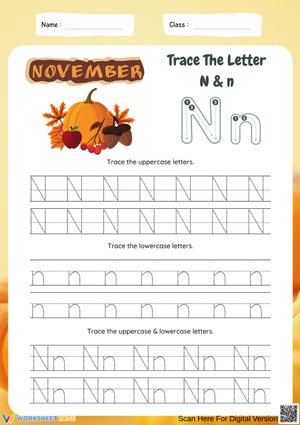
- Trace large-format letters with numbered strokes before moving to standard-size rows
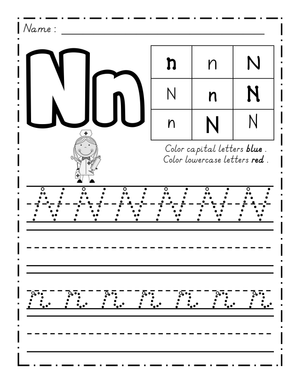
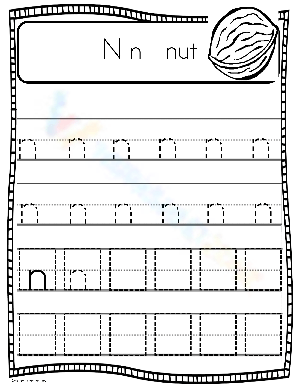
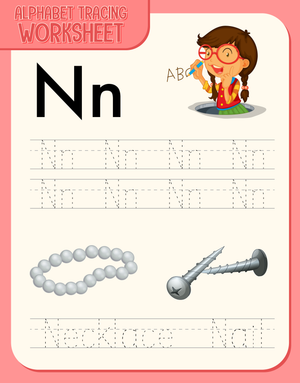
- Practice each case on its own worksheet, then compare both forms on a side-by-side worksheet
- Complete independent writing rows at the bottom of each worksheet after finishing the tracing rows
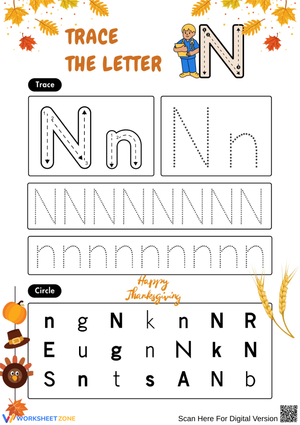
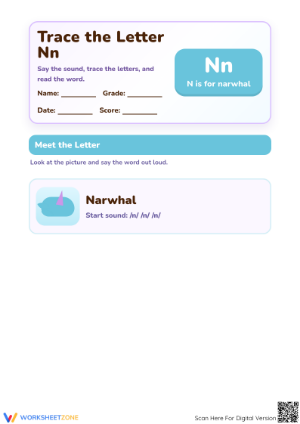
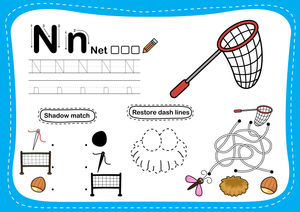
- Practice the letter N within simple words on later worksheets, once isolated formation is stable
Student Errors Worth Anticipating Before You Teach
The most common uppercase mistake is the zigzag N — the child draws the letter as two connected diagonals without ever lifting the pencil, producing something that looks like a sideways Z. This happens because students see the diagonal and assume continuous movement, the same way they'd draw an M. Asking the student to show you where the pencil left the paper almost always reveals whether this is happening. The fix needs to be explicit: stroke one, lift; diagonal, lift; stroke three.
With the lowercase n, the error is consistently proportional. Students who already know h tend to produce that letter when they're aiming for n — the hump exceeds the midline and the proportions shift entirely. The correction that works fastest isn't verbal but physical: place a finger at the midline and tell the student to bring the hump up to "bump my finger and come back down." Most children adjust within a single session. A second error worth catching early is starting the lowercase n at the hump rather than the vertical stem. Left unaddressed, this starting-point habit persists and creates sizing problems as writing gets smaller.
Getting the Most From These Worksheets in Your Week
The most productive slot for these worksheets is the first 8–10 minutes of the school day while attendance is taken and students are settling in. A worksheet already at each seat, a familiar routine, and the expectation of careful tracing rather than speed — that combination builds more than any formal whole-group introduction does. Circulate during this time and focus on two things: starting points and pencil grip. Both are easier to correct in the moment than to fix after habits have set.
For literacy center rotations, letter N tracing worksheets work well as independent station tasks because students need no instructions once the format is familiar. Pair each session with 30 seconds of air-writing before pencils come out — large, whole-arm movements that trace the letter at a gross motor scale. That priming step helps students internalize the stroke direction before the smaller hand muscles take over. Teachers who build this sequence into their center routine consistently report cleaner first attempts on paper.
Adjusting the Set for a Range of Learners
Students still developing grip strength benefit most from the larger-format worksheets in the set. The wider letter guides give room for directional errors without distorting the letter shape, and thicker dotted lines are easier to track when pencil control is still unsteady. For this group, skip the independent writing row for the first week or two — the tracing rows are where productive learning happens, and adding unsupported writing too early just reinforces imprecise habits.
On-level students follow the standard format: dotted trace rows followed by one or two independent lines with baseline guides still visible. For students who are ahead, you can use letter N tracing worksheets differently — cover the dotted trace rows and have students work from the example letter alone, or ask them to add their own stroke-order numbers to a blank letter outline. That second task is more demanding than it appears: it requires students to recall and sequence the strokes rather than follow a cue, which is a genuine step toward automatic letter production.
Standard Alignment
These worksheets address CCSS.ELA-LITERACY.L.K.1a, which requires kindergarteners to print many upper- and lowercase letters. In classroom terms, this standard is active from the opening weeks of kindergarten through the first quarter, when teachers are establishing formation expectations before students begin writing words and sentences. The letter N typically appears in the middle of most kindergarten letter-introduction sequences — after straight-line letters like I, L, and T, but before more complex forms like B and R. Pre-K teachers use these worksheets as readiness preparation rather than on-level instruction, building the stroke control this standard assumes students will arrive with.
Frequently Asked Questions
What stroke order do these worksheets use for the uppercase N?
The worksheets follow the standard three-stroke sequence: a vertical line down on the left side, a diagonal from that top-left point down to the bottom-right, and a final vertical line up on the right. Each stroke is numbered and has a directional arrow. This sequence is consistent with both Handwriting Without Tears and Zaner-Bloser progressions, so it won't conflict with a school-adopted handwriting program.
My students keep forming the lowercase n too tall — it ends up looking like h. What helps?
This is a midline awareness problem, not a motor control problem. The student can usually produce the hump shape correctly — they just don't know where its ceiling is. Worksheets with a bold, clearly distinct midline give students a visible stopping point for the arch. The physical "bump my finger" technique described above corrects it quickly in the short term. Over several sessions, the midline reference internalizes and the h-for-n substitution drops off.
How many repetitions per session are actually effective?
When used daily, letter N tracing worksheets work best in short, accurate sessions. Five to eight careful traces per sitting outperform a full rushed row because muscle memory consolidates through accurate repetition, not volume. A single worksheet completed attentively is a more effective daily routine than working through several worksheets quickly. Short daily practice also outperforms one long weekly block — the motor pattern has less time to drift between sessions.
Do the worksheets include uppercase and lowercase N together?
Some worksheets in the set pair both cases for direct visual comparison, which is most useful when first introducing the letter and helping students see the contrast between the uppercase's sharp angles and the lowercase's rounded hump. Other worksheets isolate one case for focused formation practice. Teachers typically use the comparison format first, then follow with single-case worksheets for targeted reinforcement.