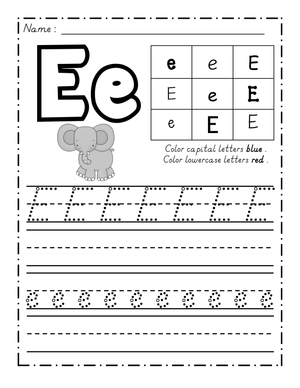
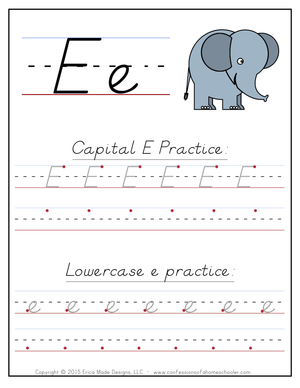
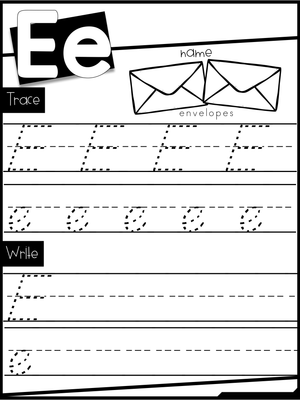
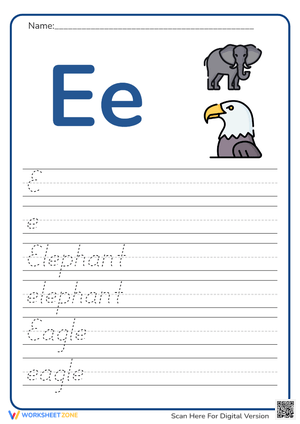
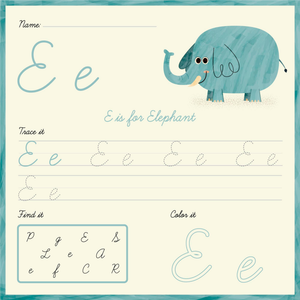
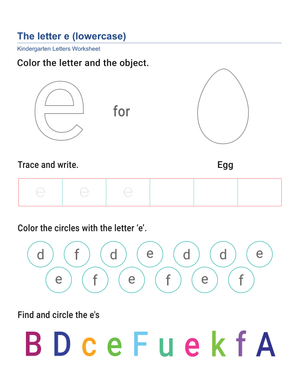
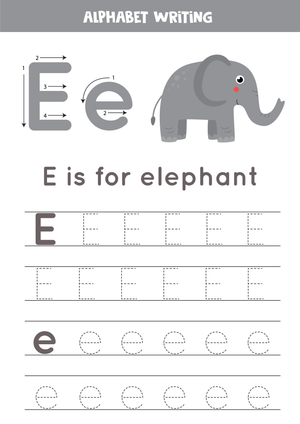
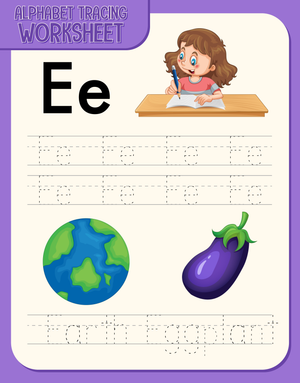
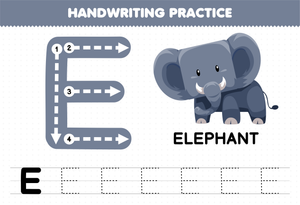
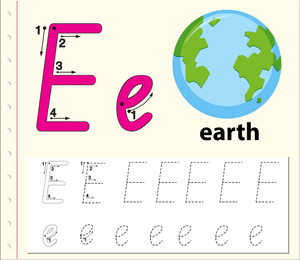
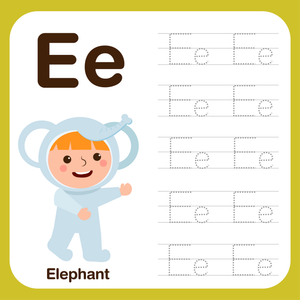
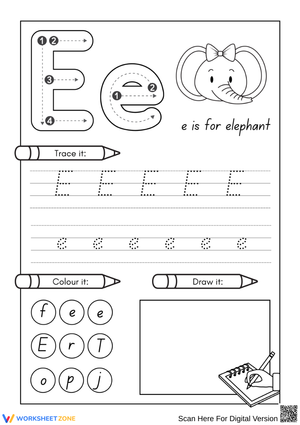
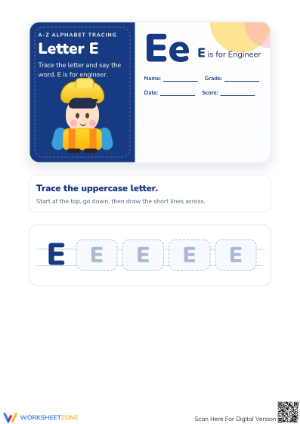
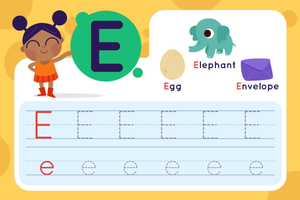
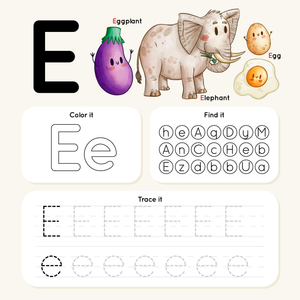
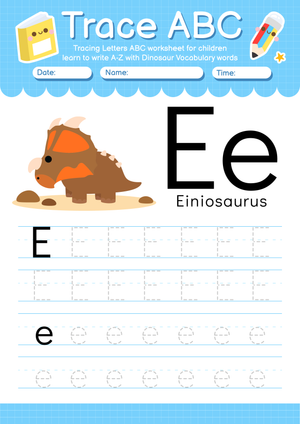
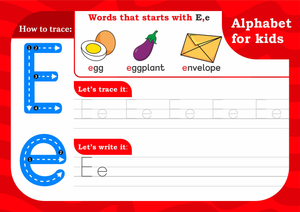
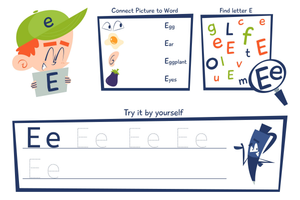
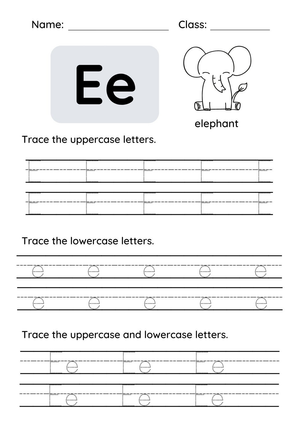
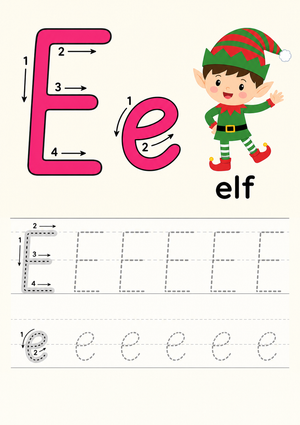
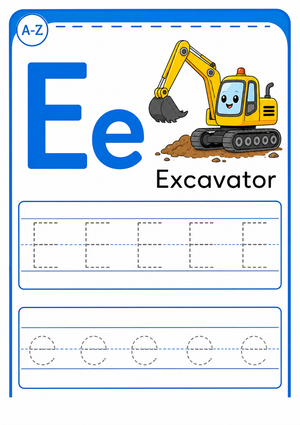
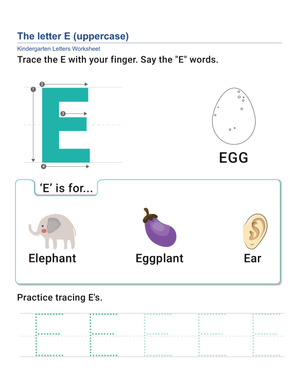
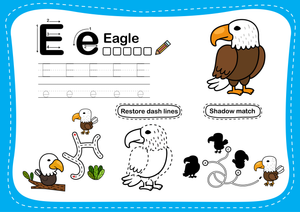
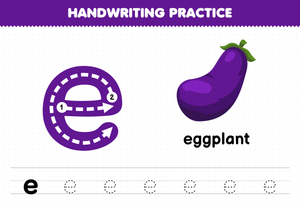
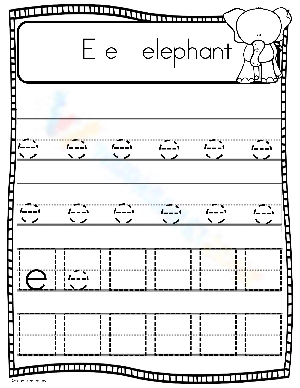
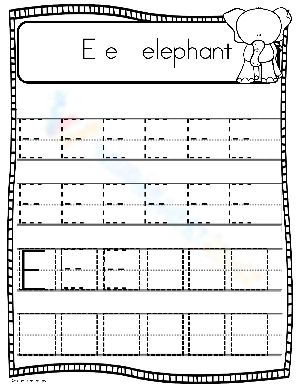
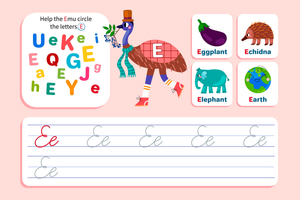
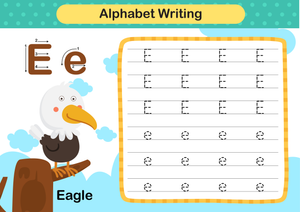
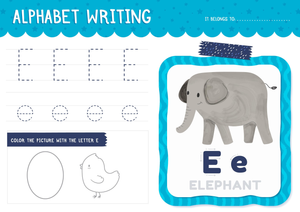
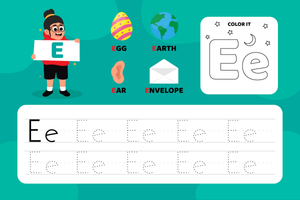
These letter E tracing worksheets give kindergarten and early first-grade teachers a focused set of resources for one of the more mechanically demanding letters in the alphabet. Both the uppercase and lowercase forms require specific stroke sequences that young writers don't absorb from simple exposure — they need structured, guided repetition. The set includes tracing activities targeting uppercase E, lowercase e, and mixed-form practice that bridges the two.
What Makes Letter E Genuinely Difficult to Form
Uppercase E is a multi-lift letter. The child draws a vertical line top to bottom, lifts the pencil, returns to the top for the first horizontal stroke, lifts again for the middle stroke, and lifts once more for the bottom. Four separate placements for one letter. Each time the pencil leaves the paper, there's a new opportunity for misalignment — the middle bar ends up floating disconnected from the vertical line, or the three horizontal strokes land at uneven heights. These aren't random errors. They appear in consistent patterns because the multi-lift sequence genuinely taxes early spatial awareness.
Lowercase e adds a different problem entirely. It opens with a short horizontal stroke that curves upward and around without lifting — but the transition from that flat entry into the upward sweep is where most children's pencils go wrong. Many start the curve too early or angle the entry stroke upward instead of keeping it horizontal, producing something that looks more like a backwards c than a recognizable e. The two forms share a name and a phonics connection but almost nothing in terms of motor execution.
Skills Covered Across the Set
Each worksheet isolates a specific aspect of letter E formation, progressing from fully supported tracing toward independent production. A letter E tracing worksheets focused narrowly on formation — rather than mixing letter E practice with the full alphabet — gives teachers cleaner data on exactly where a specific student's pencil control breaks down.
- Tracing dotted uppercase E with numbered stroke cues
- Tracing dotted lowercase e with directional arrows
- Mixed uppercase and lowercase tracing on the same worksheet
- Faded tracing — letters grow progressively lighter across the worksheet, pushing toward independent writing
- Word-level practice where students trace E and e inside simple sight words and short vowel words
- Letter identification exercises pairing tracing with circling target letters in a row
Error Patterns Worth Watching During Practice
The most consistent error with uppercase E is an off-center middle bar. Students who correctly place the top and bottom horizontal strokes will still push the middle stroke too high — closer to the top third of the letter than true center. The visual result looks like a backwards F with an extra line tacked on. Students don't self-detect this. Their eye has not yet calibrated what "center" looks like within the letter's vertical height, so you need to catch it during small-group rotations before the incorrect form gets reinforced through repetition.
For lowercase e, the entry stroke problem shows up predictably in students who learned c first. They apply the same curved entry motion to e, skipping the initial horizontal altogether. Verbal cues work better here than additional tracing passes — telling a student to "push your pencil across like you're drawing a thin shelf, then go up and around" usually corrects the motion within a session. The worksheets label the starting position clearly, giving you a reference point when redirecting during independent rotations.
Building These Worksheets Into Your Weekly Instruction
The most effective use pattern starts with direct instruction in a small group of four to six students, where you can observe pencil grip and stroke order in real time. After that initial guided session, move the worksheets to a writing center where students work through them independently. Sliding each worksheet into a dry-erase sleeve lets students practice the same sheet multiple times with a whiteboard marker before committing to pencil — a simple move that removes the anxiety of permanent marks and allows genuine repetition without burning through print copies.
Monday morning works well for introducing a fresh letter E tracing worksheets. Students settle faster with a defined task at hand, and the fine motor warm-up primes the hand for whatever writing comes later in the literacy block. The faded-tracing worksheets fit naturally on Thursday or Friday, once students have had several days of guided exposure and are ready to attempt the letter with minimal visual support. Sending a completed worksheet home on Friday with a brief note about the verbal cues — something like "big line down, back to the top, short line, short line, short line" — keeps practice consistent between school and home.
How to Adapt These Resources for Different Writers
Students who are still building grip strength do well with a thick triangular crayon or primary-size pencil instead of a standard no. 2. The tracing format stays the same — same letter, same size — but the thicker tool naturally encourages the tripod hold without constant verbal reminders. Students who finish quickly and accurately can move to the word-level tracing worksheets, where tracing E inside a word like "egg" or "elf" demands more spatial attention than tracing it in isolation.
Students who find dotted-line tracing confusing — the visual breaks in the dashed line can interrupt the intended path — benefit from the arrow-guided versions, where a continuous directional arrow replaces the dashes. This gives the eye a cleaner path to follow and reduces the stop-start hesitation common in early tracers. At the other end of the range, students approaching independent production can use the lightest faded worksheet as a minimal reference while practicing on a blank line directly below — a low-tech way to move toward independent writing without abruptly removing all visual support.
Standard Alignment
These worksheets address CCSS.ELA-LITERACY.L.K.1.A, which requires kindergartners to print many upper- and lowercase letters. In classroom terms, this standard typically activates in the first half of kindergarten, during the shift from letter recognition to letter production. The letter E tracing worksheets in this set align to that production phase specifically — students aren't just identifying the letter, they're physically forming it between the baseline and midline. That distinction matters when you're documenting progress: the observable behavior the standard calls for is production, and tracing toward independence is the clearest measurable pathway to it.
Frequently Asked Questions
When should students move from tracing to writing independently?
A reliable signal is consistent accuracy on the faded-tracing worksheet — the version where the letter is barely visible. When a student completes it without significant deviation from correct form, the motor pathway is established enough for independent attempts. Inconsistent results on the faded version mean the student still needs the visual reference; don't rush past it.
How many tracing repetitions are enough in one sitting?
Quality matters more than count. Five accurate, attentive repetitions build better retention than twenty rushed ones. Fine motor tasks tire young children faster than most adults expect. Short, focused sessions of eight to ten minutes spread across several days produce more durable results than a single long practice block.
Can these worksheets work for left-handed students?
Yes, with one practical adjustment worth making: left-handed students often hook their wrist to see what they've drawn, which distorts stroke direction. Positioning the paper with the right corner angled slightly downward — rather than square to the desk edge — reduces the hook without requiring any changes to the worksheet itself. The stroke sequence for E is the same regardless of dominant hand.