Teaching The Last Letter of The Alphabet: Letter Z Tracing
As teachers reach the end of the alphabet sequence, the arrival of the letter Z marks a significant milestone for early learners. Giving students with high-quality letter Z tracing worksheets is more than just normal handwriting exercises; it is an opportunity to refine the complex motor movements that allow children to command their writing instruments with precision. This is why targeted practice is necessary to ensure every student feels confident in their ability to produce legible and consistent letterforms.
Well-designed letter Z tracing worksheets serves as a foundational tool for small-group instruction, allowing teachers to observe individual progress and provide immediate corrective feedback as children learn to stabilize their wrists and manage pencil pressure effectively.
Guided Instruction for Uppercase Letter Z Formation
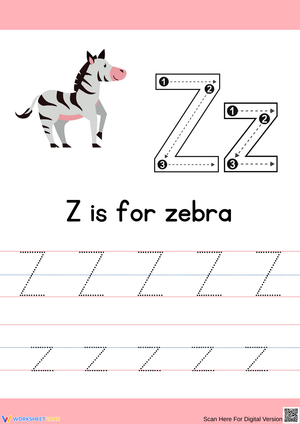
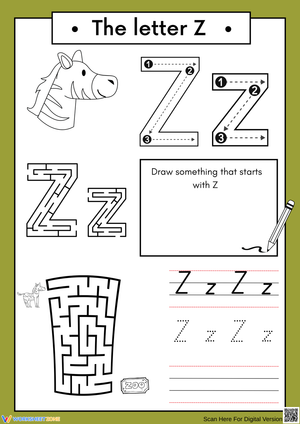
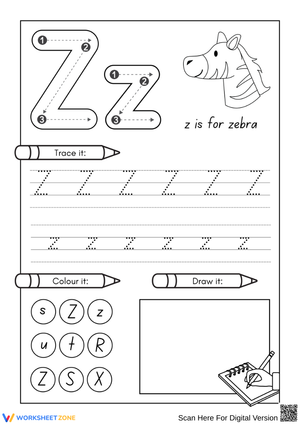
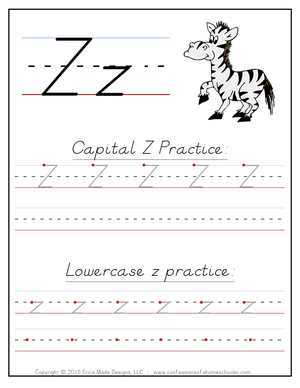
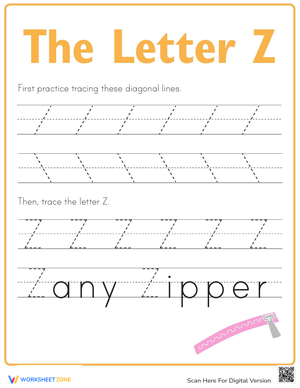
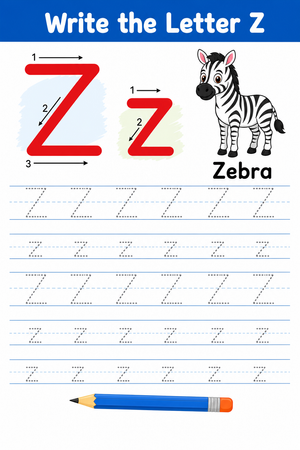
Instruction for the uppercase Z should be broken down into three distinct strokes to ensure proper formation. Teachers should encourage students to think of the letter as a series of connected movements:
- The first stroke begins at the top line, moving horizontally to the right. It is important to remind students to stop before they run out of room, keeping the letter proportional.
- The second stroke is the most challenging: a sharp diagonal line that travels from the top-right corner back down to the bottom-left. Students must be taught to maintain a straight line without curving, which requires a firm grip and steady downward pressure.
- The final stroke mirrors the first, moving horizontally to the right along the bottom baseline.
Using tracing practice worksheets allows teachers to implement a gradual release model of instruction. Initially, students can trace heavy, dotted lines that provide maximum support, gradually moving to independent practice as their skills improve.
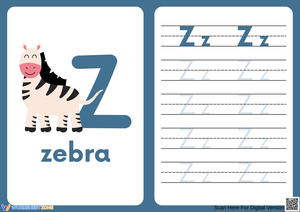
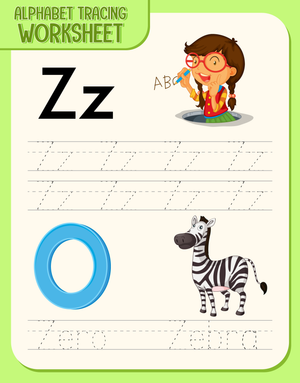
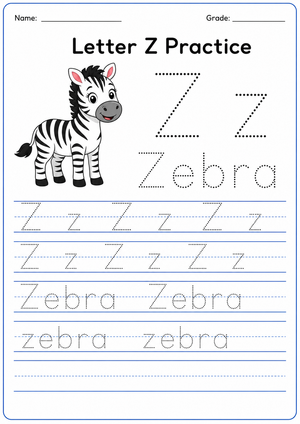
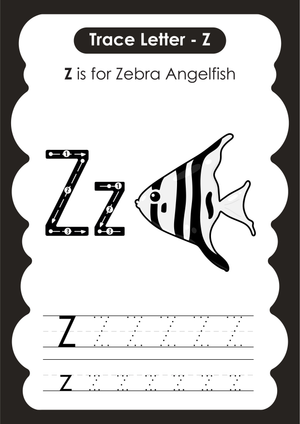
Teaching Lowercase z with Precision and Control
The lowercase z is essentially a smaller version of its uppercase counterpart, but its placement on the lines is where many students encounter difficulty. In standard US handwriting systems, the lowercase z sits entirely between the midline and the baseline. Because the space is smaller, the diagonal stroke must be even more precise. Students who have already learned the uppercase Z might try to make the lowercase version too large, or they may struggle to keep the horizontal bars straight within the smaller boundaries. A good tracing worksheet that includes both sizes helps students understand the relationship between the two and teaches them how to adjust their motor movements accordingly.
Teacher Tips for Classroom Handwriting Success
Teachers should incorporate variety into their handwriting blocks. While tracing on paper is a fundamental step, combining it with multi-sensory activities can help solidify the letter's shape in the student's mind. For example, before students pick up their pencils, they can air-write the letter Z using large arm movements. This engages larger muscle groups and helps create a mental map of the letter's angles.
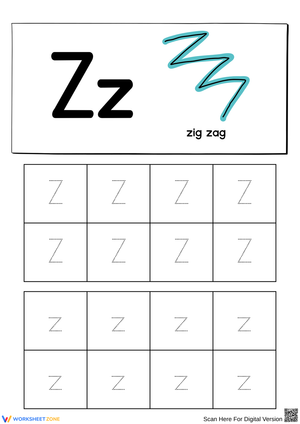
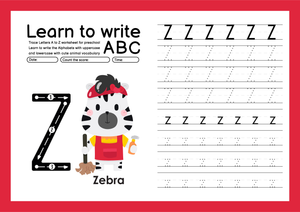
In addition, these tracing worksheet for letter Z can be easily integrated into a rotation that includes other Z-themed activities. For instance, teachers might set up a Zebra Station where students trace the letter and then color a zebra, or a Zoo Station where they find and trace the Zs in animal names. These thematic connections help make the handwriting practice feel relevant and exciting. When students see the letter Z in context, it becomes more than just a shape; it becomes a functional tool for communication. This contextual learning is especially effective for kindergarteners who are just beginning to see the world as a place filled with letters and words. Helping every child achieve handwriting mastery with confidence is the ultimate goal.
FAQ: Common Questions About Letter Z Handwriting
1. Why is the letter Z often harder for students to trace than other letters?
The letter Z is challenging because it requires a diagonal stroke, which is developmentally more difficult than vertical or horizontal lines. It also involves changing direction twice at sharp angles, requiring significant visual-motor coordination and muscle control in the hand and wrist.
2. At what point in the school year should I introduce letter Z tracing?
Most curriculum maps place the letter Z at the very end of the alphabet sequence, often in the second half of the kindergarten year. By this time, students have typically developed the fine motor strength and spatial awareness necessary to tackle the diagonal lines and sharp turns of the letter Z.
3. How many times should a student trace the letter Z before trying it independently?
While every child is different, a common recommendation is to have students trace the letter 10 to 15 times correctly before attempting it on their own. This helps build the muscle memory required for the brain to take over the movement without the need for visual guides.
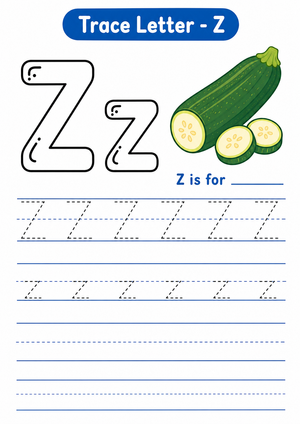
4. Is it better to use a letter Z tracing worksheets pdf or a digital tracing app?
For early learners, a printed pdf is generally superior because it provides the tactile resistance of paper, which is essential for building hand strength. Digital apps can be a fun supplement, but they do not offer the same kinesthetic feedback needed to develop real-world handwriting skills.
5. How can I help a student who keeps reversing the letter Z?
Reversals are common in kindergarten. To help, use a letter Z tracing worksheets pdf that clearly marks the starting point with a green dot and use verbal cues like 'move toward the door' to help the student remember the correct direction for each stroke of the letter.