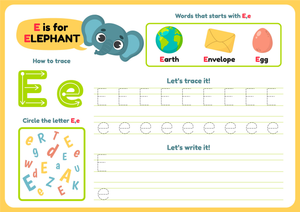
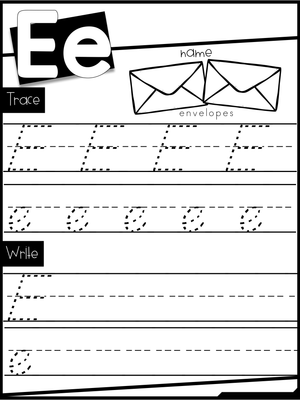
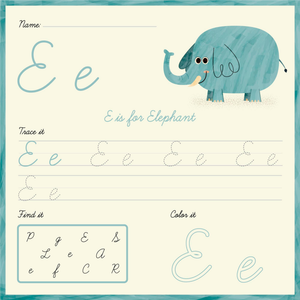
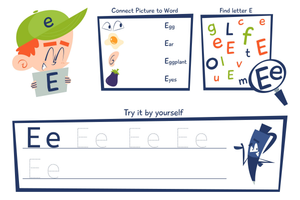
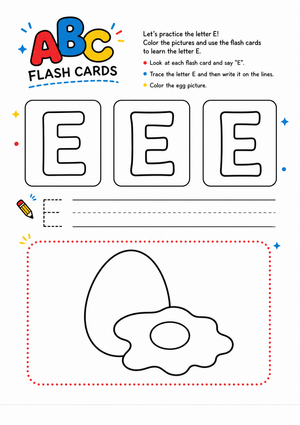
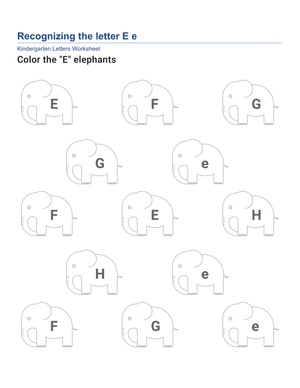
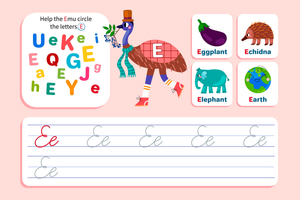
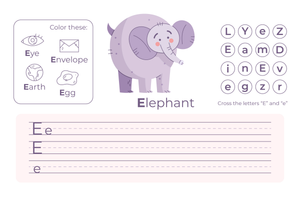
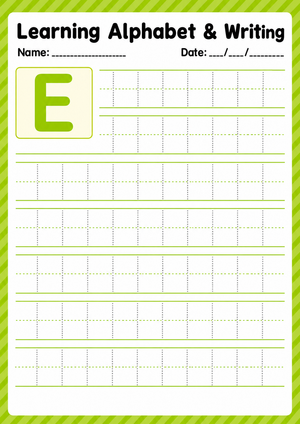
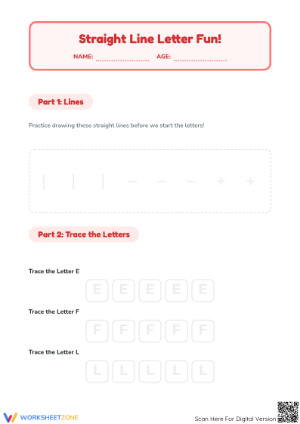
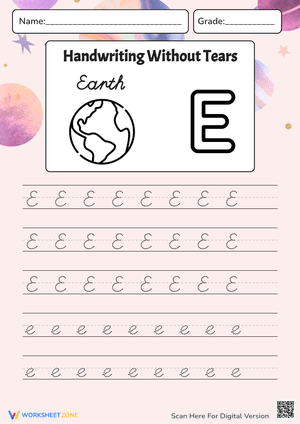
By the time students reach grade 1, most can recognize the letter E on sight, but recognition and correct formation are separate skills. Writing E requires a student to plan a starting point, sequence several strokes in order, and keep the letter anchored to a baseline, all while managing pencil grip and hand position. For many first graders, this is still developing work. A letter E handwriting worksheet gives teachers a low-prep way to isolate that single letter and watch how a student actually forms it, not just whether the finished shape looks right.
Correct Stroke Order for Uppercase E and Lowercase e
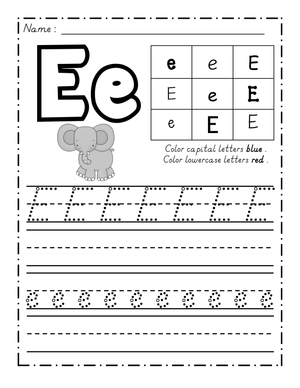
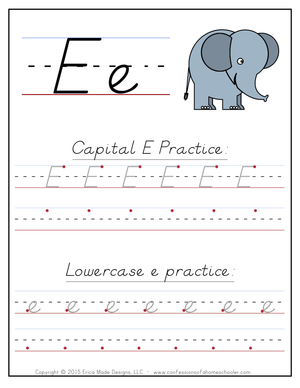
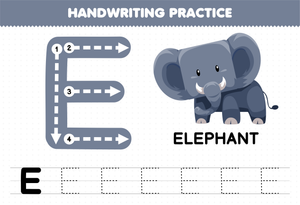
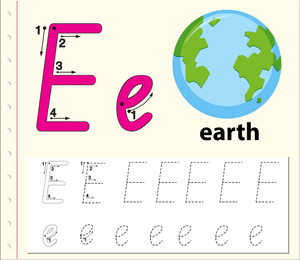
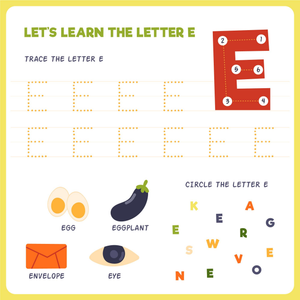
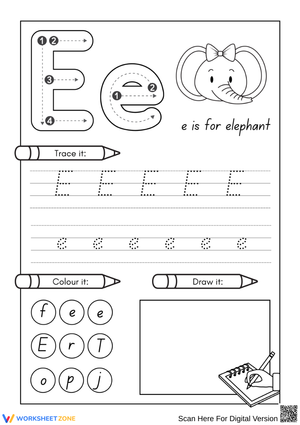
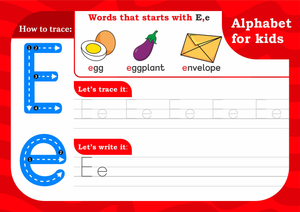
Uppercase E is typically taught with four strokes: a top-to-bottom vertical line, then three horizontal lines added top, middle, and bottom, each starting from the vertical line and moving right. Lowercase e has a different, trickier path: it starts with a small horizontal line across the middle, curves up and around, then closes into a loop that returns near the starting point. Because the two forms use almost opposite motions, grade 1 students often need explicit, separate instruction for each rather than assuming mastery of the capital transfers automatically to the lowercase form.
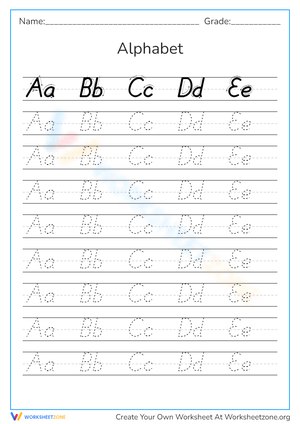
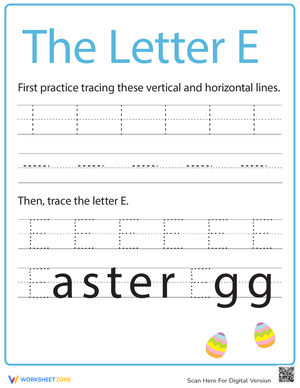
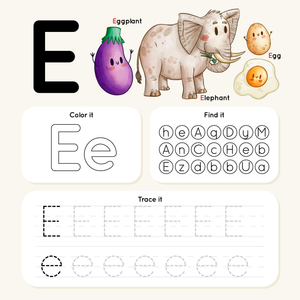
Consistent stroke sequencing, starting at the top and moving left to right, builds a motor memory pattern that eventually lets students write the letter without consciously thinking through each stroke. Worksheets with numbered arrows or dotted starting points give students a visual cue to follow that same sequence every time, which is part of why repetition on a dedicated letter E page works better than mixed handwriting drills for early learners still forming the pattern.
Building Letter E Worksheets into Daily Handwriting Routines
Letter E practice works best as a short, repeated block rather than a single long session. Many grade 1 classrooms fit handwriting into morning work, a five-to-ten-minute center rotation, or the start of a phonics block introducing short e or long e sound patterns. A simple sequence looks like this: trace three to five guided letters, write two to three independent letters while narrating the stroke order out loud, then circle the best-formed letter on the page as a self-check.
Keeping the practice short protects attention and hand fatigue, both of which affect legibility more than most teachers expect. A rushed student writing twenty repetitions in a hurry often reinforces poor habits faster than a focused student writing five careful ones. Worksheets with generous line spacing and a manageable number of repetitions per row support this pacing better than dense pages packed with dozens of tiny boxes.
Using These Worksheets In Handwriting Classess
In practice, letter E worksheets fit into a grade 1 day in a few reliable spots: a morning work bin, a handwriting center during small-group rotations, or a quick warm-up before phonics instruction on the target sound. For students who need more repetition, the same worksheet can be reused with a different colored pencil or highlighter to track improvement across a week without needing a new page each day.
Some students benefit from extra support with pencil grip or hand strength before formation improves, so keeping a few grip aids or built-up pencils on hand for a handwriting center is a practical addition, not a separate program. Teachers running small-group or pull-out time can fold a quick letter E check into that block when it directly relates to a student's ongoing formation goal, though this should stay a brief part of a broader plan rather than the center of instruction. The main goal during whole-class time stays the same for every student: watch the stroke sequence, not just the final shape, since that is what predicts whether the skill transfers to independent writing later.
Frequently Asked Questions
1. What is the correct stroke order for writing uppercase and lowercase letter E?
Uppercase E uses four strokes: a top-to-bottom vertical line, then three horizontal lines at the top, middle, and bottom, each moving left to right from the vertical. Lowercase e starts with a small horizontal line, then curves up and around into a closed loop.
2. How much daily practice time should grade 1 students spend on letter formation worksheets?
Short, frequent sessions of about five to ten minutes tend to work better than long single sessions, since attention and hand fatigue affect legibility more than total repetitions do.
3. How can teachers tell if a student needs extra fine motor support with letter E formation?
Watch for inconsistent letter size, strokes added out of sequence, letters that drift off the baseline, or a loop that never fully closes on the lowercase form, even when the overall shape looks passable.
4. Can letter E worksheets be used for small-group or intervention practice as well as whole class instruction?
Yes. The same worksheet works for whole-class warm-ups and for a brief formation check during small-group time, as long as it stays tied to a specific formation goal rather than becoming the entire lesson.
5. What are simple multisensory activities to reinforce letter E formation beyond worksheets?
Sky-writing the letter in the air, tracing it in sand or shaving cream, and saying the stroke sequence out loud while writing all reinforce the same motor pattern through a different sense.