Why Cursive M Handwriting Deserves Its Own Worksheet
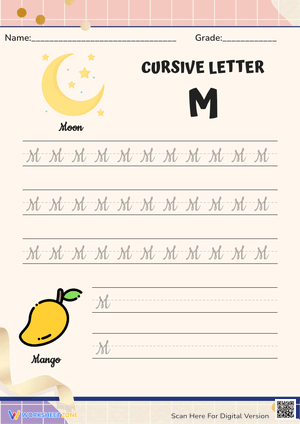
If you teach cursive in a US elementary classroom, you already know the letter M trips students up more than almost any other lowercase form. Both the uppercase and lowercase cursive M ask young writers to hold the pencil down through several humps without lifting, and that continuous motion is exactly where slant, spacing, and letter height start to fall apart. A dedicated cursive M worksheet gives students a controlled space to repeat that motion until it becomes automatic, instead of hoping the letter clicks during a busy sentence-copying task.
Cursive M practice also lands at a specific point in most handwriting sequences. Third grade is the common entry point for cursive in the US, so the letter shows up right when students are still building stamina and pencil control. Treating M as a focused mini-lesson, rather than one line in a full-alphabet packet, gives you room to model the stroke, watch for errors, and reteach before bad habits set in.
Uppercase vs. Lowercase Cursive M Stroke Breakdown
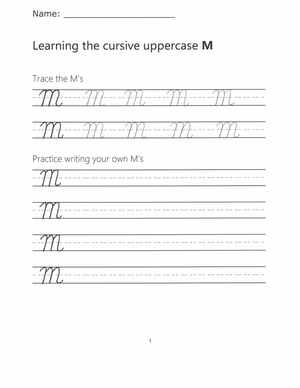
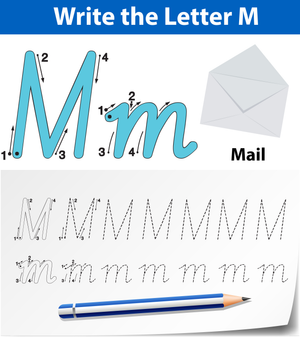
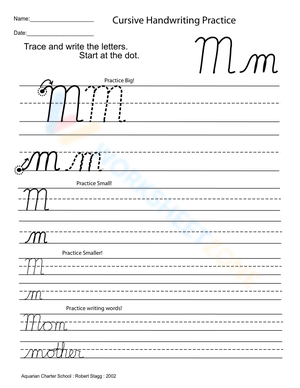
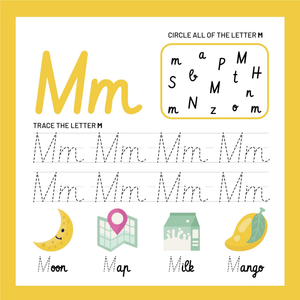
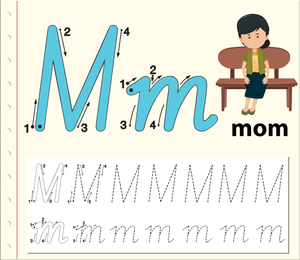
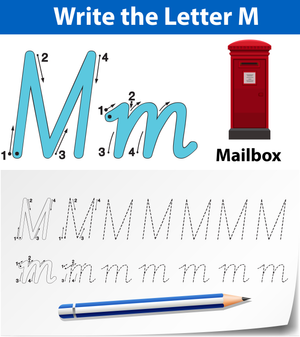
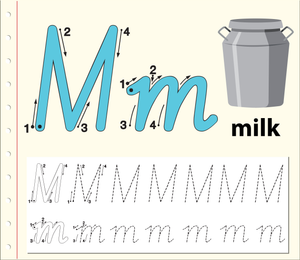
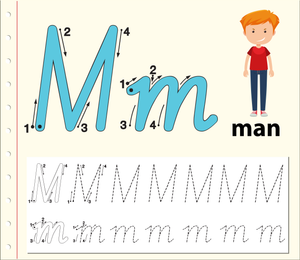
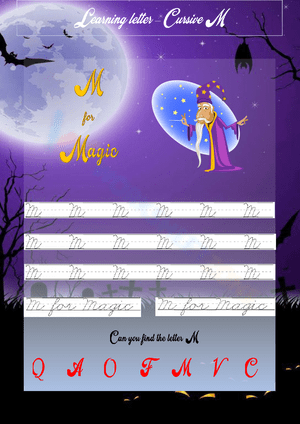
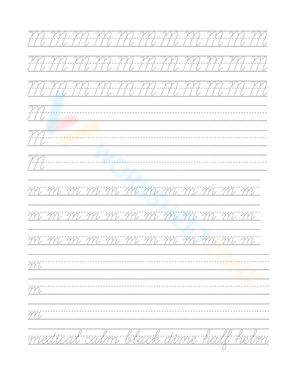
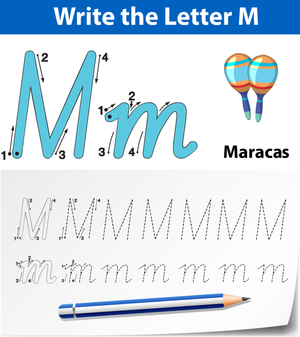
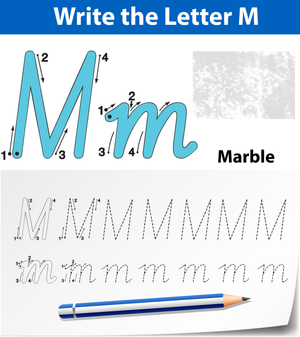
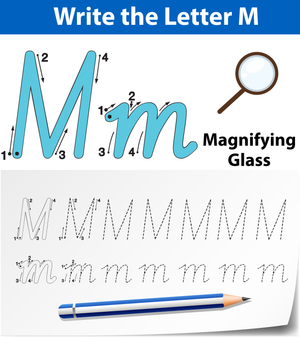
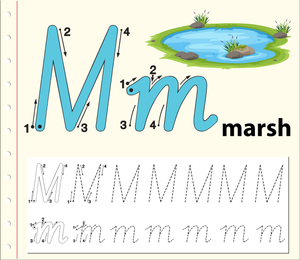
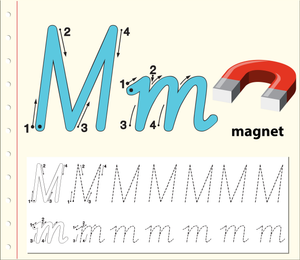
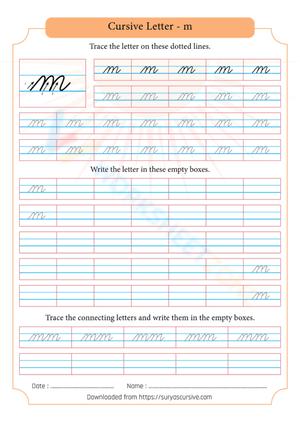
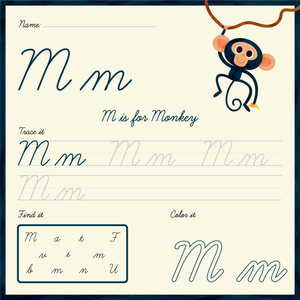
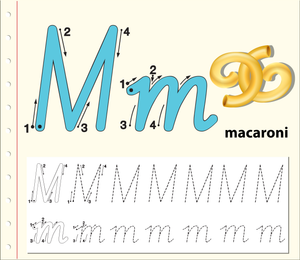
The lowercase cursive m starts with an upstroke from the baseline, curves over into the first hump, comes back down to the baseline, repeats for the second hump, and finishes with a connector stroke that swings up toward the next letter. The three points of contact with the baseline are what students most often lose. Rushed writers round the whole letter into a single blob or drop a hump entirely, turning m into n.
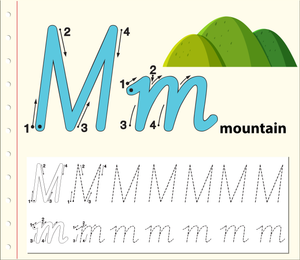
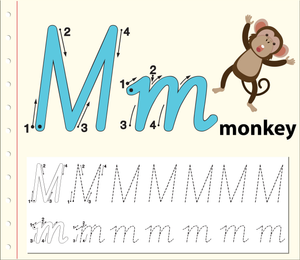
The uppercase cursive M is a taller, more decorative form. It begins with a small starting loop at the top line, drops into the first tall peak, dips, rises into the second peak, and ends with a downstroke and a small tail. Because the capital reaches full letter height, uneven peaks are the most visible flaw. Point students toward keeping both peaks the same height and landing the final tail on the baseline so the next letter connects cleanly.
Here is the pattern experienced handwriting teachers notice: students who struggle with cursive M almost never have a hump problem first. They have a rhythm problem. When you count the strokes aloud as a steady beat while students trace, the humps even out on their own, because the letter is really a repeated motion, not a shape to be drawn. Timing the trace to a slow, spoken count often fixes height and spacing faster than any amount of visual correction.
Classroom Implementation
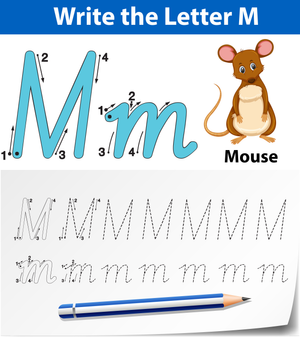
The most reliable way to use a cursive M worksheet is as a short, predictable warm-up rather than a long packet. A five-minute morning-work slot or the first few minutes of your literacy block gives students daily repetition without eating instructional time. Model the letter once on the board, trace it in the air together, then release students to the worksheet while you circulate.
For small-group intervention, pull the students who reversed or collapsed the letter during whole-class practice and reteach the stroke count with them directly. Keep the same worksheet so struggling writers see a familiar page instead of a new format each day. Consistency of layout lowers the cognitive load and lets students focus on the motion.
The Iowa Reading Research Center reported in 2024 that early-elementary students who received sustained print instruction in grades 1-2 before starting cursive outperformed peers on split print and cursive schedules. The practical takeaway: introduce cursive M only after print letter formation is fluent, so students are not juggling two motor patterns at once.
Assessing Cursive M Mastery
Keep assessment simple and visible. A short legibility checklist works better than a letter grade: are both humps present, is the letter height consistent, does the slant match the rest of the line, and does the final connector reach the next letter? Have students self-check against those four points before you review.
Track the connector stroke specifically. A well-formed M that does not join the following letter still breaks the flow of a cursive word, so mastery means the letter works inside a word, not just alone. When a student hits all four checkpoints across several words, move them off the M worksheet and into mixed practice.
Frequently Asked Questions
1. How do teachers introduce cursive M to students who have never written cursive?
Start with the motion, not the page. Model the letter big on the board, name each stroke, and have students trace it in the air and on their desks before touching the worksheet. That air-tracing builds the muscle memory that makes the printed practice go faster.
2. What is the difference between uppercase and lowercase cursive M?
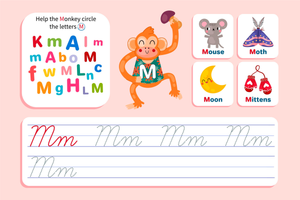
Lowercase m has two humps sitting at midline height and stays small, while uppercase M is a tall, two-peaked capital that reaches full letter height and ends in a small tail. Both use a continuous motion, but the capital is the taller, more decorative form.
3. How much daily cursive practice do elementary students need?
Short and frequent beats long and occasional. Five to ten focused minutes a day, built into morning work or the start of your literacy block, gives students the repetition they need without draining a full lesson block.
4. How can I help students who reverse or collapse the cursive M?
Slow the motion and count the strokes aloud as a steady beat while they trace. Reversals and collapsed humps are usually rhythm and pacing problems, so guided tracing with dotted lines and a spoken count tends to fix them faster than repeated visual correction.
5. At what grade should cursive M instruction begin?
Most US schools introduce cursive in 3rd grade, though some states start in 2nd, with proficiency often expected by the end of 5th grade. Introduce M once students have fluent print formation, so they are not managing two motor patterns at the same time.