What cursive P handwriting worksheets actually build
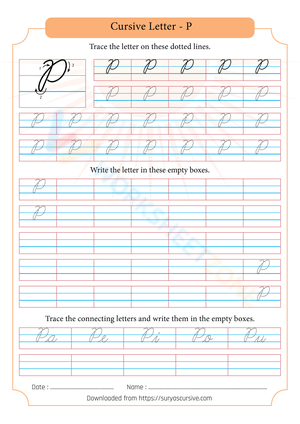
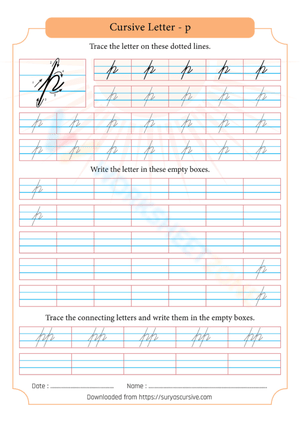
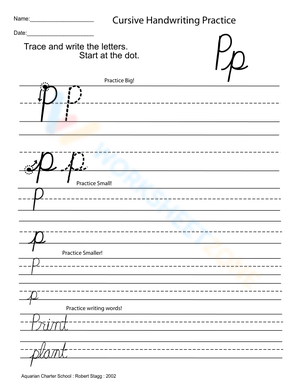
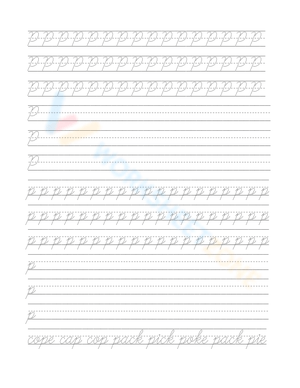
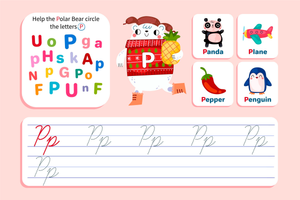
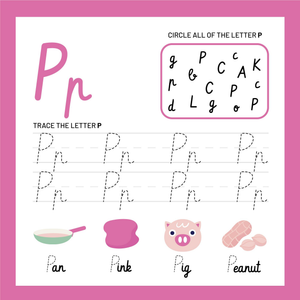
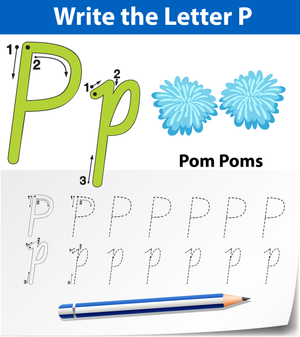
Cursive P worksheets isolate one of the trickier letter pairs in the cursive alphabet so students can practice the capital and lowercase forms until the motion feels automatic. Instead of asking a class to copy a full sentence, these pages break the letter down into repeated tracing lines, dotted guides, and blank practice rows. That structure matters because the cursive capital P and the lowercase p use different starting points and different exit strokes, and students who blur the two tend to build habits that are hard to correct later.
For US teachers, the goal is muscle memory. A worksheet that repeats the same stroke pattern a dozen times gives the hand a chance to learn the path before the letter has to connect into a word. Use these pages as a focused warm-up, a small-group station, or an intervention tool rather than a one-and-done assignment.
Forming the cursive capital P step by step
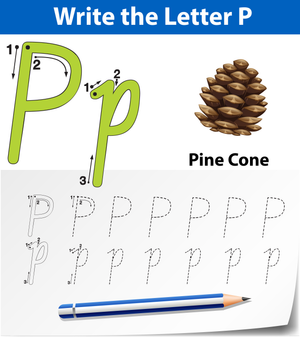
The capital P is a retrace letter, which trips up a lot of students. Start at the top line and pull a straight stroke down to the baseline. Without lifting, retrace that same line back up to the top. From the top, curve a half-loop out to the right and bring it down to the midline, closing the bowl against the stem.
Here is the detail most worksheets skip: because the cursive capital P finishes at the midline rather than the baseline, it does not connect directly to the next letter the way lowercase cursive does. Students need an extended exit stroke or a deliberate lift, and teachers who explain this up front prevent the common error of a P that crashes into the following letter. Flag this on the worksheet so students expect the break instead of forcing a connection.
Forming the lowercase cursive p
The lowercase p is friendlier for young hands. Start at the midline, drop a straight line down below the baseline into the descender space, then retrace up and add a small rounded bowl that closes back at the baseline. The exit stroke carries forward at the baseline, so unlike the capital, the lowercase p connects naturally into the next letter. Worksheets that show the descender guideline help students keep the tail the right length instead of letting it float or dig too deep. Because the lowercase p sits low on the line, remind students to keep the bowl round and closed rather than pointed, which keeps it from looking like a stray loop.
Using these worksheets in real classes
Treat cursive P as a short, repeated routine rather than a full lesson. A five-minute warm-up at the start of handwriting block works well: model the capital P on the board, have students air-trace the retrace stroke, then move to the worksheet's dotted rows before the blank rows.
- Model first. Form the letter while narrating each stroke down, retrace, curve to the midline so students hear the sequence as they watch.
- Trace to independent. Have students complete the traced rows, then cover the models and write two or three on their own.
- Pair with connectors. Once the lowercase p is steady, practice it inside short words like pen, pot, and plan so students feel the connecting exit stroke.
- Space the practice. Three short sessions across a week beat one long copying drill for building motor memory.
If you run handwriting as a station, keep a small stack of P pages at different levels heavy tracing, light dotted guides, and blank lined rows so students move to the next tier as their formation improves without waiting for the whole group.
Frequently Asked Questions
1. What grade level introduces the cursive capital P and lowercase p?
Most US classrooms introduce individual cursive letters in grades 2 and 3, with connected words and sentences following in grades 4 and 5. Several states require cursive proficiency by the end of grade 3, so the capital and lowercase p usually appear early in the letter sequence.
2. How many repetitions should students do before moving to connected words?
There's no fixed number, but short, spaced practice works better than one long drill. Many teachers aim for a few dozen accurate repetitions across several sessions, then move to connected words once the letter's starting point and proportion look consistent.
3. Why doesn't the cursive capital P connect to the next letter?
The capital P finishes at the midline instead of the baseline, so it has no natural exit stroke at the connecting line. Teach students to add an extended exit stroke or a clean lift so the next letter starts fresh instead of colliding with the P.
4. Which cursive style should the worksheet match?
Match the worksheet to your school's adopted style. D'Nealian is the most common cursive style taught in US schools because of its simpler letter forms, so if your curriculum uses it, choose P pages that follow the same shapes to avoid confusing students.
5. Can these worksheets support handwriting intervention or IEP goals?
Yes. The isolated-letter format is easy to measure, so you can track the percentage of correctly formed P's across sessions and tie it to a specific, observable goal. Larger guidelines and reduced repetitions per row help students who need extra motor support.