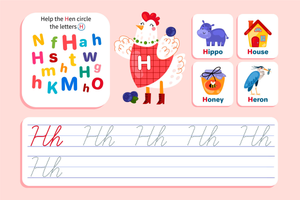
Why Cursive H Handwriting Worksheets?
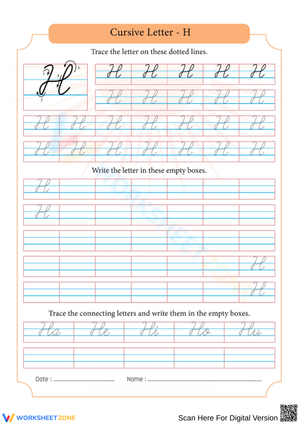
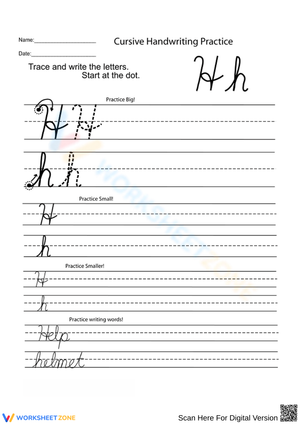
Ask any third-grade teacher which cursive letters cause the most eraser marks, and the letter H usually makes the list. Both the lowercase h and the capital H ask students to combine strokes they've practiced separately: an ascender loop, an n-shaped body, slanted parallel lines, and a connecting tail. Cursive h worksheets give you a focused way to isolate that letter, model the stroke order, and hand students enough repetition to build muscle memory before you move on to connected words.
This guide walks through how to use cursive H practice sheets in a US classroom: the formation steps for both cases, where the letter fits in your state's handwriting expectations, and how to adapt the same page for review, intervention, or enrichment.
Why Letter H Handwriting Trips Students Up
Simpler letters like n and m live entirely in the midline space and repeat one basic hump. Letter H asks for more. Lowercase h starts with a tall ascender loop that climbs to the top line, then drops into an n-shaped body with a short curved tail. Students who rush the loop end up with a shape that reads like li or a wobbly b. The capital H is a different challenge: two tall slanted strokes joined by a midline loop, with nothing touching until that loop swings across.
Because the letter borrows from several earlier lessons, it works best as a review-and-combine target rather than a brand-new skill. A worksheet that shows the numbered stroke path lets students see how familiar pieces fit together, which cuts down on the guesswork that produces sloppy letters.
Stroke-by-Stroke: Lowercase Cursive h
Teach lowercase h right after students are comfortable with cursive n, since the body of the letter is essentially an n. Model these steps on the board or a document camera while students trace:
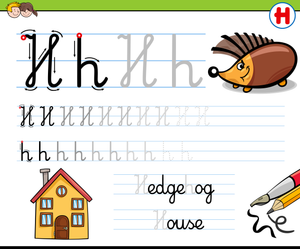
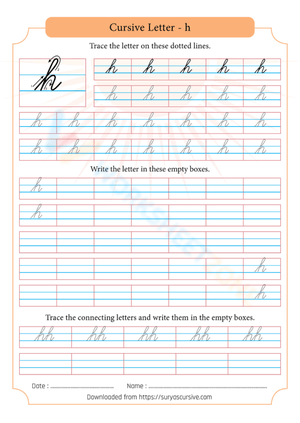
- Start at the baseline and swing up to the top line, forming a tall, narrow ascender loop.
- Come back down the same line to the baseline, keeping the loop thin.
- Without lifting, push up into a rounded n-shaped body that reaches the midline.
- Curve down to the baseline and finish with a small tail that flicks right, ready to connect to the next letter.
The most common fix at this stage is loop width. Remind students the ascender loop should stay skinny; wide loops eat into the space the body needs and make the whole word look cramped.
Stroke-by-Stroke: Capital Cursive H
Capital cursive H rarely connects to the letter after it, which actually simplifies the teaching. It stands as a two-stroke shape:
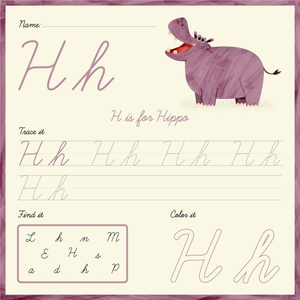
- Draw the first tall stroke as a slanted line from the top line down to the baseline, adding a small starting cane at the top if your handwriting program uses one.
- Lift, then form the second parallel slanted stroke a short distance to the right.
- Add the connecting loop across the middle: swing left to touch the first stroke, then flick out to the right for a small tail.
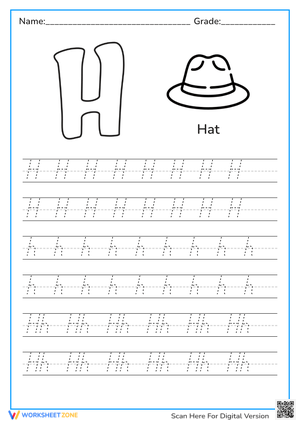
Because the capital form shows up mostly at the start of names and sentences, students get less daily practice with it. A worksheet with several capital H repetitions per line helps close that gap.
Using These Letter H Cursive Handwriting Worksheets In Fine Motor Practice Sessions
Worksheets work best inside a short, repeatable routine rather than as a stand-alone packet. A few moves that hold up across a week of practice:
- Model first, then trace. Write the letter large on a whiteboard, narrating each stroke, before students touch the page.
- Use a formation rhyme. A short chant like loop up tall, hump back down gives students a verbal cue they can repeat under their breath.
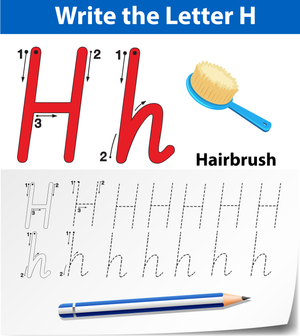
- Build an anchor chart. Post a numbered-stroke H where students can glance up during independent work.
- Pair H with connecting letters. Once the single letter is steady, move to short words like hat, hen, and hill so students practice the exit stroke in context.
Keep sessions short. Five to ten focused minutes a day beats one long handwriting block, and it leaves room to spot students who need a closer look.
Frequently Asked Questions
1. What grade level is best for introducing cursive letter H?
Most US classrooms introduce cursive letter formation, including H, around third or fourth grade. That timing lines up with the grade-level cursive expectations several states have written into law, so grade 3-4 is a safe target for both lowercase h and capital H.
2. How is lowercase cursive h different from capital cursive H?
Lowercase h is one continuous motion: a tall ascender loop, an n-shaped body, and a small connecting tail. Capital H is a two-stroke letter, two slanted parallel lines joined by a midline loop that swings left and flicks right, and it usually doesn't connect to the next letter.
3. How can teachers use cursive H worksheets for struggling writers?
For intervention, slow the pace and shrink the load: use larger letter frames, add highlighted start dots, and cut the number of repetitions so each one gets full attention. Group h with other ascender letters like l, b, and k so one mini-lesson targets the shared tall-loop stroke.
4. Do state cursive requirements affect when letter H should be taught?
Yes. With at least 24 states now requiring cursive, and grade-specific deadlines in states like Alabama, Florida, and California, the letter usually needs to be mastered by the end of third or fourth grade. Check your state's exact timeline and back-plan your handwriting sequence from there.
5. What classroom routines help students retain cursive H formation?
Short daily practice wins. Combine teacher modeling, a formation rhyme, a posted anchor chart, and a few minutes of worksheet tracing, then move quickly into short H-words so students apply the exit stroke in real writing rather than isolated drill.