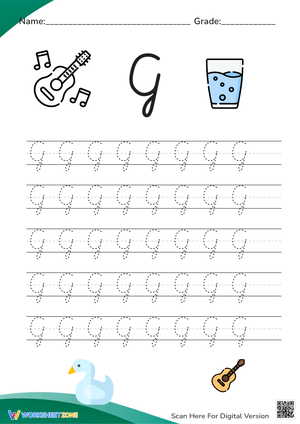
Why Lowercase Cursive g Trips Students Up
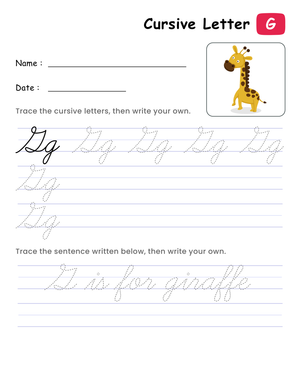
If you teach cursive in grades 2 through 4, you already know that a handful of letters cause most of the erasing, and lowercase g sits near the top of that list. It asks students to do two things at once: close a rounded oval at the midline, then drop a controlled loop below the baseline. Neither move is difficult on its own, but chaining them into one smooth motion takes practice, and that is exactly what targeted cursive g worksheets are built to provide.
The trouble usually starts with the descender. Students who have spent weeks writing letters that stay between the baseline and midline suddenly have to reverse direction and travel into the space below the line. Without clear models and steady repetition, the loop comes out cramped, backward, or floating in the wrong place. A worksheet that isolates this one letter gives students room to fix the motion before it becomes a habit.
How to Form Lowercase Cursive g Step by Step
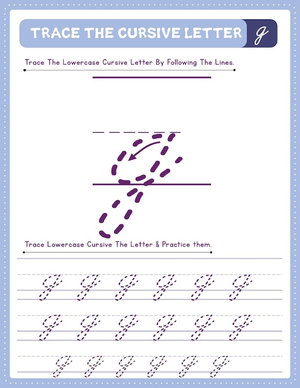
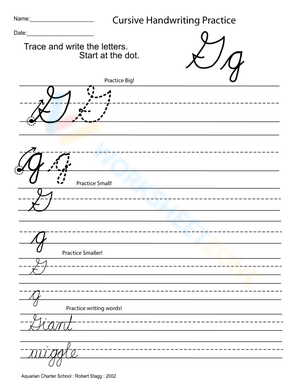
Break the letter into two familiar parts and students stop treating it as something brand new. Lowercase cursive g begins exactly like cursive a: an oval that rounds up, over, and back down to close at the midline. From there, only the descender is new territory.
- Start just below the midline and curve up and to the left to open the oval.
- Round the top, come down the left side, and seal the oval where you began.
- Drop straight down past the baseline to form the descender.
- Loop back up and to the right, crossing the downstroke right at the baseline.
- Exit toward the midline so the letter is ready to connect to the next one.
The two make-or-break details are sealing the oval before you descend and crossing the loop at the baseline, not above or below it. Guides like Cursive Workshop describe the same oval-plus-loop pattern, which makes it easy to keep your classroom language consistent with the models students may see elsewhere.
Common Cursive g Errors and Quick Fixes
Most cursive g problems fall into three predictable buckets. Naming them out loud turns vague student frustration into a specific fix each writer can practice.
- Unsealed oval: the letter looks like a u with a tail because the top never closed. Cue students to touch the midline before dropping down.
- Cramped descender: the loop is too short or too narrow. Have students match the loop depth to the ruled line below the baseline.
- Misplaced crossing: the exit stroke crosses too high or too low. Point to the baseline and call it the meeting spot for both strokes.
Here is the detail most worksheets skip: the descender loop should drop below the baseline about the same distance as the letter's x-height, so it mirrors the space above the line. On standard ruled paper, that means the loop reaches roughly to the next line down. When students use that built-in ruler instead of eyeballing it, descender height becomes self-correcting, and their g, y, and j loops finally start to match.
Using These Cursive g Worksheets In Handwriting Sessions
Cursive g works best as a short, focused block rather than a full period. A ten-minute rotation keeps hands warm without wearing out young writers, and it fits neatly into a morning routine. Consistency beats intensity here; a few strong minutes every day outperforms one long, tiring session each week.
- Model the letter once on the board, narrating each stroke as you go.
- Give students three to five air-writing repetitions before pencils touch paper.
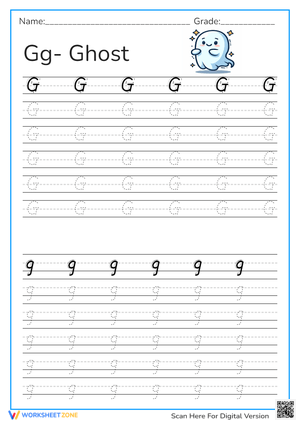
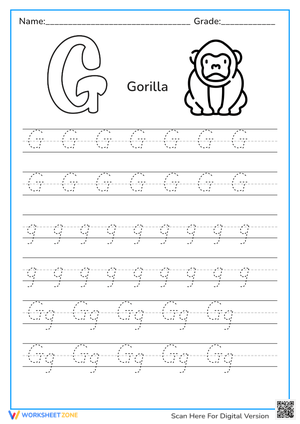
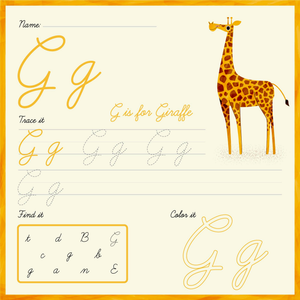
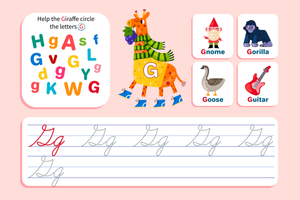
- Move from traceable models to faded guides to blank lines on the same page.
- For small groups, coach one stroke at a time; for fast finishers, add a word challenge.
Keep finished worksheets in a handwriting folder so you and your students can watch the loop improve across the week. That running record also makes it obvious which writers need a small-group pull the next day.
Frequently Asked Questions
1. What grade level usually introduces cursive g worksheets?
Most US classrooms introduce cursive in grades 2 and 3, with review and fluency work continuing into grade 4. Cursive g usually appears after students have learned the oval-based letters such as a, c, and d, since it reuses that same oval shape.
2. Why is the cursive g descender loop so hard for students?
The loop reverses direction and drops below the baseline, a move students rarely make with earlier letters. It also has to cross itself at exactly the right height, so small errors in timing or pressure show up clearly. Slow, modeled practice fixes most of it.
3. How many cursive g repetitions should students do before writing words?
A practical target is one to two rows of clean, self-checked letters, roughly ten to fifteen solid repetitions, before connecting g into words. Quality matters more than quantity, so ten careful letters beat a full page of rushed ones.
4. Are cursive g worksheets useful for occupational therapy or fine-motor work?
Yes. The oval-plus-descender motion builds controlled curves, direction changes, and midline crossing, which are all common fine-motor goals. Interventionists often use the same worksheets a classroom teacher would, just with more repetitions and closer one-on-one coaching.
5. How can I tell if a student's cursive g needs remediation or just more time?
Watch for patterns. A consistent error, like never sealing the oval, points to a formation misunderstanding that needs reteaching. Scattered, inconsistent slips usually mean the student understands the letter and simply needs more supervised practice time.