Tree life cycle worksheets give teachers a flexible science routine
When teachers search for life cycle of a tree worksheets, they usually need more than a single printable. They need a set of activities that can introduce stages, review vocabulary, and check whether students understand how trees change over time. The Worksheetzone page is useful for that planning because its worksheet previews span several grade bands, including KG-3, 2nd-5th, and 6th-12th.
That range makes tree life cycle lessons easier to reuse across a school year. In primary grades, the focus can stay on picture order and simple stage names. In upper elementary, teachers can ask students to compare stages and explain reproduction. In middle and secondary classes, the worksheet can become a quick review before deeper discussion about seed dispersal, decomposition, and forest systems.
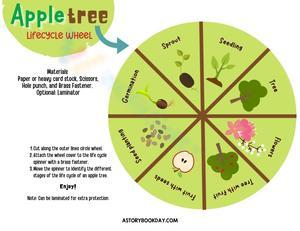
The topic also fits many classroom formats. A sequencing page works for whole-group introduction, a labeling page fits independent practice, and a cut-and-paste task supports centers or intervention. Because the same five-stage model can be revisited with different demands, teachers can keep the science concept stable while increasing rigor.
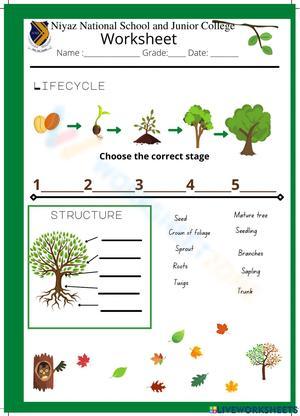
The 5 stages students should know first
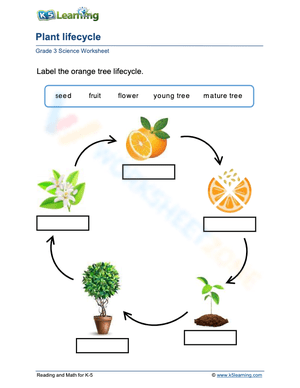
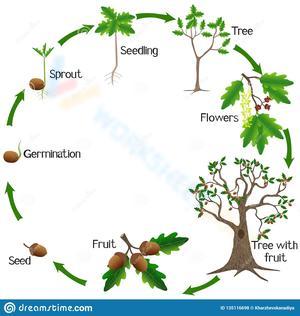
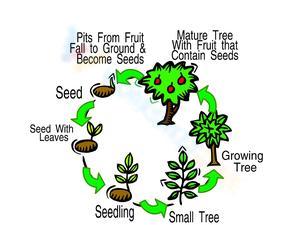
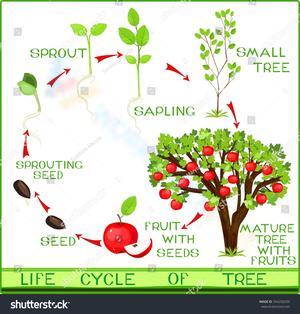
The National Forest Foundation presents the lifecycle of a tree as a 5-stage progression from seed to seedling to sapling to mature tree and then decay. For teachers, that numbered sequence is useful because it lines up directly with diagram labels, sorting cards, and quick formative checks.
The seed stage begins the cycle. The seedling stage shows the first fragile growth after germination. A sapling is a young tree that is larger and more established but not yet fully mature. The mature tree stage is when reproduction happens through flowers or fruit and seed dispersal. The decay or snag stage matters because dead trees still return nutrients to the soil and support wildlife.
Worksheet types can target different science skills
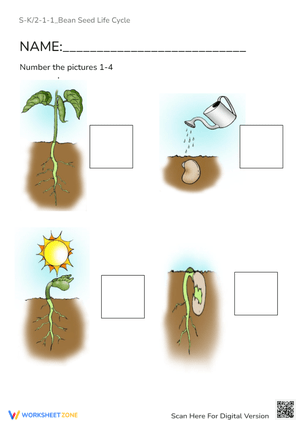
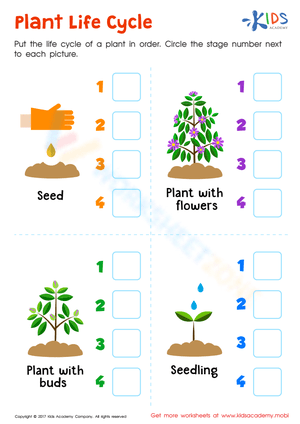
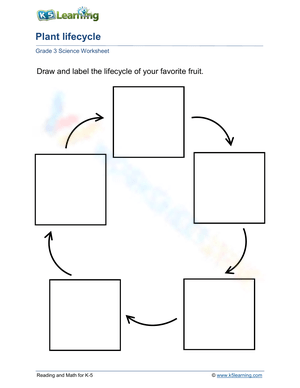
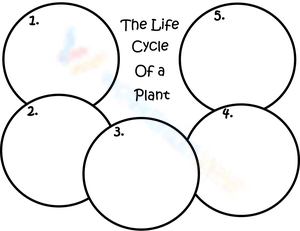
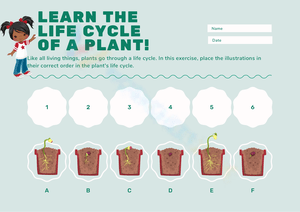
Sequencing worksheets are often the strongest starting point because they help students see change over time. Students place stages in order and explain what happens before or after a stage. That supports oral retelling and cause-and-effect language, which is especially useful when students can recognize pictures but still need help naming the science idea clearly.
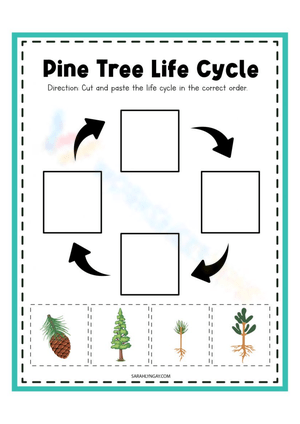
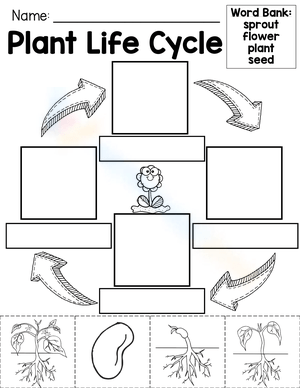
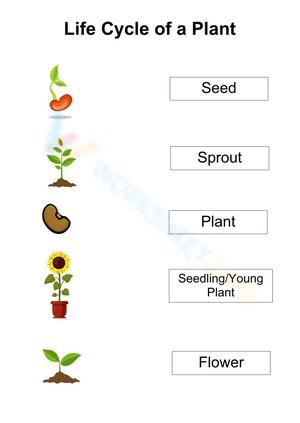
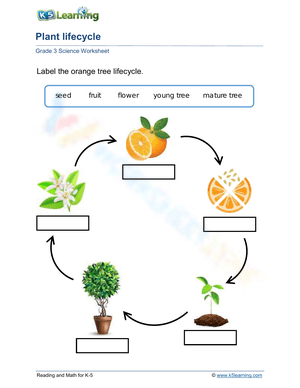
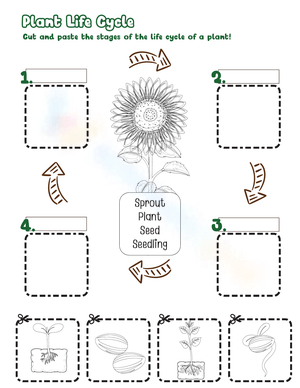
Labeling worksheets are better when the goal is vocabulary precision. Students must connect each picture to the correct term instead of relying on a broad idea like "small tree" or "big tree." Cut-and-paste activities add another layer because students have to compare images carefully before choosing the order. That slows the task down in a productive way.
- Sequencing worksheets check process understanding.
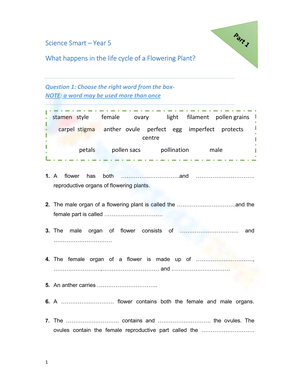
- Labeling worksheets build accurate stage vocabulary.
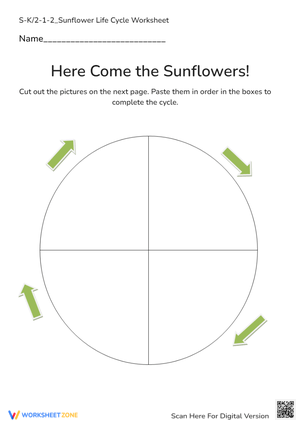
- Cut-and-paste pages support visual comparison and ordering.
- Coloring or matching tasks give emerging readers an accessible way into the content.
Using two or three formats across a short unit gives students repeated exposure without making the lesson feel repetitive. It also helps teachers spot whether confusion comes from the science concept itself or from reading and writing demands built into the task.
Grade-band planning keeps the topic useful from KG-3 to 6th-12th
In KG-3, teachers usually get the best results by focusing on naming stages, noticing visible change, and putting pictures in order. Students at this level benefit from short directions, strong visuals, and repeated oral practice. A simple prompt such as "Which stage comes next?" can be enough to prepare them for a sequencing worksheet.
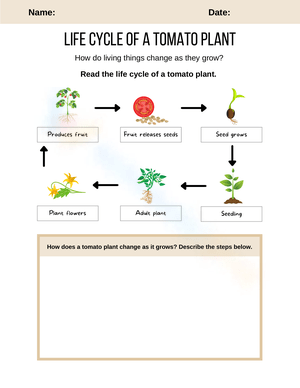
In grades 2-5, life cycle of a tree worksheets can move beyond recognition. Students can explain the difference between a seedling and a sapling, identify the mature tree as the reproductive stage, and describe how seeds begin a new cycle. Short written responses become more useful here because they reveal whether students understand the process or are only memorizing image order.
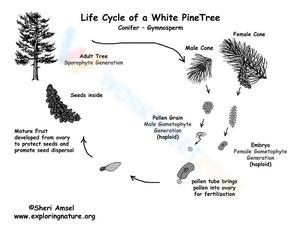
By 6th-12th grade, the worksheet works best as a compact organizer. Older students can complete a diagram or quick review page, then move into discussion about habitat, decomposition, and nutrient cycling. That keeps the printable relevant without reducing the lesson to a simple elementary review.
A useful planning provided by Worksheetzone is that the same topic appears across 3 preview grade bands: KG-3, 2nd-5th, and 6th-12th. That suggests a spiraled approach. Teachers can revisit the same five-stage sequence over several years, moving from picture order to reproduction, decomposition, and ecosystem reasoning.
Classroom Implementation
These worksheets work best when they sit inside a short lesson sequence rather than replacing instruction. Start by introducing the five stages with visuals and clear vocabulary. Then assign one printable that matches the goal of the day. Finish by asking students to justify at least one answer aloud or in writing. That final explanation step is where misconceptions usually appear.
A practical sequence is introduction, worksheet, and discussion. For example, a teacher might model the order of the stages, hand out a cut-and-paste page, and then ask partners to explain why a mature tree comes before seed dispersal. In another class, a labeling page might serve as an exit ticket after a lesson on plant reproduction. The format is flexible, but the worksheet should always be tied to a clear science target.
- Use sequencing pages for first exposure to the concept.
- Use labeling sheets for review or exit tickets.
- Use cut-and-paste pages in centers or intervention groups.
- Use sentence frames with the worksheet when students need language support.
Tree life cycle worksheets are also efficient for small-group reteaching. A teacher can revisit one confusing stage, compare two similar images, and quickly check understanding without building a new lesson from scratch. That makes the resource useful for formative assessment as well as daily instruction.
Ecosystem connections make the lesson more accurate
One reason this topic deserves more than a basic picture sort is that a tree's life cycle connects directly to ecosystems. Reproduction matters because mature trees produce flowers or fruit and disperse seeds. Growth matters because young trees need the right conditions to survive. Decay matters because dead trees still support wildlife and return nutrients to the soil.
Including the final stage changes the quality of classroom discussion. Students begin to see that a tree's story does not end when it dies. Instead, that stage contributes to habitat and helps set up future growth. The National Park Service activity on tree life cycles supports this broader view by treating the life cycle as something students can observe, discuss, and connect to real environments.
That broader framing also improves worksheet follow-up questions. Instead of only asking students to name stages, teachers can ask which stage helps start new growth, which stage produces seeds, or why decay still belongs in the cycle. Those questions push the printable from identification into explanation.
Frequently Asked Questions
1. What are the main stages in the life cycle of a tree?
The most common classroom sequence is seed, seedling, sapling, mature tree, and decay or snag. Teachers like this five-stage model because it is simple enough for younger students and still useful when older students study reproduction and ecosystems.
2. What grade levels are tree life cycle worksheets best for?
They can work across multiple grade bands. KG-3 students often use them for picture order and basic vocabulary. Grades 2-5 can add written explanations. Grades 6-12 can use the worksheet as a concise review before deeper discussion about ecosystems and plant change over time.
3. How do tree life cycle worksheets help students learn sequencing?
They make a slow natural process visible. Students place stages in order, compare what comes before and after, and explain how one stage leads to the next. That gives teachers a quick way to see whether students understand process rather than isolated facts.
4. What is the difference between a seedling and a sapling?
A seedling is in the earliest stage of growth after germination and is usually small and delicate. A sapling is older and more established. It is still a young tree, but it is larger, sturdier, and closer in form to a mature tree.
5. Why is a dead tree part of the life cycle?
A dead tree remains part of the cycle because it returns nutrients to the soil and supports wildlife. Keeping that stage in the lesson helps students understand that life cycles connect to habitats, decomposition, and future growth, not only to the appearance of a mature tree.