A chicken life cycle unit is one of the easier wins in elementary science: the stages are visible, the vocabulary is concrete, and a 21-day incubation window lines up neatly with a few weeks of instruction. The right worksheets turn that natural interest into practice students remember, and they save you the prep of building sequencing and labeling activities from scratch.
What Chicken Life Cycle Worksheets Actually Teach
Chicken life cycle worksheets give elementary students a printable, hands-on way to identify and order the stages that turn an egg into an adult hen. Instead of memorizing a list, students cut, sort, label, and sequence each phase, which is the kind of active practice that sticks in a K-5 science block. Because the format is familiar, students can focus on the science instead of figuring out what the page is asking. For teachers, these sheets slot into a life cycle unit without extra prep, whether you are introducing the topic, running small-group intervention, or checking understanding before a quiz.
The strongest worksheets do more than show a fluffy chick. They connect the chicken to the shared pattern that runs through every living thing: birth, growth, reproduction, and eventually death. When students see that a chicken follows the same arc as a butterfly or a frog, the individual facts start to feel like one big idea rather than four disconnected pictures, and that is the understanding elementary life science units are built to reach.
The Four Stages Your Worksheets Should Cover
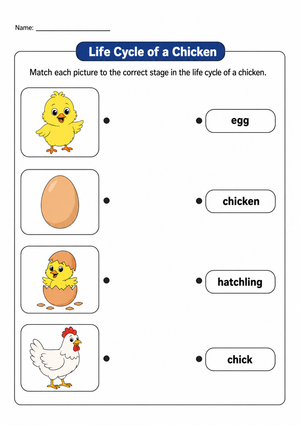
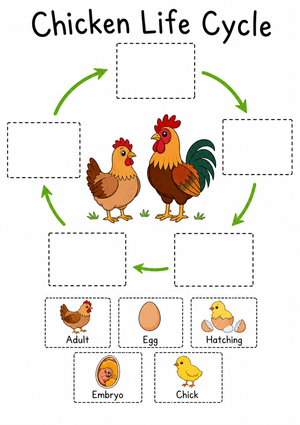
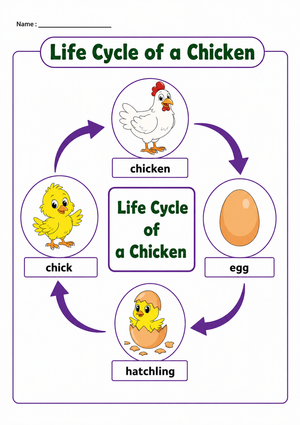
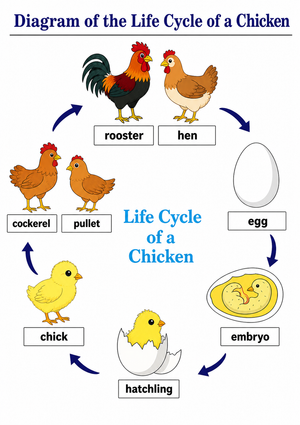
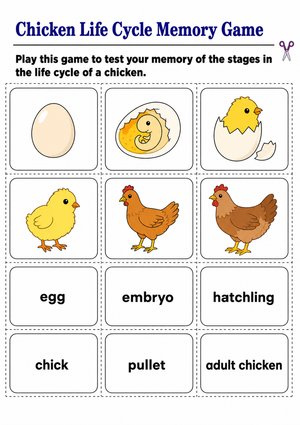
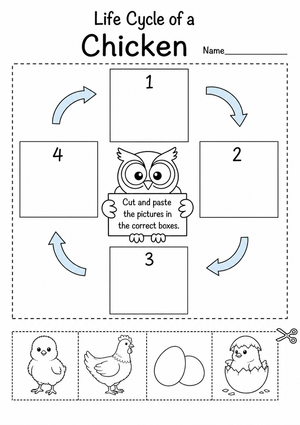
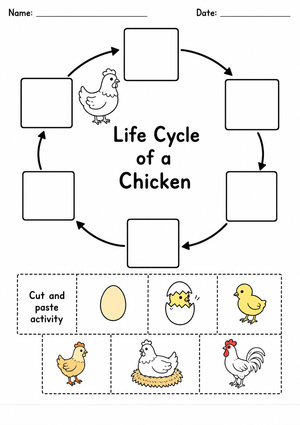
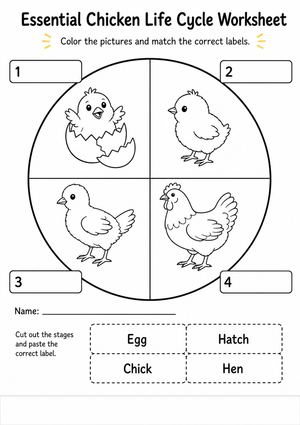
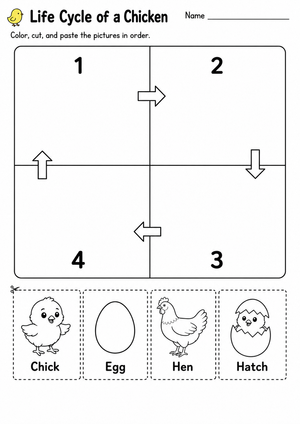
For young learners, the chicken life cycle is usually taught in four clear stages, and a good worksheet keeps that structure front and center. Students should be able to name and picture each one:
- Egg — the starting point, laid by a hen and kept warm before anything visible happens.
- Hatching — the chick pips through the shell and works its way out, the most dramatic moment for students to observe.
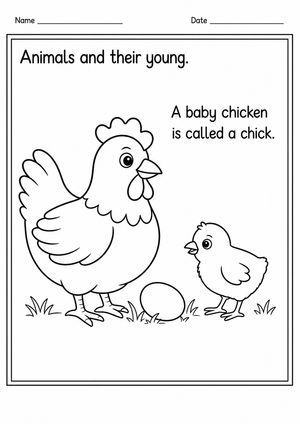
- Chick — a fluffy, fast-growing young bird that still depends on warmth and food.
- Adult chicken — a full-grown hen or rooster, with hens able to lay eggs and restart the cycle.
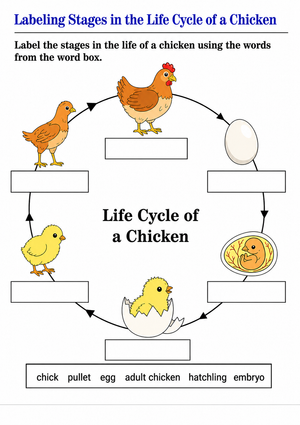
Building vocabulary alongside the stages pays off. Terms like embryo, hatch, brooding, incubator, hen, and rooster give students precise language for what they are seeing, and the same words show up again in later units on other animals.
Using the 21-Day Incubation Timeline
The single most useful number in this unit is 21. A chicken egg takes about 21 days of steady incubation before it hatches, whether it sits under a brooding hen or inside a mechanical incubator. That window happens to match the length of a typical classroom unit, which is a big reason hatching eggs has become such a common alternative to butterfly or frog projects. For most classrooms that means starting the incubator on a Monday and planning the hatch for three weeks out, then working backward to schedule read-alouds, sequencing sheets, and the final assessment.
According to the Iowa Agriculture Literacy Foundation, a chicken egg needs about 21 days of incubation at steady heat and humidity, turned several times daily, before it hatches. Classrooms that track this timeline give students a real-time model of embryonic growth that a static worksheet alone cannot match.
In practice, the turning schedule is where classroom hatches succeed or fail. Eggs need three to five turns a day so the embryo does not settle against one side of the shell, and a simple worksheet column where students log each turn turns a routine chore into daily data collection. Pair that log with the four-stage sheet and the abstract diagram becomes something students are watching in real time.
Sequencing and Labeling Activities That Work
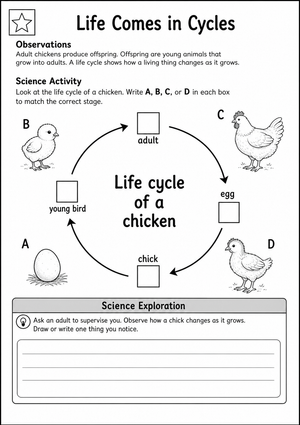
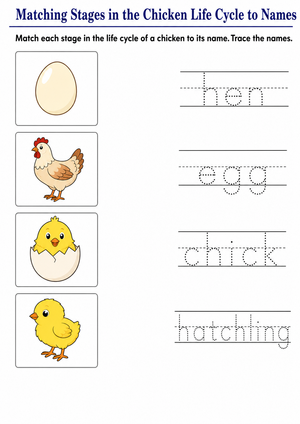
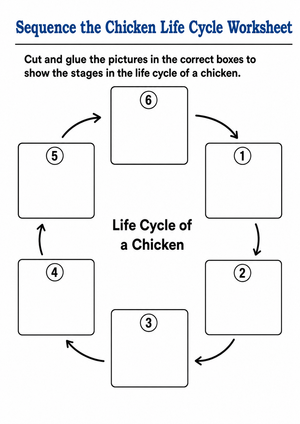
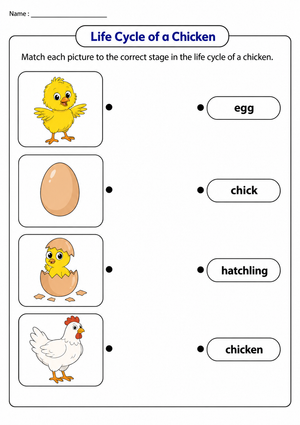
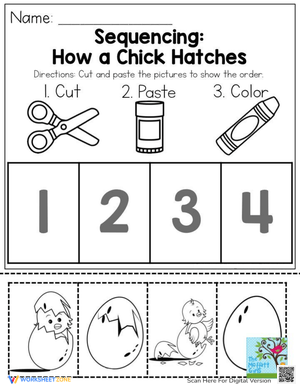
Sequencing is the workhorse activity for this topic. Cut-and-paste sheets ask students to place the egg, hatching, chick, and adult images in order, which pushes them to reason about cause and effect rather than guess. Labeling sheets add a layer by asking students to match vocabulary to each stage. The tactile act of physically ordering strips also helps kinesthetic learners and English learners who are still building the academic vocabulary.
A few formats earn their place in a unit:
- Cut-and-order strips for students who benefit from moving pieces before committing to an answer.
- Label-the-diagram sheets that pair each stage with its term for a quick vocabulary check.
- Draw-and-explain pages that ask students to describe what changes between two stages in their own words.
Used right after a read-aloud or a short video, a labeling sheet doubles as a fast formative assessment. You can see at a glance who has the sequence down and who needs another pass in small group before you move on.
Comparing Chicken, Butterfly, and Frog Life Cycles
Chicken worksheets get stronger when you set them next to butterfly and frog sheets. Side by side, students notice that a chicken does not go through a dramatic metamorphosis the way a butterfly does, and yet all three share the same underlying pattern of birth, growth, reproduction, and death. That contrast is where real understanding tends to show up.
The National Agriculture in the Classroom lesson set builds a story arc around a chicken growing from small to big, which gives K-2 students a narrative hook before they take on the science vocabulary. Comparing organisms keeps the focus on the shared pattern instead of one animal's trivia, and it makes the next life cycle unit easier to teach.
A simple three-column chart, one column per animal, lets students mark which stages look alike and which look different, and it turns comparison into a quick writing prompt.
Classroom Implementation
Fitting these worksheets into a week of instruction is straightforward. Open with a read-aloud or short video, then hand out a four-stage sequencing sheet the same day so students anchor the vocabulary while it is fresh. Mid-week, move to labeling and short-answer pages during small-group time, saving your attention for the students who scrambled the order the first time.
If you are running a live or virtual egg hatch, layer a daily observation journal over the worksheets. Students log the incubation day, note temperature and humidity, and predict what is happening inside the shell. Keep the worksheets in a labeled folder so students can flip back to earlier pages and see how their predictions held up. By day 21, the printed diagram and the real eggs tell the same story, and students have three weeks of their own data to back it up.
Frequently Asked Questions
1. What are the main stages in a chicken life cycle worksheet?
Most worksheets use four stages: egg, hatching, chick, and adult chicken. This keeps the sequence simple enough for young students to order and label while still capturing the full cycle, from a laid egg to a hen that can lay eggs of her own.
2. How long does a chicken egg take to hatch, and how should that shape activities?
A chicken egg hatches after about 21 days of steady incubation. Because that matches a typical unit length, teachers often pair the worksheets with a real-time observation journal so students track each day against the stages printed on the page.
3. What grade levels are chicken life cycle worksheets best for?
They work across K-5. K-2 students do well with simple four-stage sequencing and picture labels, while grades 3-5 can handle embryo-development detail, hen-versus-rooster comparisons, and written explanations of what changes between stages.
4. How can I pair these worksheets with an egg-hatching unit?
Run the worksheets as the anchor and add a daily log alongside a live or virtual hatch. Students record the incubation day, temperature, and number of turns, then match what they observe to the egg, chick, and adult stages on their sheets.