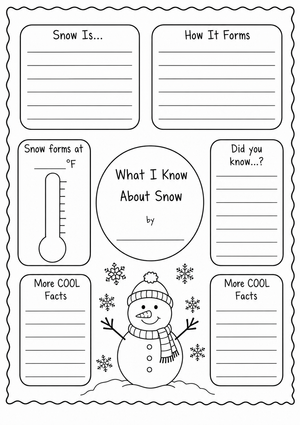
What Life Cycle of a Snowflake Worksheets Cover
When you're planning a winter weather or water cycle unit, life cycle of a snowflake worksheets give your students a concrete way to trace how a single ice crystal forms, grows, and falls. Instead of treating snow as something that simply appears, these worksheets walk K-5 learners through a clear science sequence they can order, label, and explain in their own words. That shift from a vague picture to a named process is where the real learning happens.
The worksheets pair well with sequencing tasks, vocabulary practice, and diagram labeling. A snowflake gives you a small, observable system that maps neatly onto bigger ideas like states of matter and precipitation, so a ten-minute worksheet can anchor a much larger conversation about weather. For teachers who want a seasonal hook that still carries real science content, snow is hard to beat.
The Five Stages of a Snowflake's Life Cycle
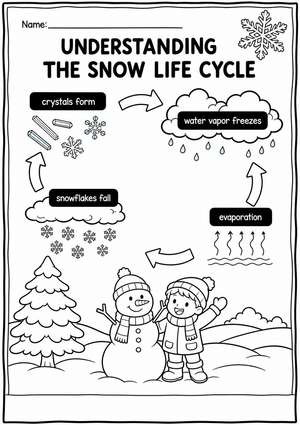
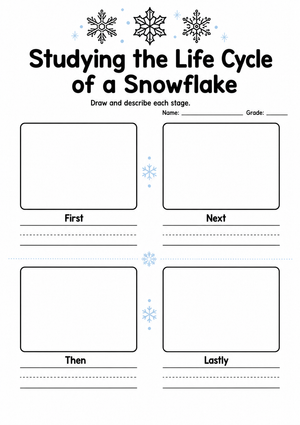
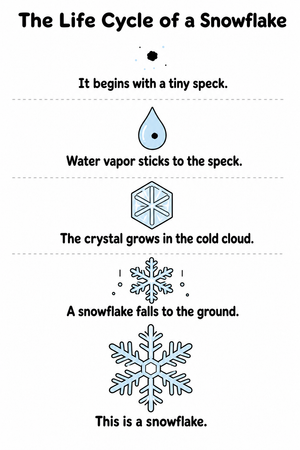
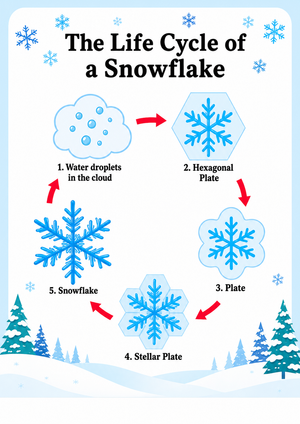
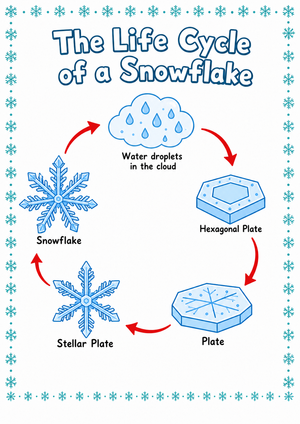
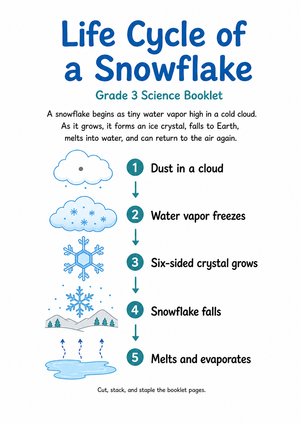
Most classroom-ready worksheets break snowflake formation into a repeatable sequence. Teaching it as stages helps students see cause and effect rather than memorizing isolated facts, and it gives you natural stopping points to check understanding.
- Water vapor rises: Evaporated water collects in cold clouds high in the atmosphere, setting the stage for freezing.
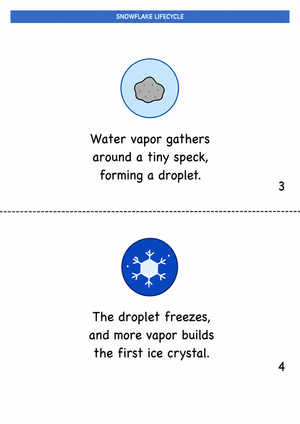
- Nucleation: Water vapor freezes directly onto a tiny particle, such as dust or pollen, skipping the liquid stage entirely.
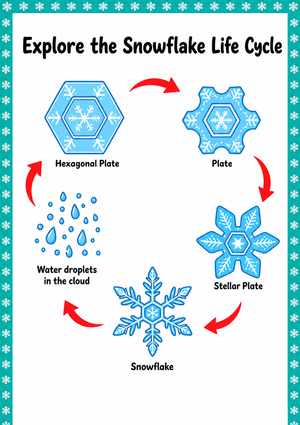
- Crystal growth: As the ice particle drifts through the cloud, more water vapor freezes onto it and the crystal grows outward branch by branch.
- Falling: Once the flake is heavy enough, it falls toward the ground as precipitation.
- Melting or sublimation: On the ground the flake melts back into liquid water, or it may sublimate straight back into vapor.
This deposition step only happens when atmospheric temperatures drop below 0°C (32°F). Framing the sequence this way lets students predict what comes next, which is exactly the kind of reasoning a strong worksheet reinforces. When a student can say why a crystal grows as it moves through a cloud, the sequence has done its job.
Why Every Snowflake Has Six Sides
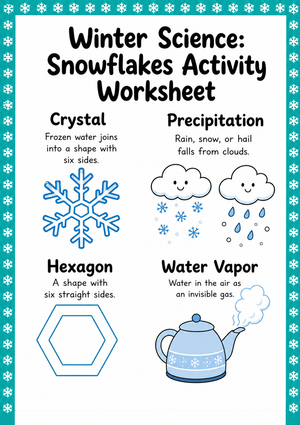
One of the most engaging facts for young scientists is that snowflakes are six-sided. As water molecules freeze, they bond into a hexagonal lattice, and that underlying structure forces the crystal into six-fold symmetry every single time. It's a rare case where a microscopic rule produces a pattern students can see with their own eyes, which makes it a memorable teaching moment.
No two snowflakes share identical branch patterns, though, because each crystal falls through its own unique combination of temperature and humidity. That mix of a fixed rule, six sides, and endless variation, unique branches, makes snowflakes a natural tie-in for pattern and symmetry lessons. You can hand the same worksheet to a science group and a math group and get two productive conversations out of it.
Connecting Snowflakes to the Water Cycle
Snowflakes aren't a stand-alone topic. They're one form of precipitation inside the water cycle, which moves water between land, ocean, and atmosphere through evaporation, condensation, and precipitation. When students place a snowflake worksheet next to a water cycle diagram, they start to see snow as one exit point in a system they already know rather than a separate winter curiosity.
According to NOAA, snowflakes form when water vapor freezes directly onto a tiny particle at temperatures below 32°F, skipping the liquid stage entirely. This process, called nucleation, explains why snow is classified as frozen precipitation within the water cycle rather than rain that freezes on the way down.
Making that link explicit helps students avoid a common misconception: that snow is just frozen rain. It isn't. Understanding deposition, the jump straight from vapor to solid, sets up more accurate thinking about states of matter later in the year.
Classroom Implementation
Here's how to slot these worksheets into a real week of instruction without adding much prep:
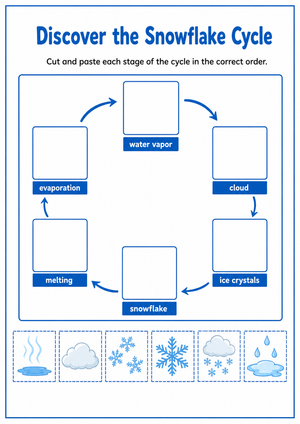
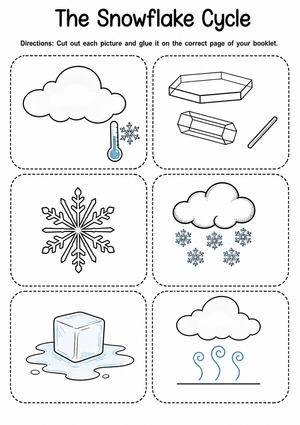
- Open with a sort: Have students cut and order the five stages before you teach the vocabulary, then revise their order after the lesson to see what changed.
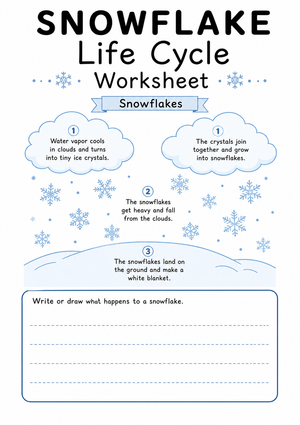
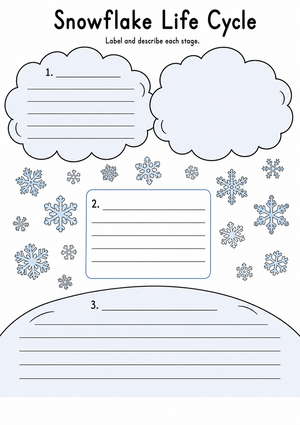
- Small-group intervention: Use a labeling worksheet with students who need extra practice naming nucleation, crystal, and precipitation.
- Winter science center: Pair the worksheet with paper snowflakes students fold and cut to test the six-sided rule by hand.
- Formative check: Ask students to explain in one sentence why a snowflake grows as it moves through a cloud, then use their answers to plan the next lesson.
For enrichment, invite students to compare two real flakes on a dark cloth under a magnifier and record how their branches differ. That short observation reinforces the worksheet's core idea, that every flake is six-sided yet unique, without any extra materials beyond a cold day and a hand lens.
Building Science Vocabulary With the Worksheets
Precise vocabulary is where these worksheets earn their place. Target words like nucleation, crystal, deposition, and precipitation give students the language to describe what they observe. Post the words on a visible chart and have students use each one in a short caption under their own diagram, so the term stays tied to a picture.
Because these terms repeat across your weather and water cycle lessons, a snowflake worksheet doubles as spiral review. A student who labeled precipitation on a water cycle diagram in the fall will recognize it again in a January snow lesson, and that repetition is what moves a word from short-term recall into working vocabulary students actually use in discussion.
Extending the Lesson With Observation
Worksheets set the framework, but observation makes the science stick. On a snowy day, send students out with dark paper to catch flakes and sketch what they see before the crystals melt. Back inside, have them match their sketches to the growth stage on the worksheet and explain which step they think they captured. This connects a printed diagram to a real event, which is where elementary science tends to click.
If snow isn't reliable in your region, freezing experiments and time-lapse videos of frost forming on a window give students the same deposition concept to observe. Either way, the worksheet becomes the record students return to, tying their firsthand observation back to the named stages of the life cycle.
Frequently Asked Questions
1. How do I introduce the snowflake life cycle to elementary students?
Start with something they've seen: snow falling. Then work backward to the cloud, showing how water vapor freezes onto a tiny particle. A five-stage worksheet gives students a visual anchor before you layer in the vocabulary.
2. What grade levels are these worksheets appropriate for?
They fit K-5 science well. Younger students can order pictures and label basic stages, while upper-elementary students can add terms like nucleation and explain crystal growth in writing.
3. How does the snowflake life cycle connect to the water cycle?
A snowflake is one form of precipitation, so it fits directly into the evaporation, condensation, and precipitation sequence. Teaching the two side by side helps students see snow as part of a larger system.
4. Why is every snowflake six-sided and still unique?
Water molecules freeze into a hexagonal lattice, which forces six-fold symmetry. But each flake falls through a different mix of temperature and humidity, so no two develop identical branch patterns.
5. What vocabulary should students learn from this lesson?
Focus on nucleation, crystal, deposition, and precipitation. These words carry over into your broader weather and water cycle units, making the snowflake lesson a useful vocabulary bridge.












 Interactive Worksheet Maker
 Quiz Maker
 Word Search Maker
 Crossword Puzzle Maker
 Word Scramble Generator
 Sentence Scramble Generator
 Handwriting Worksheet Generator
 Name Tracing Generator
 Fill In The Blank Generator