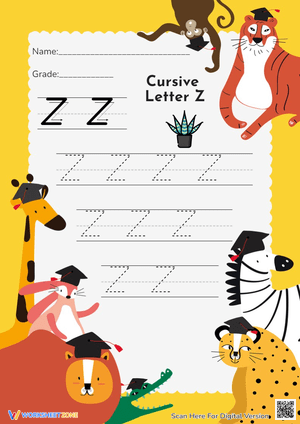
Why Cursive Z Handwriting Worksheets?
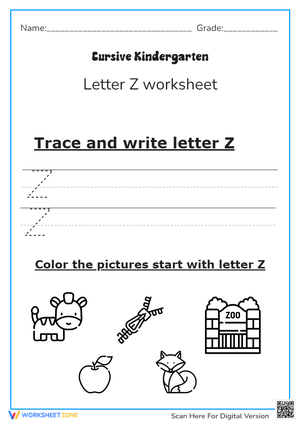
Cursive Z is one of the last letters most students meet, and it trips up more of them than teachers expect. The zigzag body of the uppercase form and the below-the-baseline tail on the lowercase both ask for control that print handwriting never builds. A dedicated cursive Z worksheet gives students the repeated, isolated reps they need before the letter shows up inside real words like zebra, zoo, or quiz.
These sheets fit whole-group modeling, small-group intervention, and quick morning review. Because Z appears less often than high-frequency letters, students get fewer natural chances to practice it, so targeted sheets close a gap that general sentence copying leaves open.
Teachers searching for cursive Z sheets usually want two things: a clean model of the correct strokes and enough repetition to make the letter automatic. The sections below cover both the formation itself and the routine that turns a single page into real handwriting.
How to Write Uppercase Cursive Z
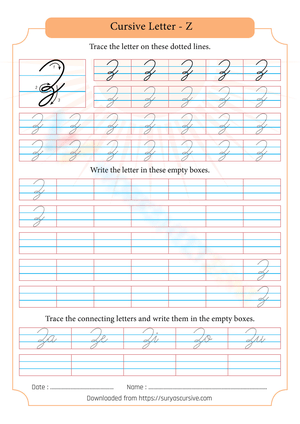
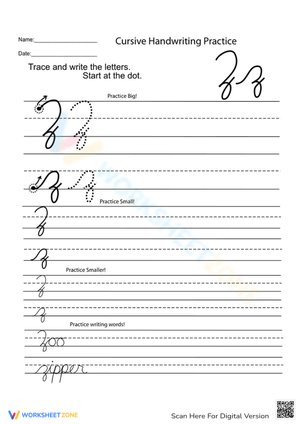
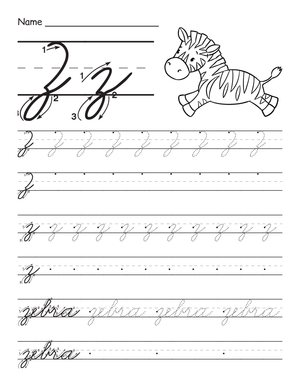
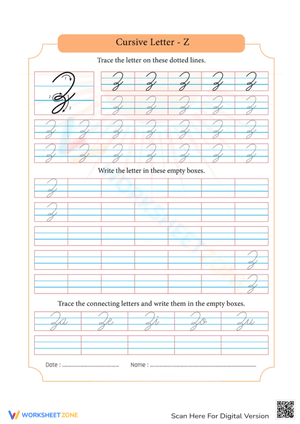
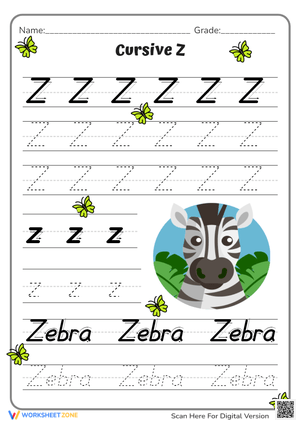
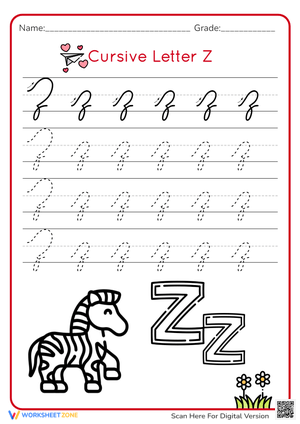
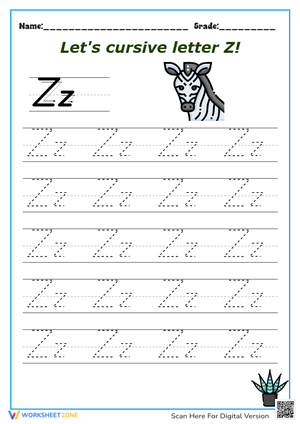
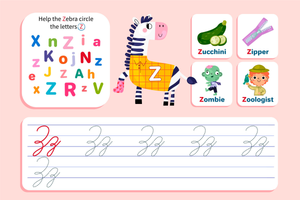
Model the uppercase Z slowly and narrate each stroke. Start just below the topline, curve up and back down toward the baseline in a short zigzag, then carry the line below the baseline and add a loop that swings left, much like a cursive j. That loop is what separates cursive Z from its printed cousin, and it is the step students skip most.
- Begin below the topline with a small forward curve.
- Zigzag down to the baseline, keeping the angles tight.
- Drop below the baseline and loop back left to close the letter.
Say the motion out loud as you write: curve, zigzag, loop under. Pairing spoken cues with the stroke helps students encode the path, especially learners who reverse direction.
How to Write Lowercase Cursive Z
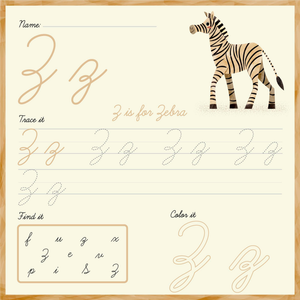
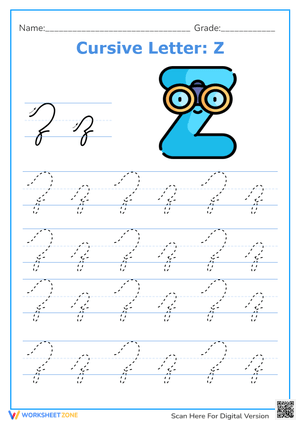
Lowercase z varies by handwriting program, so match your model to the style your school adopted. In D'Nealian-style cursive, the letter starts on the baseline with a lead-in stroke, rises to the midline, then curves down past the baseline before curving up and to the right into a connecting tail. In traditional Zaner-Bloser, the body sits between the baseline and midline with a similar dip below the line.
Lowercase z belongs to the bump letter family — v, y, n, m, x, and z — that begins with an overcurve stroke. Teaching z next to those letters keeps the lead-in stroke consistent and saves you from re-teaching the same entry motion five separate times.
Common Cursive Z Handwriting Errors and Quick Fixes
The three errors that show up most on cursive Z are a reversed zigzag, a missing bottom loop, and a tail that never connects to the next letter. In one educator survey, 70% of teachers reported declining fine motor skills in students, and many newer teachers were never taught cursive themselves — so both the writer and the coach may be building the skill at the same time. Scan a student's sheet for the loop first; if it is missing, the letter reads as a print z and the connection to the next letter breaks.
- Reversed zigzag: have the student trace with a finger before the pencil and say down, up, down.
- Missing loop: highlight the loop in a different color on the model so it stands out.
- Disconnected tail: practice z immediately followed by a, o, or e so the tail always leads somewhere.
Using These Worksheets In Real Classes
Fold cursive Z into a predictable routine rather than a one-time lesson. A workable cycle is model, trace, copy, and apply across three or four short sessions instead of one long block. Handwriting research shared by The Dyslexia Classroom favors brief, frequent, explicit practice over massed drilling, which fits the five-to-ten-minute windows most teachers actually have.
- Day 1: model both cases, students trace and say the strokes.
- Day 2: students copy rows independently and self-check the loop.
- Day 3: connect z to vowels and write short words.
- Ongoing: spiral z back into weekly review so the motor pattern sticks.
Keep a simple record of who has the loop, the connection, and the direction down so you know which students to pull for a two-minute reteach. Handwriting rarely needs a formal rubric at this stage; a quick check of those three targets tells you what to model again tomorrow.
For older students who missed cursive entirely, the same sheets work as intervention. Frame it as a quick skill they can master in a week, not remediation, and keep the reps short so it never feels like busywork.
Frequently Asked Questions
1. What grade level typically introduces cursive Z?
Most programs introduce cursive in late second or third grade, with z arriving near the end of the sequence because it is grouped with the other bump letters. Students usually meet it once they are comfortable with the shared overcurve entry stroke.
2. How is cursive Z different in D'Nealian versus Zaner-Bloser?
In D'Nealian, lowercase z starts with a lead-in stroke on the baseline and dips below the line into a tail. In Zaner-Bloser, the body sits more compactly between the baseline and midline. Match your worksheet to the style your school adopted so students see one consistent model.
3. How can I help a student who reverses the cursive Z direction?
Slow the motion down and add a verbal cue like curve, zigzag, loop under. Have the student trace with a finger before picking up the pencil, and highlight the starting point so they always begin in the same place.
4. How many repetitions before students write cursive Z independently?
Most students need several short sessions rather than one long one. Plan three or four brief practice blocks across a week, then spiral the letter into review, rather than expecting mastery from a single worksheet.
5. Can these worksheets help older students who missed cursive?
Yes. The same isolated practice works for intervention with upper-elementary or middle school students who reverted to print. Keep sessions short and framed as a quick, learnable skill so the practice stays motivating.