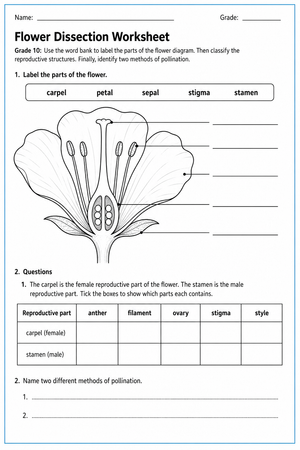
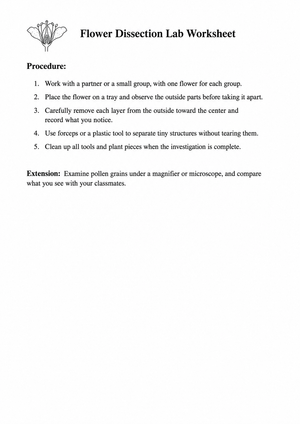
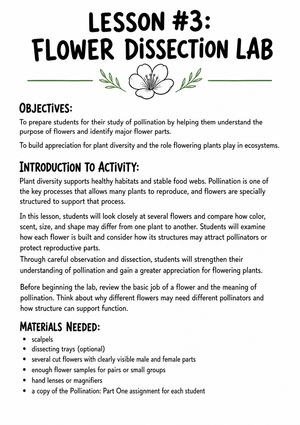
Handing students a labeled diagram to memorize skips the actual skill: connecting structure to function. A dissection worksheet built for this lab asks students to find the stamen, pistil, petals, and sepals themselves, sketch what they see, and then explain what job each part does in reproduction. That sequence, observe first and label second, is what keeps the activity from turning into a fifteen-minute craft project with no science attached.
Core Flower Parts Students Should Be Able to Label
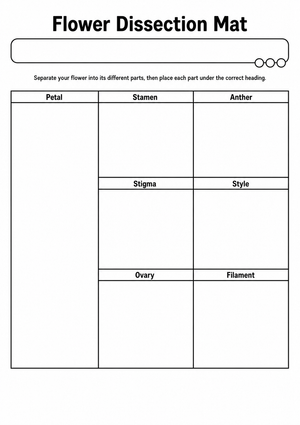
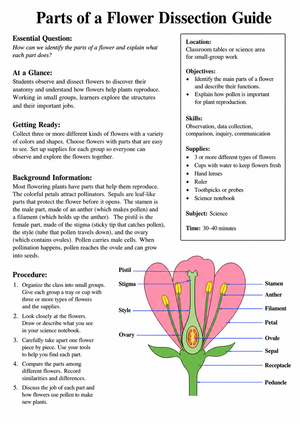
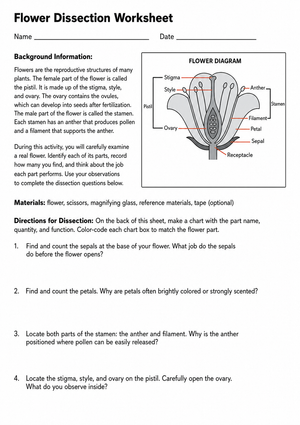
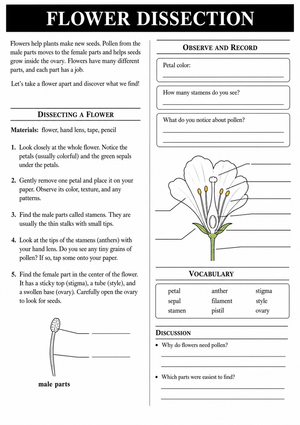
By the end of a well-structured dissection, students should confidently identify the stamen, made up of the anther and filament, and the pistil, which includes the stigma, style, and ovary. Petals and sepals round out the list. A strong worksheet organizes these into a labeling diagram plus a short answer section where students describe where pollen collects and where seeds eventually form, tying the visible structure to the reproductive process.
Picking a Flower That Makes the Worksheet Diagrams Actually Usable
Not every flower works for a classroom of twelve-year-olds with dull scissors. Lilies show up again and again in teacher-recommended lab plans because their stamen and pistil are large enough to see and separate without a magnifier. When the worksheet diagram matches what students can physically point to on their own specimen, labeling accuracy goes up and the pre-lab confusion goes down.
Aligning the Worksheet to NGSS Structure-and-Function Standards
Flower dissection labs commonly support NGSS MS-LS1-4, which asks grade 6-8 students to use evidence to construct an explanation for how specialized plant structures affect the probability of successful reproduction. A worksheet built around this standard should include a prompt asking students to explain, in their own words, how a specific structure they just labeled increases the odds of pollination or seed production, not just a fill-in-the-blank diagram.
Teachers adapting the same lab for younger students often shift the standard rather than the flower. Elementary versions can align to NGSS 4-LS1-1, which centers on structure-and-function reasoning for grade 4, so the same lily dissection can serve two grade bands if the worksheet questions are adjusted to match the standard in play.
Frequently Asked Questions
1. What flower parts should students be able to label after a dissection lab?
Students should be able to identify the stamen, including the anther and filament, and the pistil, including the stigma, style, and ovary, along with the petals and sepals. Strong worksheets ask students to connect each labeled part to its role in pollination or seed production, not just name it.
2. Which flowers work best for a classroom dissection activity?
Lilies are a common choice because their reproductive structures are large and easy for students to separate and identify without extra equipment. A flower with clearly visible stamens and a distinct pistil makes worksheet diagrams easier to match to the real specimen.
3. How does a flower dissection worksheet align with NGSS structure-and-function standards?
Middle school versions typically align to NGSS MS-LS1-4, which focuses on how specialized plant structures affect reproductive success in grades 6 through 8. Elementary adaptations can shift to NGSS 4-LS1-1 for grade 4 structure-and-function reasoning using the same basic lab.
4. How long does a typical flower dissection lab take to complete in class?
Most versions of this lab are built to fit inside one class period, roughly 45 to 50 minutes, covering a brief prediction step, the hands-on dissection and labeling, and a short reasoning response.
5. How can teachers use the worksheet for both prediction and post-lab assessment?
Adding a short prediction section before the dissection and a labeling plus reasoning section after gives teachers a built-in before-and-after comparison. That structure lets a single worksheet double as a pre-lab check and a post-lab formative assessment without adding extra prep time.












 Interactive Worksheet Maker
 Quiz Maker
 Word Search Maker
 Crossword Puzzle Maker
 Word Scramble Generator
 Sentence Scramble Generator
 Handwriting Worksheet Generator
 Name Tracing Generator
 Fill In The Blank Generator