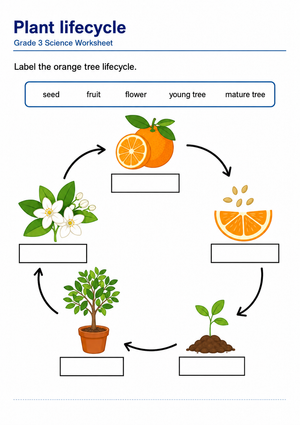
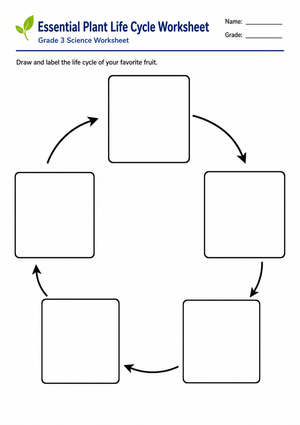
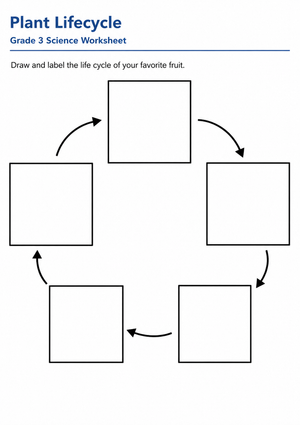
Ask a second grader where fruit comes from, and the answer may start with “the store.” That is exactly why 2nd grade fruit life cycle worksheets are so useful. They help students look beyond the fruit bowl and discover how apples, oranges, strawberries, peaches, and other fruits begin as seeds, grow into plants, form flowers, and eventually produce fruit. With clear visuals, sequencing tasks, labeling activities, and simple vocabulary, these worksheets turn an everyday food topic into an engaging life science lesson.
At this age, students learn best when science feels concrete and connected to real life. A fruit life cycle is easy to observe, discuss, and compare because children already recognize many fruits from snacks, meals, and grocery trips. Worksheets can guide learners through each stage: seed, sprout, seedling, plant, flower, fruit, and new seeds. Instead of memorizing the sequence only once, students revisit the process through drawing, matching, cut-and-order activities, and short explanations that strengthen both science understanding and reading comprehension.
A strong lesson can begin with a simple question: “What is inside a fruit?” From there, students can examine seeds, look at pictures of fruit plants, or compare how different fruits grow. Teachers who want to add more movement and discovery can pair worksheets with plant life cycle activities, giving students hands-on ways to observe growth, discuss plant needs, and connect fruit development to the broader plant life cycle. This helps children see that fruit is not just something we eat; it is part of how plants reproduce and continue growing.
Different fruits also give teachers many opportunities for comparison. An apple grows on a tree, a strawberry grows close to the ground, and a watermelon grows on a vine. These differences make the topic richer while still staying age-appropriate for 2nd grade. To focus on one familiar example, teachers can use apple life cycle worksheets to help students follow a clear sequence from seed to tree to blossom to fruit. Once students understand one fruit life cycle, they can apply the same thinking to other fruits.
2nd grade fruit life cycle worksheets support more than science vocabulary. They also help students practice sequencing, observation, labeling, writing, and cause-and-effect thinking. Whether used in a classroom, homeschool lesson, science center, or seasonal plant unit, these worksheets give young learners a friendly way to understand how plants grow and why fruit plays an important role in nature. With the right visuals and follow-up questions, students can move from simply naming fruits to explaining how fruit life cycles work.
Frequently Asked Questions
Question 1: What should 2nd grade fruit life cycle worksheets include?
Good 2nd grade fruit life cycle worksheets should include clear pictures, simple vocabulary, and activities that help students understand the order of growth. Common stages include seed, sprout, seedling, plant, flower, fruit, and seeds again. Strong worksheets may include sequencing tasks, labeling diagrams, matching words to pictures, short reading passages, and simple writing prompts so students can explain the life cycle in their own words.
Question 2: How do fruit life cycle worksheets help second graders learn science?
Fruit life cycle worksheets help second graders understand how plants grow and reproduce through a familiar topic. Because children already know fruits like apples, strawberries, oranges, and peaches, the science feels easier to connect with real life. Worksheets support observation, vocabulary, sequencing, and cause-and-effect thinking. Students learn that fruit develops after flowering and that seeds inside the fruit can grow into new plants.
Question 3: What fruit life cycles are best for 2nd grade students?
Apple, strawberry, pumpkin, watermelon, orange, and peach life cycles are good choices for 2nd grade students because they are familiar and easy to visualize. Apples are especially useful because students can clearly follow the stages from seed to tree, blossom, fruit, and seed again. Teachers can also compare fruits that grow on trees, vines, and small plants to help students understand that fruit life cycles can look different while still following a similar pattern.
Question 4: How can teachers make a fruit life cycle lesson more engaging?
Teachers can make the lesson more engaging by combining worksheets with real fruit observations, seed sorting, drawing, planting activities, or classroom discussions. Students can cut open fruit to look for seeds, draw the stages of growth, or create a simple life cycle wheel. After completing the worksheet, they can write a sentence about each stage or compare two fruits. These hands-on extensions help students remember the process more clearly.












 Interactive Worksheet Maker
 Quiz Maker
 Word Search Maker
 Crossword Puzzle Maker
 Word Scramble Generator
 Sentence Scramble Generator
 Handwriting Worksheet Generator
 Name Tracing Generator
 Fill In The Blank Generator