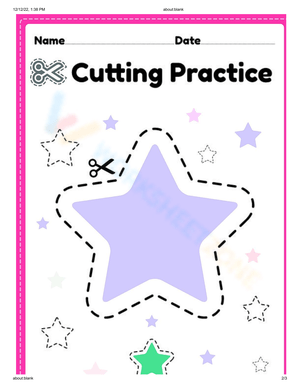
What Cutting Practice Worksheets Actually Build
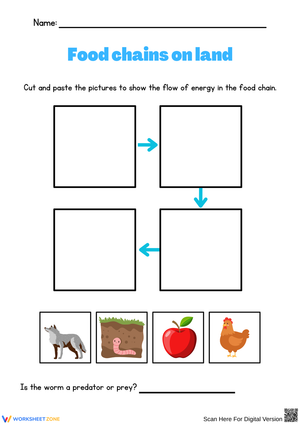
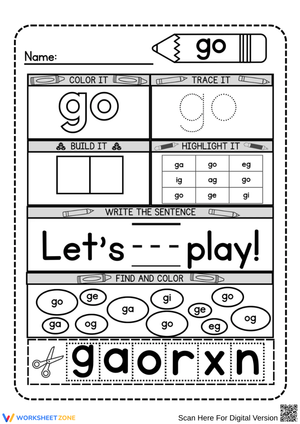
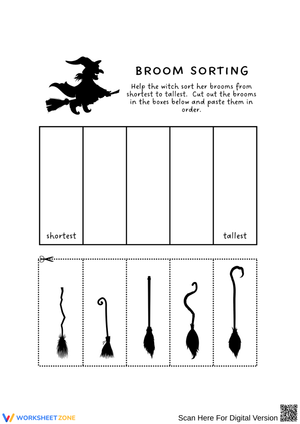
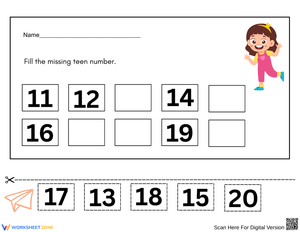
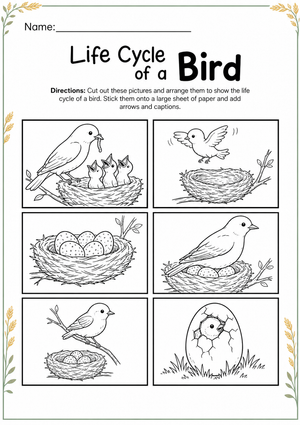
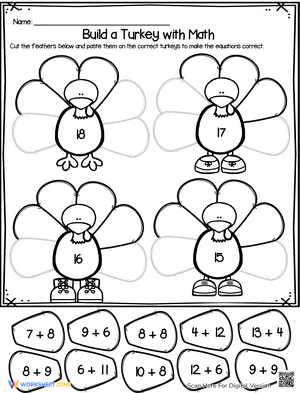
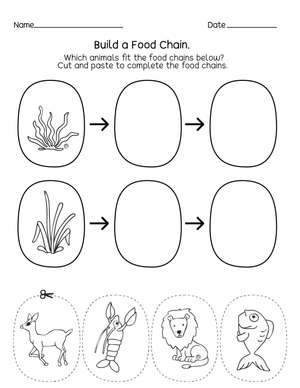
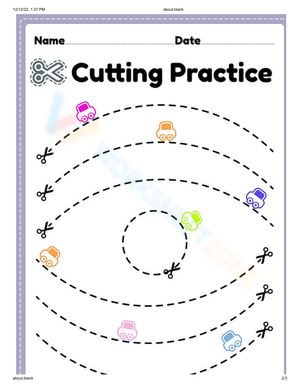
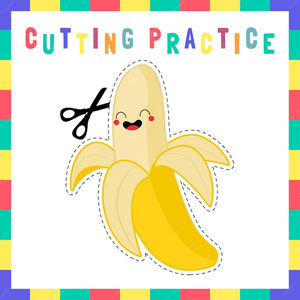
When you hand a four-year-old a pair of scissors and a printable line to follow, you're working on far more than a craft. Cutting practice worksheets target bilateral coordination, hand strength, and hand-eye coordination all at once, and those are the same underlying skills students lean on when they pick up a pencil. That's why so many pre-K and kindergarten teachers treat scissor work as a readiness activity, not a filler task. A good set of worksheets gives you a repeatable, low-prep way to build those muscles during centers, morning tubs, or small-group time.
The trick is choosing sheets that match where each student actually is. A page of thick straight lines does nothing for a child who already cuts squares cleanly, and a sheet of curved figures will frustrate a student who is still learning to open and close the blades. Leveled worksheets let you meet a mixed classroom where it lives.
Matching Worksheets to Developmental Cutting Stages
Scissor skills follow a fairly predictable arc, and your worksheet progression should mirror it. Children typically begin snipping paper around age 2.5, move to cutting straight lines by age 3, and can cut simple shapes such as squares and triangles by age 4. Between ages 5 and 6, most children can cut out more complex figures, which lines up neatly with kindergarten fine motor expectations.
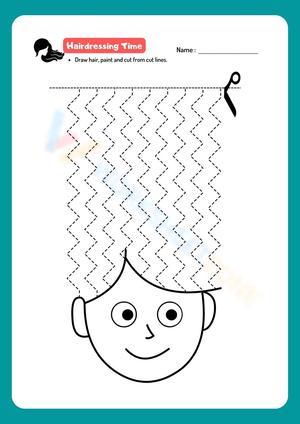
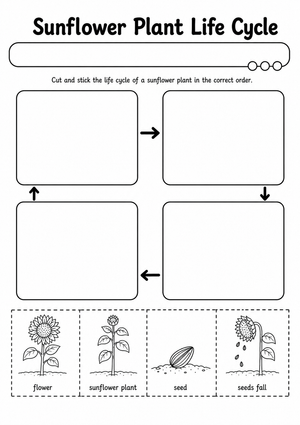
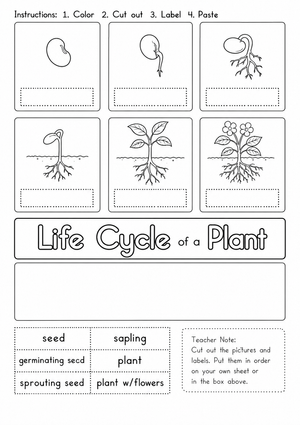
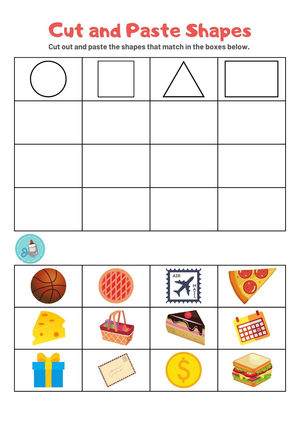
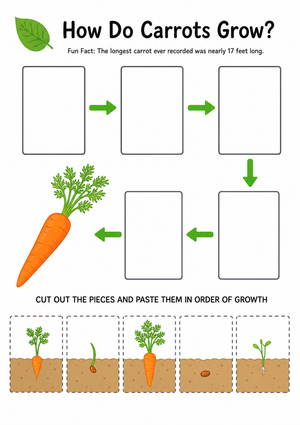
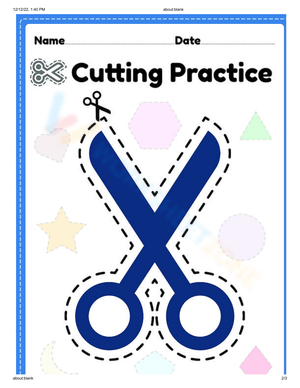
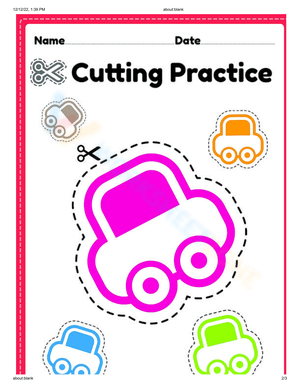
Practically, that means your printable library should span four tiers: single snips along a wide edge, straight lines of increasing length, simple geometric shapes, and finally complex outlines with curves and interior detail. When you post a cutting worksheet at a center, label it by tier so a paraprofessional or parent volunteer can pull the right level without guessing.
Here is the detail most center setups miss: line thickness is a hidden difficulty dial. A one-inch guide line forgives wandering blades and lets a shaky cutter feel successful, while a thin quarter-inch line demands precise tracking. If a student stalls at the straight-line tier, don't jump them back a full stage. Widen the line first, keep the same shape, and you often unlock progress without signaling to the child that they've moved backward.
Differentiating Cutting Practice for Preschool Through Kindergarten
The same classroom can hold a two-year gap in scissor readiness, so plan for it. For preschool, keep sheets to short snips and one or two straight lines per page with heavy borders. For pre-K, stack several straight and gently angled lines, then introduce squares and rectangles. For kindergarten, move to circles, spirals, and multi-part figures that require the student to rotate the paper with the helper hand while cutting with the dominant one.
Using These Worksheets In Real Classes
Start with a scissor safety routine that you teach explicitly: walk with blades closed and pointed down, cut only paper at the table, and hand scissors handle-first. A consistent routine prevents most of the management headaches that make teachers avoid cutting centers.
For rotations, keep a labeled bin per tier and a small parking tray for finished pieces so scraps don't take over the table. Two or three focused minutes of cutting a few times a week beats one long marathon session, since young hands fatigue fast and precision drops once they tire. Model each new worksheet once with a document camera before students try it, and pair a left-handed pair of scissors with any student who reaches with the left hand. Finally, save one dated worksheet from each child every few weeks as a quick formative record of fine motor progress you can share at conferences.
Frequently Asked Questions
1. What age should students start practicing cutting with scissors?
Most children begin snipping paper around age 2.5 and can follow a straight line near age 3, so short, supervised cutting tasks are appropriate in preschool. Match the sheet to the child rather than the calendar, starting with single snips before straight lines.
2. How do teachers differentiate cutting worksheets for different skill levels?
Use four tiers: single snips, straight lines, simple shapes, then complex figures. Adjust line thickness as a fine-grained difficulty dial, since a wider guide line makes the same shape easier without moving a student down a full stage.
3. How does cutting practice support handwriting readiness?
Scissor use builds hand strength, bilateral coordination, and hand-eye coordination, the same foundations handwriting depends on. The helper hand that turns the paper during cutting is the hand that will steady a page during writing, so the skills transfer directly.
4. How often should cutting practice be scheduled in a classroom routine?
Short and frequent works best. Two or three brief sessions a week keep hands progressing without fatigue, and dated samples every few weeks give you a simple formative record of each student's fine motor growth.












 Interactive Worksheet Maker
 Quiz Maker
 Word Search Maker
 Crossword Puzzle Maker
 Word Scramble Generator
 Sentence Scramble Generator
 Handwriting Worksheet Generator
 Name Tracing Generator
 Fill In The Blank Generator