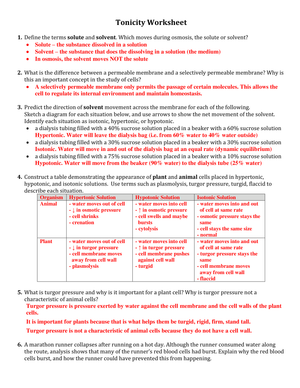
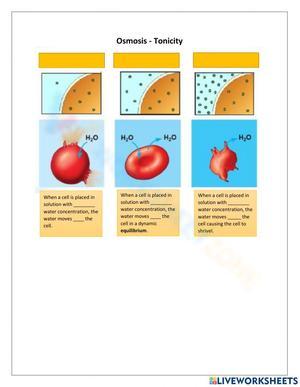
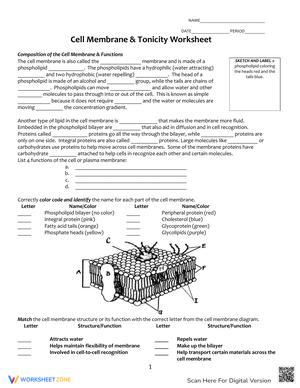
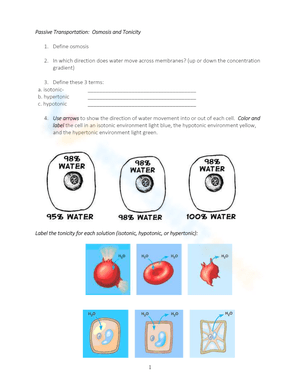
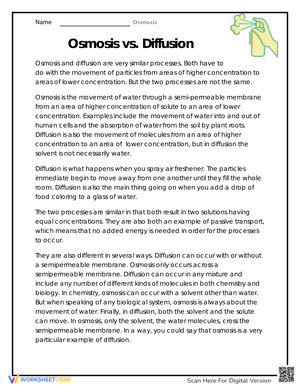
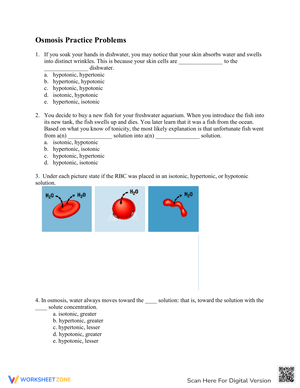
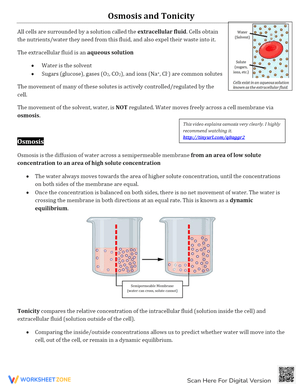
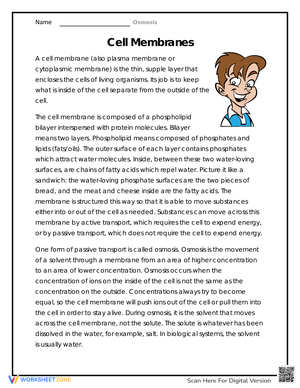
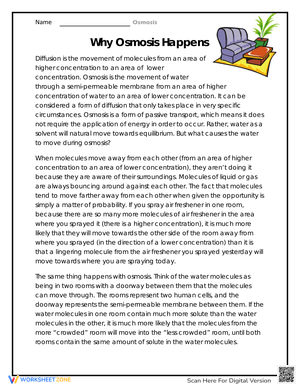
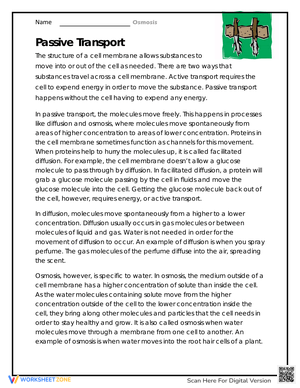
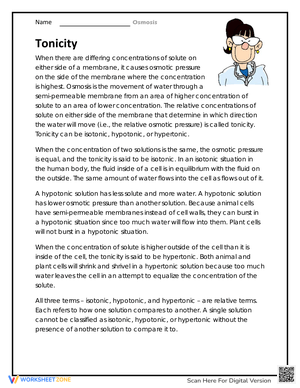
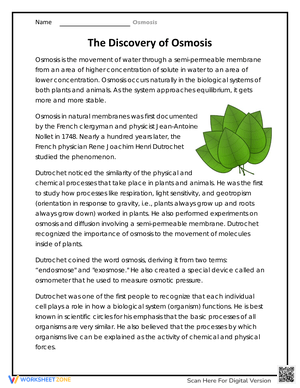
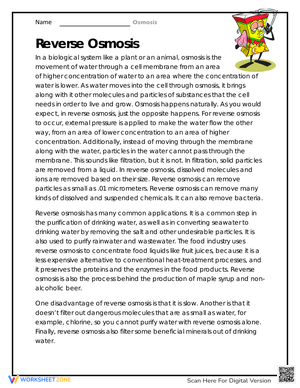
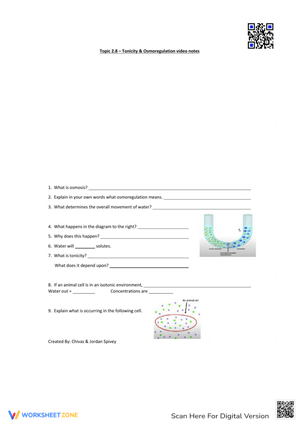
When students first meet hypertonic, hypotonic, and isotonic solutions, the vocabulary alone can stall a lesson. Osmosis and tonicity worksheets give students a low-stakes way to practice matching solute concentration to the direction of water movement before they ever touch a microscope or a potato core. For a US high school biology or AP Biology teacher building a cell transport unit, these worksheets work best as a bridge between direct instruction and lab work, letting students rehearse the reasoning they will need once real data starts coming in.
Worksheets built around water potential across a semi-permeable membrane also give you a quick formative snapshot. A five-minute worksheet check tells you whether the class is ready to move into a lab or whether you need another day of guided practice on solute concentration and water flow.
Aligning Worksheet Practice with NGSS HS-LS1-3
NGSS standard HS-LS1-3 asks students to plan and conduct an investigation showing how feedback mechanisms, including osmotic balance across semi-permeable membranes, maintain homeostasis. Tonicity worksheets support this standard by giving students repeated, low-risk practice with the underlying mechanism before they design or run an investigation of their own.
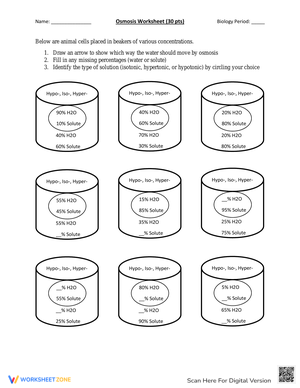
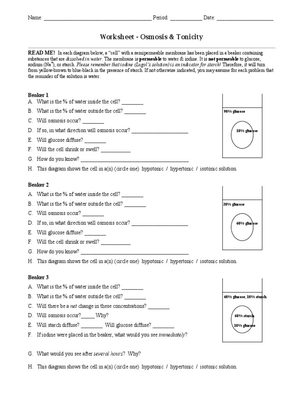
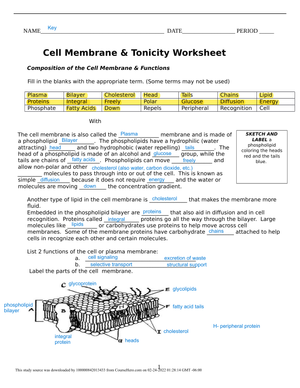
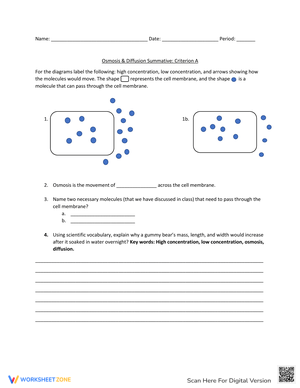
A worksheet sequence that pairs a labeled cell-membrane diagram with a numeric solute concentration forces students to connect symbol and quantity in the same glance, which is exactly the skill HS-LS1-3 investigations expect them to apply independently. Teachers who build this pairing into every practice item report fewer stalled lab groups, since students already have a mental model of which way water should move before they collect their first measurement.
Using Worksheets to Preempt the Hypertonic and Hypotonic Mix-Up
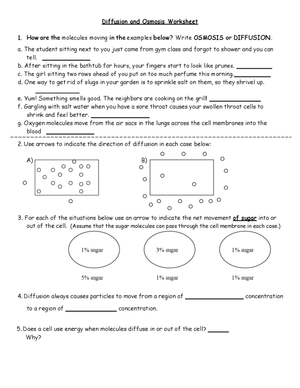
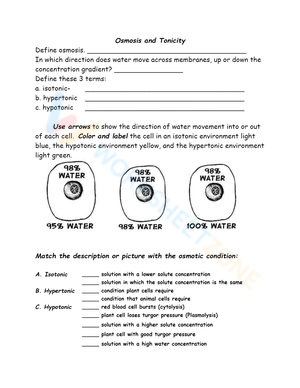
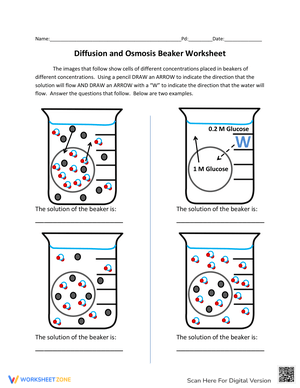
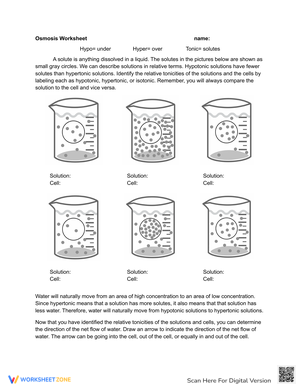
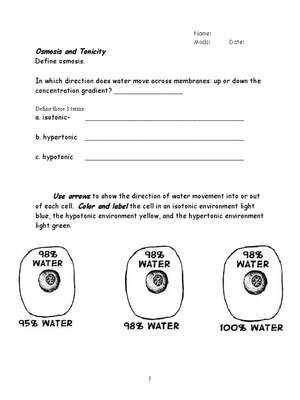
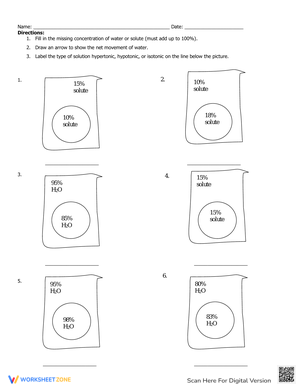
The most common student error in this unit is reversing the direction of water flow relative to the cell. Students often remember that hypertonic solutions have more solute but then guess incorrectly about which way water moves. Worksheets that require students to draw an arrow showing water movement, not just label the solution type, catch this error early because a wrong arrow is visible at a glance during a walkthrough.
Sequencing worksheet items from single-cell scenarios to multi-cell or tissue-level scenarios also helps. Start with one animal cell in one solution, then move to a plant cell with a cell wall, then to a scenario involving a whole organ or tissue sample. Each layer adds complexity without introducing new vocabulary, so struggling students can still track the core water-movement rule.
Pairing Worksheets with the AP Biology Potato Osmosis Lab
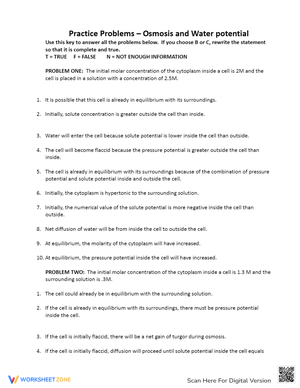
AP Biology Lab 4, Diffusion and Osmosis, has students measure the change in mass or volume of potato or dialysis tubing sections placed in solutions of varying molarity to determine water potential. A worksheet that walks students through the water potential equation, pressure potential plus solute potential, before the lab day means less time re-teaching the formula mid-lab and more time on actual measurement and analysis.
Classroom Implementation
Build the worksheet sequence into three short stages across a week. Day one: identify tonicity state from a labeled diagram and solute concentration, no calculation required. Day two: draw water-movement arrows and explain the reasoning in one sentence per item, targeting the hypertonic and hypotonic confusion directly. Day three, for AP sections: calculate water potential using the pressure potential and solute potential formula, then predict lab outcomes.
Use worksheet results as your entry ticket to lab groups. Students who miss more than one item on the water-movement arrow worksheet should sit with a partner who scored well, rather than being grouped by seating chart alone. This small grouping decision tends to prevent one student in a lab group from silently carrying the reasoning for the whole team.
For review before a quiz or unit test, hand back a mixed worksheet that combines diagram identification, arrow drawing, and one water potential calculation. Mixing item types in the final review worksheet mirrors how tonicity questions typically appear on a summative assessment, so students are not surprised by format on test day.
Frequently Asked Questions
1. What grade level typically covers osmosis and tonicity worksheets?
These worksheets are used in both introductory high school biology, generally grades 9 and 10, and AP Biology, generally grades 11 and 12. Difficulty should be flagged clearly since the same topic spans a wide range of cognitive demand across those grade bands.
2. How do these worksheets align with NGSS or AP Biology standards?
They support NGSS standard HS-LS1-3, which covers feedback mechanisms and osmotic balance in maintaining homeostasis, and they reinforce the water potential concepts covered under the AP Biology Curriculum Framework, including the calculation used in AP Biology Lab 4.
3. What is the best way to use a tonicity worksheet alongside a lab activity?
Assign a worksheet the class period before a lab so students practice the underlying reasoning, such as predicting molarity outcomes, before they collect data. This turns the worksheet into a prediction step rather than a disconnected drill.
4. How can teachers address common student misconceptions about hypertonic and hypotonic solutions using these worksheets?
Use worksheet items that require students to draw the direction of water movement rather than only label the solution type. A visible arrow makes the reversed-direction error easy to spot during a quick walkthrough.
5. Are these worksheets appropriate for both introductory and AP Biology classes?
Yes, as long as the difficulty is matched to the course. Introductory sections should stay at identification and direction-of-flow items, while AP sections should include the full water potential calculation used in the College Board lab manual.












 Interactive Worksheet Maker
 Quiz Maker
 Word Search Maker
 Crossword Puzzle Maker
 Word Scramble Generator
 Sentence Scramble Generator
 Handwriting Worksheet Generator
 Name Tracing Generator
 Fill In The Blank Generator