These loud and soft sounds printable worksheets give early elementary students a concrete way to classify volume — through picture sorting, observational recording, and sequencing tasks — at a stage when the idea that sound carries energy is still brand new. Each worksheet in the set focuses on a discrete skill, which means teachers can drop one into a center rotation, a Monday warm-up, or a quick exit check without rearranging the whole science unit.
Skills These Worksheets Build
The set covers six distinct task types, each targeting a different dimension of volume understanding. Students work across all of these formats:
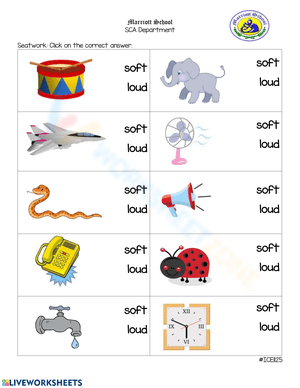
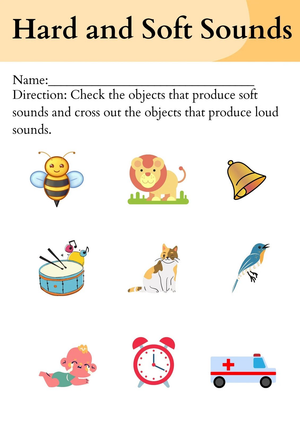
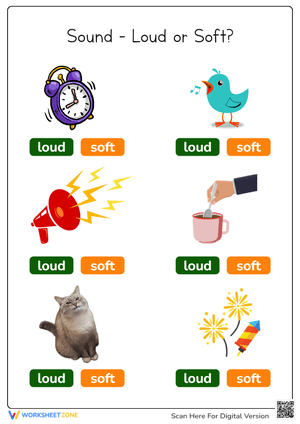
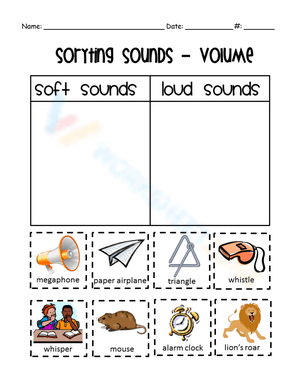
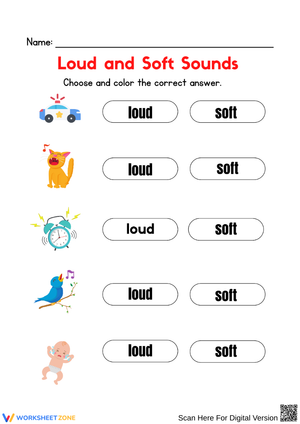
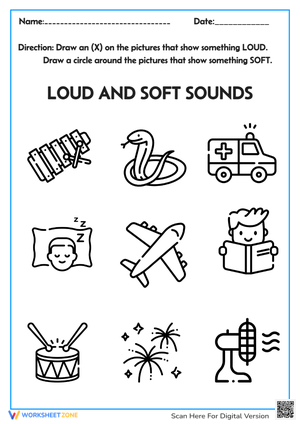
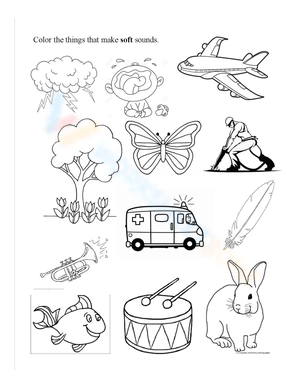
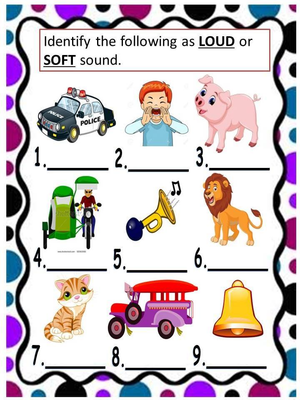
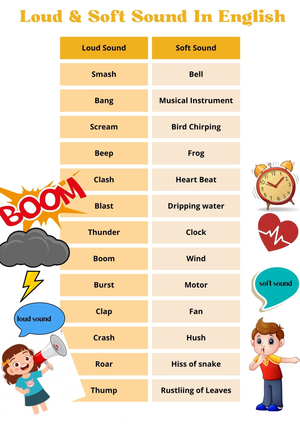
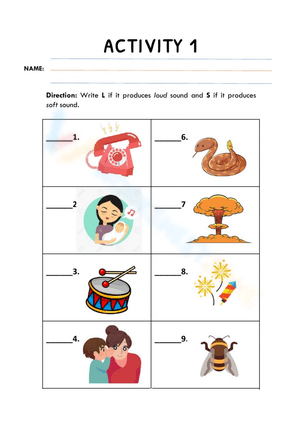
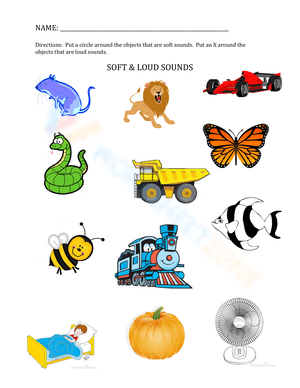
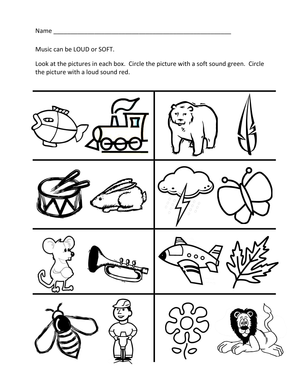
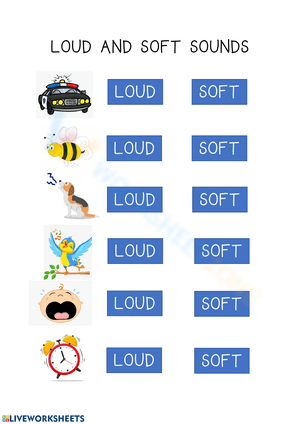
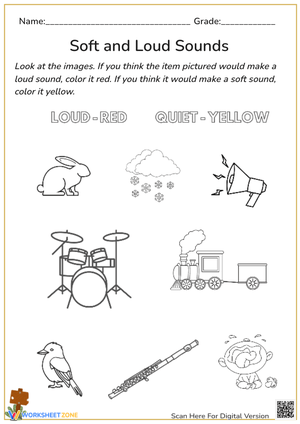
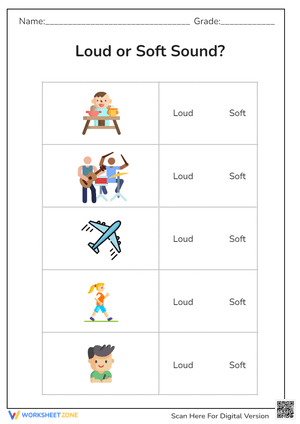
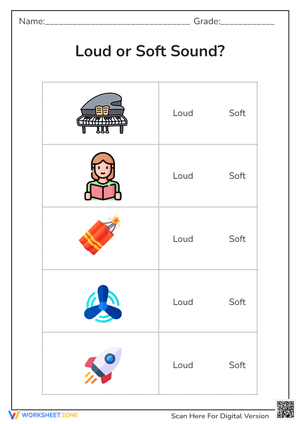
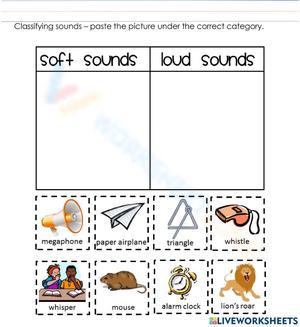
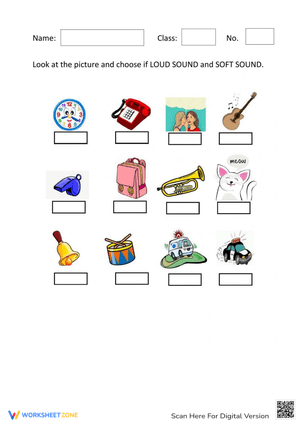
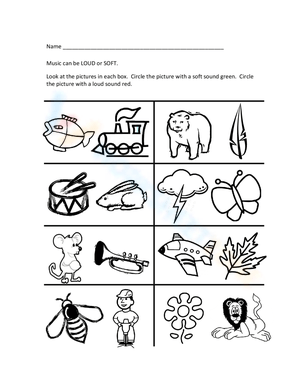
- Cut-and-paste sorting: Students examine pictures of sound sources — a fire truck, a purring cat, a crinkling wrapper, a jackhammer — and place each into a loud or soft column. This is typically the entry-point format, used right after the introductory lesson.
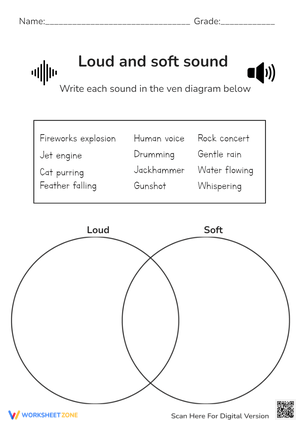
- Sequencing by intensity: Students arrange four or five images from softest to loudest, such as ordering a pin drop, a whispered word, a barking dog, and a jet engine taking off. Getting the middle items right is harder than students expect.
- Drawing and labeling: Students sketch three loud and three soft sound sources from their own experience, then write or dictate a label for each — a natural entry point for personal connection to the concept.
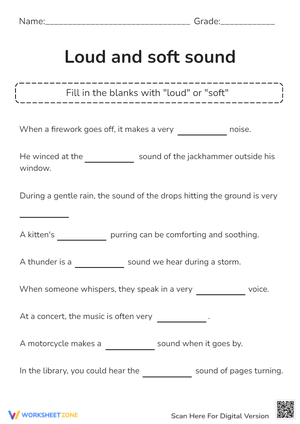
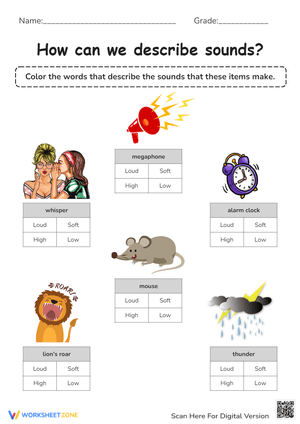
- Onomatopoeia matching: Students connect descriptive words — crash, peep, thud, rustle, boom, click — to loud or soft categories, pulling language arts vocabulary into the science block.
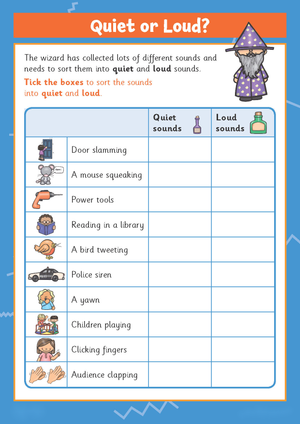
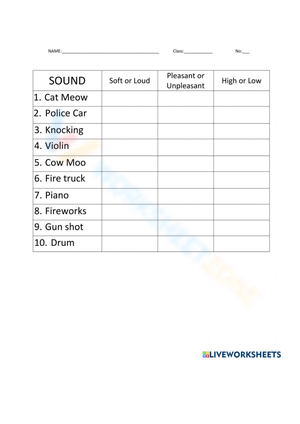
- Environmental recording: A scavenger-style format directs students to listen at three or four locations around the classroom or school and record what they hear, then mark each sound as loud or soft.
- Amplitude wave drawing: Students identify a sound source, then sketch the wave it would produce — wide peaks for loud, small peaks for soft — connecting visual sorting to the physics underneath it.
Student Errors Worth Anticipating Before the Lesson
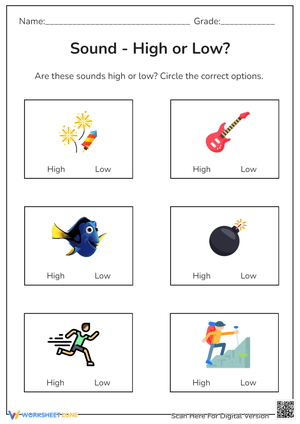
The single most persistent confusion in this unit is pitch-volume conflation. Students hear a high-pitched whistle and mark it loud because the sharpness of the tone feels intense — even when the whistle is barely audible from across the room. The reverse also happens: a deep bass rumble from a passing truck reads as "soft" to some students because low-frequency tones feel less urgent than squeaks or beeps. Before students touch the sorting worksheet, it helps to do a quick voice demonstration — sing a high note very quietly, then a low note at full volume — so they see that pitch and loudness move independently of each other.
A second error pattern shows up specifically on the sequencing worksheet. Students often place the middle items correctly and swap the extremes — ranking a dog bark louder than a jet engine because dogs feel more immediately startling. What they are measuring, without realizing it, is their emotional response to the sound rather than its actual amplitude. A brief discussion of why airplanes require ear protection and dogs generally do not helps re-anchor them to the energy-based definition of volume before they move on.
How These Worksheets Fit Into Your Science Block
The cut-and-paste sorting worksheet works best after a whole-class demonstration rather than before one. Spend five to eight minutes having students make sounds with their hands — a soft finger tap on a desk, then a hard slap, then a clap — while you ask them to notice what changed in their bodies. The energy required. Where they felt the vibration. Then hand out the worksheet. Students who just felt the difference between a quiet tap and a loud clap will sort pictures with that physical memory intact, not just a verbal definition.
The environmental recording worksheet is worth saving for mid-unit, once students have enough vocabulary to name what they are hearing. Sending students into the hallway or toward different classroom zones with a clipboard during independent work time gives you five minutes to pull a small group — and gives the rest of the class genuine scientific fieldwork instead of busywork. The loud and soft sounds printable worksheets in this recording format also generate productive disagreements: students come back divided over whether the hallway during passing period counts as a "loud zone" or just "medium," and those conversations are worth having out loud before they write anything down.
For formative assessment, the sequencing worksheet is the most diagnostic. A student who places a pin drop, a normal conversation, a fire alarm, and a concert speaker in the wrong order is showing you something specific — usually that they have not yet connected volume to energy transfer, just to familiarity. That is a five-minute re-teach, not a re-do of the whole unit.
Standard Alignment
These worksheets support NGSS K-PS4-1, which asks kindergartners to plan and conduct investigations showing that vibrating materials produce sound. The classification tasks in the sorting and sequencing worksheets build directly toward the concept that amplitude — the amount of vibration energy — determines volume. At the kindergarten level, this standard is addressed primarily through structured observation rather than controlled experiments, which is exactly the format these worksheets use. First-grade teachers extending the unit toward 1-PS4-1 will find the amplitude wave-drawing worksheet particularly useful as a bridge between qualitative sorting and the visual representation of wave properties.
Adjusting These Worksheets for a Mixed-Ability Class
For students still developing print awareness, the picture-heavy sorting and cut-and-paste worksheets require no reading at all — they work entirely through visual recognition and physical manipulation. These are the natural starting point for pre-readers and for ELL students who are building science vocabulary alongside a second language. The onomatopoeia matching worksheet, by contrast, assumes some phonics foundation and belongs later in the rotation for those students.
Students who are ready for more challenge benefit most from the sequencing and wave-drawing worksheets, which require judgment rather than matching. Push them further by asking them to add one example of their own to the sequence — something that fits between a barking dog and a jet engine — and justify the placement in writing or dictation. Students who finish the onomatopoeia worksheet early can generate their own descriptive words for sounds they notice in the room and sort those independently, pulling the loud and soft sounds printable worksheets into word-study territory without changing the core science objective.
Frequently Asked Questions
How do I explain the difference between pitch and volume to a kindergartner without creating more confusion?
Use your voice as the demonstration tool. Whisper a high note, then shout a low note. Ask students which was louder — they will say the shouted one immediately, even though its pitch was lower. That ten-second demo separates the two concepts more cleanly than any definition. The pitch-volume conflation is genuinely common, and it is far easier to prevent with a physical example than to undo after students have already sorted a full worksheet incorrectly.
What objects work best at a sound exploration center alongside the worksheets?
Keep it simple: wooden blocks, a small hand bell, a sheet of tissue paper, and a rubber band stretched across an open box. Each object can produce both a loud and a soft sound depending on how much force is used — which is exactly the point. Students tap the bell gently, then strike it hard, then record what they heard on their observation sheet. Avoid objects that produce only one volume level; the comparison between gentle and forceful use is where the amplitude concept becomes tangible. The loud and soft sounds printable worksheets that pair best with this center are the observational recording and amplitude-drawing formats, not the sorting ones, since students at the center are investigating rather than classifying images.
At what point in a sound unit should these worksheets be introduced?
Introduce the cut-and-paste sorting worksheet in the first or second lesson, after students have witnessed at least one live demonstration of loud versus soft. Hold the sequencing and scavenger recording worksheets for the middle of the unit, when students have the vocabulary and conceptual base to handle more nuanced comparisons. Save the amplitude wave-drawing worksheet for the end of the unit as a synthesis task — it asks students to connect the qualitative experience of loud and soft to a visual representation of energy, an abstraction that needs several lessons of concrete experience before it lands.