These 2nd grade cursive alphabet handwriting printable worksheets give teachers a clear, letter-by-letter path through cursive formation — lowercase and uppercase — without requiring a separate purchased curriculum or hours of prep. Each worksheet targets a specific letter or stroke pattern, moving from guided tracing into independent practice, then closing with a short word or phrase that puts the new letter into real writing context.
What's Inside the Set
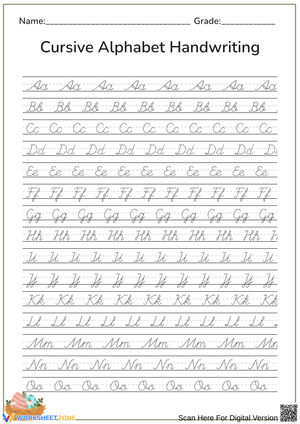
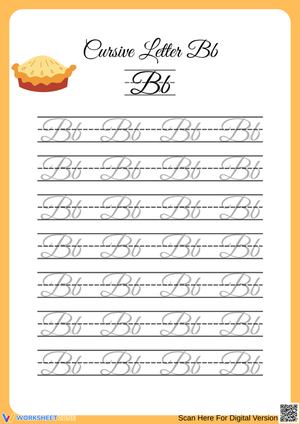
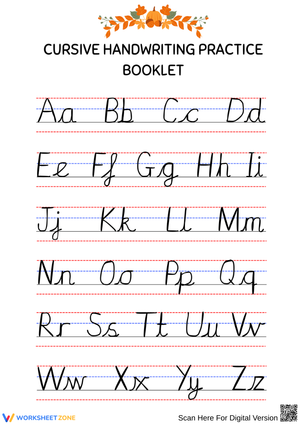
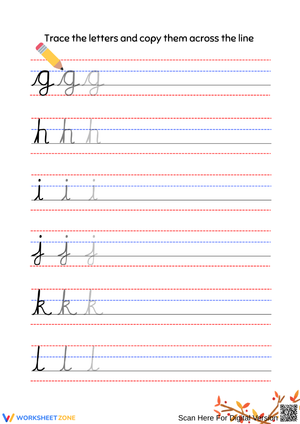
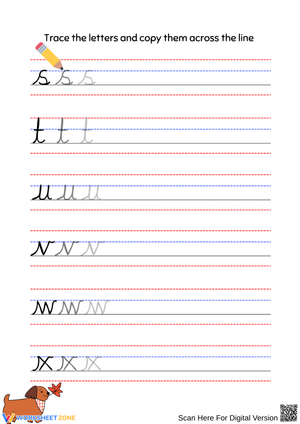
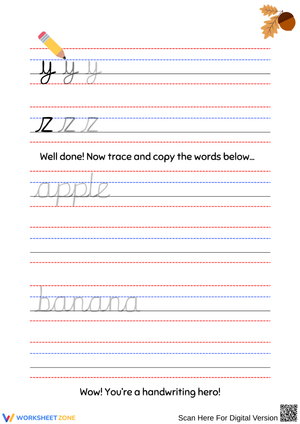
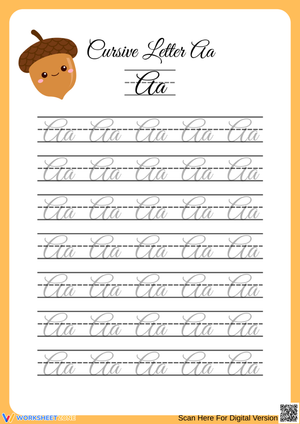
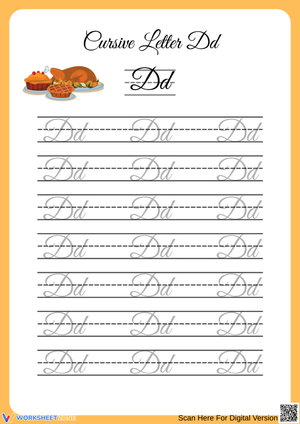
The full set covers every letter of the cursive alphabet across two tracks: lowercase first, then uppercase once students have steady control of the small forms. Each worksheet provides a letter model with numbered directional arrows, multiple tracing rows, open rows for independent practice, and — in most worksheets — a row of common words containing the target letter so students see it functioning in connected text rather than in isolation.
- Lowercase letter formation, organized by stroke family rather than alphabetical order
- Uppercase letter formation, introduced after lowercase is stable
- Entry and exit strokes explicitly marked with directional cues on every letter model
- Connected-word practice using high-frequency and grade-level vocabulary
- Sentence-level practice in later worksheets once individual letters are solid
Why These Worksheets Follow Stroke Families, Not the Alphabet
The most efficient way to teach cursive is not A through Z. Letters like a, c, d, g, and q all open with the same counterclockwise oval — teach that one motion and a student has the foundation for five letters at once. Similarly, n, m, and h share an over-the-hill entry stroke. Grouping by formation reduces the number of new motor programs a second grader has to internalize, which matters considerably at an age when fine motor control still develops unevenly across a class. These 2nd grade cursive alphabet handwriting printable worksheets follow a stroke-family sequence rather than the alphabet, so each lesson builds directly on the one before it instead of introducing an unrelated movement every day.
Errors Worth Watching For and Correcting Early
The error we see most consistently in second-grade cursive work is a pinched or closed e. Students trace it correctly but then, writing independently, collapse the loop entirely — producing something that reads as an i or a smudge. The fix is deliberate: have students exaggerate the loop width for a full week before asking them to normalize the size.
Two other patterns show up reliably. The cursive r becomes a v when students rush the exit stroke upward instead of curving it. The n/m confusion carries over from print because students haven't fully re-mapped those letters in the new form — their print knowledge interferes rather than helps. The b/d reversal benefit of cursive is genuine: the distinct entry strokes do help. But it is not automatic. Students who reversed in print still need explicit attention to those two letters in cursive; the new script creates a fresh opportunity to correct the habit, not an instant solution.
Working These Worksheets Into Your Weekly Lesson Plans
The most reliable approach is daily short sessions rather than occasional long ones. Eight to ten minutes at the start of the literacy block — before transitioning into shared reading or writing workshop — is enough to build real progress over a semester. Many teachers build a rotating station around this set: one group works on the current letter worksheet while other groups are at reading or word-work stations, keeping handwriting instruction consistent without pulling time from other content.
A practical Friday move: use one of the 2nd grade cursive alphabet handwriting printable worksheets covering a letter from earlier in the week as a review warm-up. Students who felt uncertain on Tuesday often land the stroke solidly by Friday, and that spaced repetition cements the motor pattern far more durably than a single initial exposure. Laminating a few worksheets from the set for dry-erase use gives a low-prep reusable option that students find genuinely motivating — the novelty of writing on a laminated surface keeps even reluctant handwriters engaged through the full practice row.
Adjusting the Set Across Ability Levels
Students who are still unsteady in print formation should not be hurried into cursive. For those learners, run the current lesson as air writing first — large arm movements that trace the letter shape before any pencil touches paper. This engages the shoulder and elbow, which have more developed control at this age than the fine grip, and gives the motor memory somewhere to anchor before the small-muscle work begins.
For students on the other end — those who pick up each worksheet's letter quickly and are already connecting strokes independently — the word and sentence rows at the bottom become the real work. Give those students additional high-interest writing tasks in cursive: copying a short poem, writing a caption for a science drawing, or producing their spelling words for the week in cursive. The structure of each worksheet is a launching point for them, not a stopping point.
Standard Alignment
Handwriting standards vary significantly by state. The Common Core Language strand (CCSS.ELA-LITERACY.L.2.1) addresses grade-level writing conventions broadly but does not specify cursive instruction — many states have supplemented CCSS with explicit handwriting requirements. Florida law (F.S. 1003.41) requires cursive instruction beginning in grade 3, making consistent second-grade practice directly preparatory for that mandate. Texas TEKS 110.14(b)(1)(C) addresses handwriting fluency in the elementary grades. Teachers in states with explicit cursive requirements find this set maps cleanly to those expectations; teachers in states without them use it to build the fine motor foundation that supports all extended writing tasks across the curriculum.
Frequently Asked Questions
Should I teach lowercase and uppercase letters at the same time?
It's more effective to separate them. Lowercase letters appear far more often in student writing, and mastering them first gives students a functional skill immediately. Uppercase cursive forms tend to be more structurally complex and are harder to predict from print knowledge — Q, G, and Z are consistent examples. Students still consolidating lowercase strokes will not benefit from splitting attention between both sets at once.
How do I handle left-handed writers using these worksheets?
Left-handed students slant their paper to the right — roughly 45 degrees — so the wrist stays below the writing line rather than hooking above it. Watch the pencil hold: gripping slightly farther back from the tip reduces smearing significantly. The directional cues on each worksheet apply equally to both handedness groups; the difference is paper angle and position, not stroke direction. Seat left-handed students at the left end of a desk cluster so their elbow isn't competing with a right-handed neighbor's writing arm.
How do I know when a student is ready to move forward?
Look at the independent practice rows, not the tracing rows. A student who traces accurately but drifts in the open rows has not yet internalized the stroke. A practical readiness marker: three consecutive rows of legible, consistently slanted letters without tracing support. At that point, the connected-word row at the bottom of each worksheet becomes the real assessment — if they can write those words without copying the model letter, move them forward.
Are these worksheets useful for students who already had some cursive exposure?
Often more useful than starting a new student from zero. Students who picked up cursive informally or transferred from another classroom frequently carry habituated errors: a closed e loop, a flat u that reads as n, or entry strokes that get skipped entirely. Using the relevant 2nd grade cursive alphabet handwriting printable worksheets as a diagnostic — asking students to complete the independent rows without tracing — reveals exactly which letters need correction and which are already solid, so instruction can target the actual gaps rather than repeating what the student already knows.