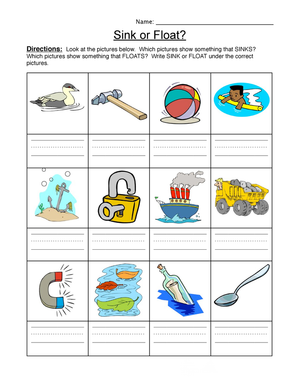
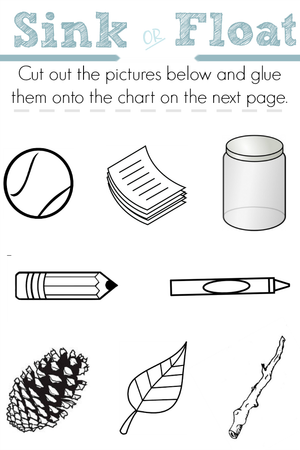
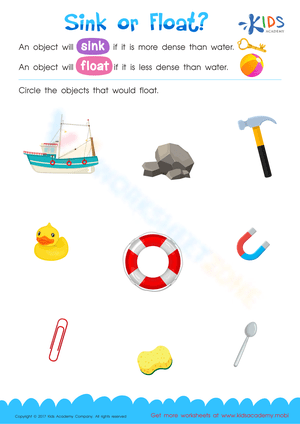
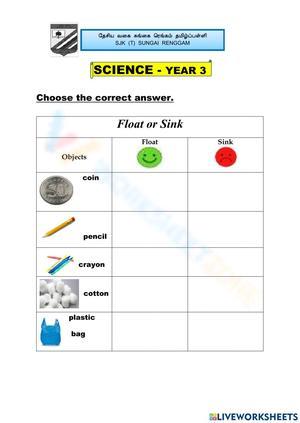
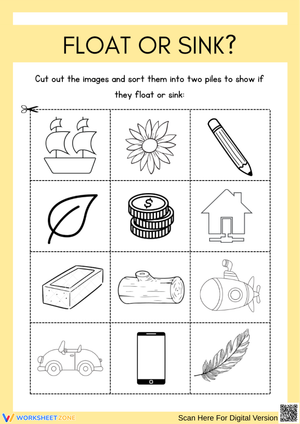
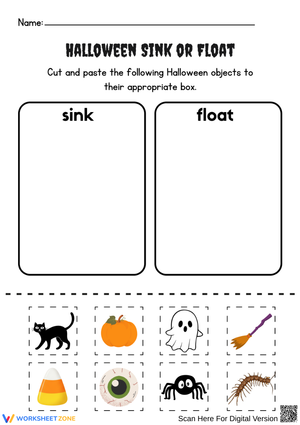
A sink or float station is one of the fastest ways to get a class making real observations instead of copying notes. Give students a tub of water, a handful of everyday objects, and a simple prediction sheet, and you have an activity that works as a whole-class opener, a small-group intervention station, or a quick formative check before a bigger unit. The materials part is easy. What separates a strong sink or float worksheet from a filler activity is how it scaffolds prediction, observation, and explanation at the right level for your grade band.
For K-2 classrooms, that means keeping the vocabulary concrete: heavy for its size versus light for its size. For upper-elementary classrooms, the same core question opens the door to density, measurement, and simple calculation. A worksheet that tries to do both at once usually does neither well, so the design choice matters as much as the experiment itself.
Predict-Test-Record: The Core Structure of a Sink or Float Station
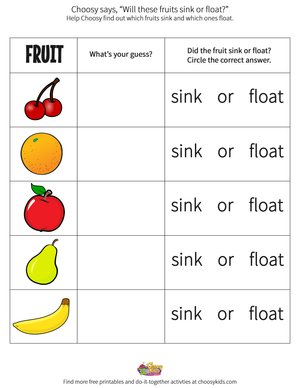
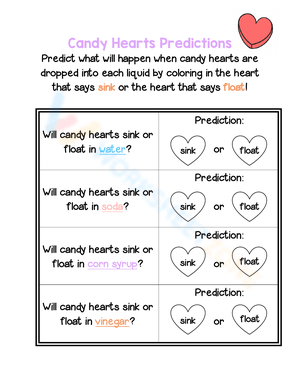
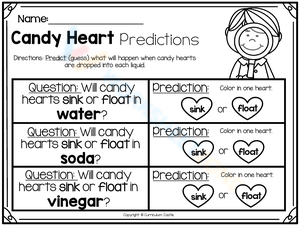
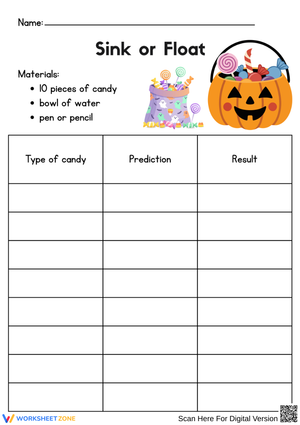
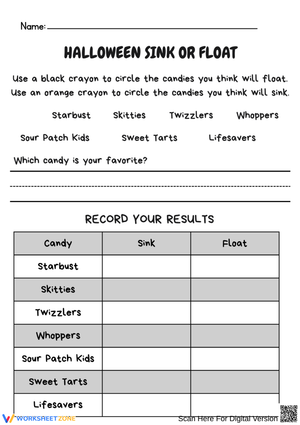
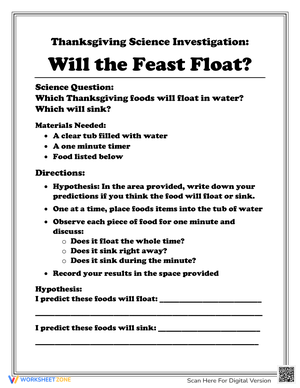
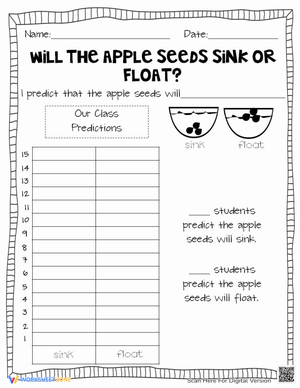
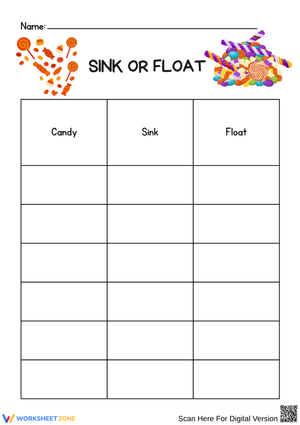
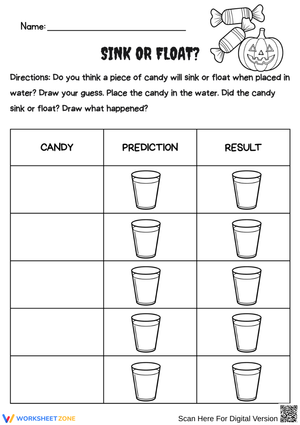
The most reliable format for a sink or float worksheet has three columns: predict, test, and result. Students list an object, circle a prediction of sink or float, physically test it in a water tub, and then record what actually happened. This structure does double duty. It forces a commitment before the test, which makes the observation meaningful, and it gives you a paper trail of student reasoning you can review later.
A useful classroom management detail: capping the object list at eight to ten items keeps a sink or float station to about 12-15 minutes per group, which fits neatly inside a science rotation block without rushing the recording step or the follow-up discussion.
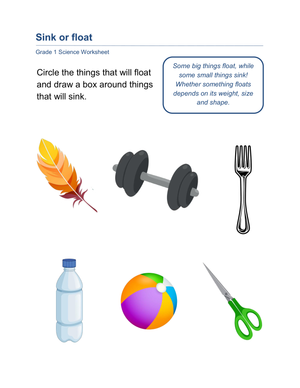
Choose objects that produce a genuine mix of outcomes rather than a set that is obviously going to float. A metal spoon, a cork, a small rock, a plastic cap, a rubber eraser, and a wood block give students enough variety to notice that size alone does not predict the outcome, which sets up the density conversation for older students.
Differentiating for K-2: Observation Over Calculation
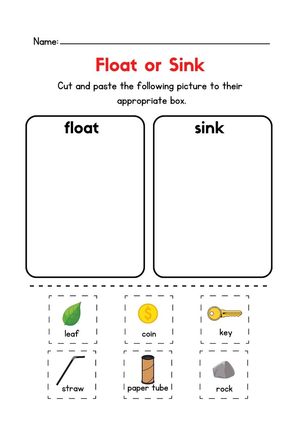
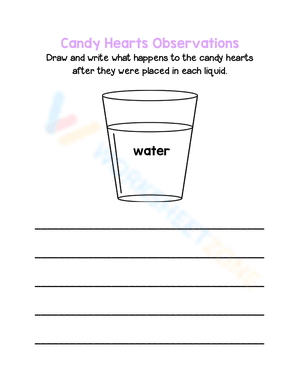
In kindergarten through second grade, the goal is not to teach density as a formula. It is to build the habit of testing a claim against evidence. Early elementary instruction frames the concept simply: things that sink are heavy for their size, and things that float are light for their size. A K-2 sink or float worksheet should stick to that language, use picture support for object names, and ask students to sort results into two simple columns rather than write explanations in full sentences.
This observation-first approach lines up with NGSS 2-PS1-1, which asks students to plan and conduct investigations that describe and classify materials by observable properties, including whether objects sink or float. A worksheet built around predicting, testing, and sorting gives you a direct piece of evidence toward that standard without needing extra paperwork.
Differentiating for Grade 5: Introducing Density and Measurement
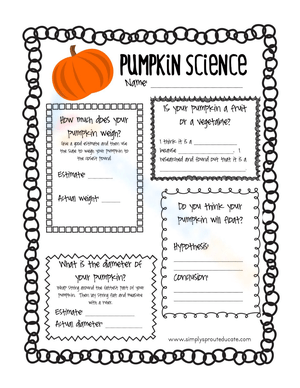
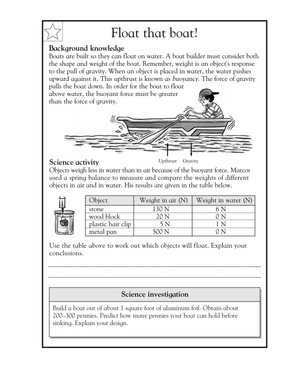
By fifth grade, students are ready to move past heavy for its size toward how heavy an object is compared to its size, which is the working definition of density teachers use at this stage. A grade 5 sink or float worksheet should add a measurement column: mass in grams and volume in milliliters, using a scale and a graduated cylinder with water displacement. Students then compare density values instead of relying on a general impression of heaviness.
This shift matches NGSS 5-PS1-3, which focuses on making observations and measurements to identify materials based on properties such as density. Framing the same sink or float activity around measured density turns a familiar station into a legitimate data-collection task, and it gives you a natural bridge into a broader properties-of-matter unit.
Using Sink or Float Worksheets as a Formative Assessment
Before launching a density unit, a sink or float worksheet works well as a quick diagnostic. Give students five objects and ask them to predict and justify their answer in one sentence. Reasoning that leans entirely on size or weight, without mentioning how the two relate, signals that a student is still at the observation stage and may need the K-2 framing repeated before moving into density vocabulary. Reasoning that references how packed or compact an object is suggests the student is ready for measurement-based instruction.
This same worksheet works as a post-unit check. Compare a student's pre-unit prediction sheet to a post-unit version where they explain results using density language. The shift in vocabulary and reasoning gives you a concrete artifact for a data notebook or a parent conference, without requiring a separate quiz.
Extending Into a Full Density Investigation
Once your grade 5 students have completed a basic sink or float worksheet, extend the activity by having them calculate density directly: mass divided by volume, recorded in grams per milliliter. Have students rank their tested objects from least to most dense and compare that ranking to their sink or float results. Objects with density values below one gram per milliliter should float, and those above one gram per milliliter should sink, giving students a numeric explanation instead of a general impression.
You can extend this further by testing the same object in different liquids, such as water versus vegetable oil, to show that sink or float outcomes depend on the density of the liquid as well as the object. This variation keeps the activity fresh for students who completed a basic sink or float worksheet earlier in the year and are ready for a more advanced version during a review week.
Frequently Asked Questions
1. What grade level are sink or float worksheets best suited for?
Sink or float worksheets work well from kindergarten through fifth grade when the format matches the grade band. K-2 versions should stay observation-based, sorting objects into sink and float columns, while grade 5 versions should add mass and volume measurements to introduce density calculations.
2. How do sink or float worksheets align with NGSS science standards?
At the K-2 level, sink or float worksheets support NGSS 2-PS1-1, which calls for investigations that classify materials by observable properties. At the upper-elementary level, a measurement-based version supports NGSS 5-PS1-3, which focuses on identifying materials through properties such as density.
3. What household or classroom materials work best for a sink or float experiment?
A strong object set includes a metal spoon, a cork, a small rock, a plastic cap, a rubber eraser, and a wood block. Choosing objects with a genuine mix of outcomes, rather than items that obviously float, helps students notice that size alone does not predict whether something sinks.
4. How can teachers turn a sink or float activity into a density lesson for older students?
Add a measurement column where students record mass in grams and volume in milliliters using a scale and water displacement in a graduated cylinder. Students then calculate density and compare it directly to their sink or float results, connecting the observation to a numeric explanation.
5. How should teachers assess student understanding after a sink or float worksheet activity?
Ask students to justify their prediction in one sentence rather than grading only for a correct sink or float answer. Reasoning that references how compact or dense an object is, rather than just its size or weight, signals readiness to move from observation-based instruction toward density-based instruction.












 Interactive Worksheet Maker
 Quiz Maker
 Word Search Maker
 Crossword Puzzle Maker
 Word Scramble Generator
 Sentence Scramble Generator
 Handwriting Worksheet Generator
 Name Tracing Generator
 Fill In The Blank Generator