These parts of a fruit printable worksheets give students in grades 3–7 a concrete way to study the three pericarp layers — exocarp, mesocarp, and endocarp — and connect each one to its biological function. The set moves from labeled cross-section diagrams to function-matching exercises to structured dissection observation sheets, so the vocabulary students practice on paper maps directly onto what they handle in lab. Teachers running the peach-and-apple comparison lesson find that the endocarp distinction — so often muddled on the first pass — sticks firmly by the second day.
What Students Practice Across the Set
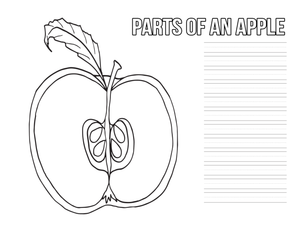
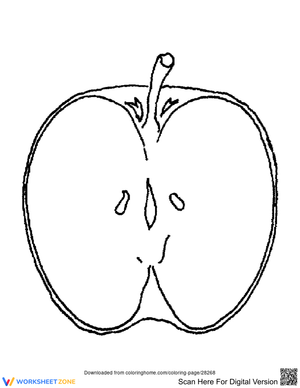
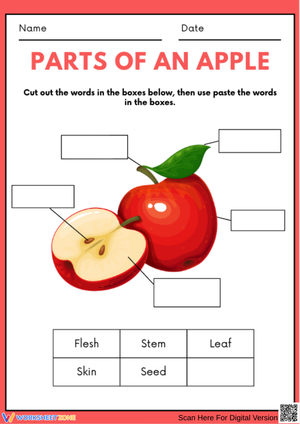
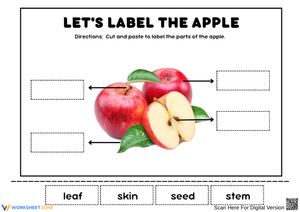
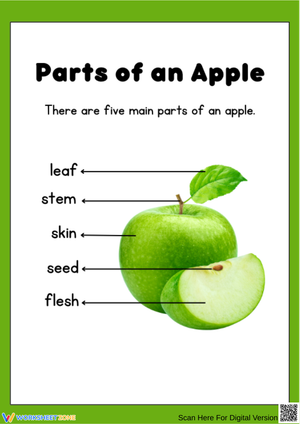
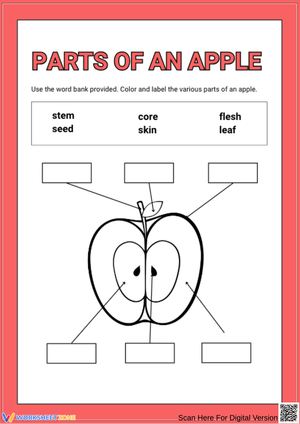
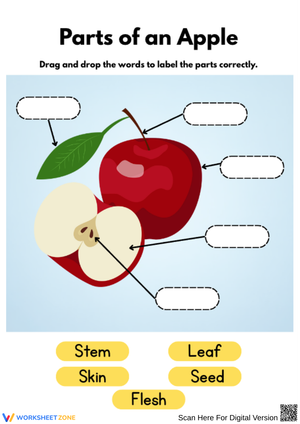
The parts of a fruit printable worksheets in this collection cover three distinct activity formats, each targeting a specific cognitive task rather than bundling everything into one exercise. The labeling diagrams present accurate cross-sectional illustrations of three fruits — apple, peach, and tomato — alongside a word bank. Students identify and mark the exocarp, mesocarp, endocarp, and seed, then write a one-sentence function for each part in the space provided. Running all three in the same sitting lets students notice structural differences between a pome, a drupe, and a botanical berry without the teacher narrating every comparison.
The function-matching worksheets move students into retrieval rather than recognition: they draw lines connecting anatomical terms to biological roles and write a brief justification for each match. The dissection observation sheets pair with a live lab — students sketch the cross-section they cut open, label what they see, and note where the real specimen differs from the diagram. A reflection prompt at the bottom ("Which layer surprised you most, and why?") consistently surfaces the genuine curiosity that emerges when students realize a tomato qualifies as a botanical berry.
Why the Structure-Function Pairing Matters at This Grade Level
The transition from "name the part" to "explain what it does" is one of the more demanding conceptual shifts in elementary science, and fruit anatomy is unusually well-positioned to drive it. The functions are visible and intuitive — the thick, waxy exocarp of a mango does not require a microscope to observe, and students can reason about its protective role from direct handling. The Structure and Function crosscutting concept in NGSS frames this exactly: structures have shapes and properties suited to their functions. Fruit gives students a three-layered example they can hold in their hands. Presenting vocabulary first, function second, and cross-fruit comparison third reduces cognitive load without stripping out the rigor.
Mistakes Students Typically Make — and What They Signal
The most consistent error at this level: students label the peach pit as the seed. The pit is visually dominant inside the drupe, so students assume it is the reproductive unit. In fact, the pit is the endocarp — the hardened innermost pericarp layer — and the actual seed is the small kernel sitting inside it. Students who carry this misconception will mislabel every drupe they encounter, so it is worth surfacing before the dissection begins. A short pre-lab question — "What do you think is inside the pit?" — brings the confusion into the open. Cracking a dried pit to show the kernel inside takes about thirty seconds and resolves the issue in a way that sticks.
A second pattern that shows up in student work: students who correctly label an apple cross-section will often place labels arbitrarily on a tomato because the gel-like locules surrounding the seeds do not match their internalized picture of mesocarp. This is useful diagnostic data — it reveals a rigid rather than transferable understanding of the structure. Pairing a familiar and an unfamiliar fruit in the same lab session makes this gap visible while there is still instruction time left to address it.
Fitting These Worksheets Into Your Unit Calendar
The sequence that works best in practice: introduce botanical vocabulary on Monday with a brief whole-class discussion anchored to a fruit students have eaten recently. Distribute the labeling diagrams as independent practice the same day — they function as the first formative check on vocabulary retention. Run the live dissection on Wednesday, using the observation sheets as the primary recording tool. On Friday, use the function-matching worksheet as either a warm-up or an exit ticket, depending on where in your block the lesson falls. That Monday-Wednesday-Friday arc gives students two retrieval opportunities separated by a day of other content, which does more for long-term retention than massing all the practice into a single session.
For teachers with limited lab materials, one peach per group of three students is enough to observe all three pericarp layers clearly. Bell peppers are worth adding if you want to surface the botanical-versus-culinary discussion — students who have used the parts of a fruit printable worksheets to label a standard apple are typically surprised, and genuinely engaged, when they discover that a bell pepper meets the botanical definition of fruit.
Standard Alignment
The primary standard these worksheets address is NGSS 4-LS1-1, which asks students to construct an argument that plants and animals have internal and external structures that function to support survival, growth, behavior, and reproduction. Fruit anatomy maps cleanly onto that standard: each pericarp layer carries a distinct function — protection, dispersal attraction, seed shielding — and students who label and describe those functions are producing exactly the evidence-based reasoning the standard requires. The function-matching and written-justification tasks in the set serve as direct formative preparation for that argumentative writing demand.
At the middle school level, the materials extend naturally to MS-LS1-4, which asks students to use evidence and scientific reasoning to explain how specialized plant structures affect the probability of successful reproduction. The fruit's role in attracting seed dispersers maps directly onto that standard's language. Teachers in grades 6–7 often run the labeling and dissection activities as the evidence-gathering phase before students write their explanatory arguments, treating each worksheet as the data-collection stage of a broader inquiry sequence.
Tailoring the Set for Different Learner Levels
Students who struggle with anatomical vocabulary do best when they start with a diagram that includes one completed example — seeing "exocarp: protective outer skin" filled in before they label the second fruit independently. That single completed model lowers the vocabulary barrier without reducing the cognitive demand of the task itself. On-level students work the standard set in the sequence described above, moving from labeling to function-matching to lab observation.
Students who finish early and need genuine extension benefit from the unlabeled diagram challenge: apply the same labeling system to a cucumber or a bell pepper, neither of which students typically recognize as a fruit. The task requires real transfer — the structures are present, but they do not look the way students expect. Adding a short written explanation of why each layer still fits the botanical definition moves the activity into argumentative writing territory, which is appropriate for grades 5 and up and connects naturally to literacy standards without feeling like a detour from science.
Frequently Asked Questions
Isn't the pit of a peach the seed? How do I address this with students?
The pit is the endocarp — the innermost and hardest layer of the pericarp. The seed is the small kernel enclosed inside the pit. This is the most predictable misconception to correct before any drupe dissection. The clearest fix: show students a cracked-open dried peach pit or a close-up photograph of the interior so they can see the seed sitting inside the endocarp. Once students see it, the distinction holds. Skipping this step means they will label the pit as "seed" on every drupe they encounter for the rest of the unit.
At what grade level is fruit anatomy typically introduced?
The core labeling vocabulary — exocarp, mesocarp, endocarp, seed — is most commonly introduced in grades 3–5, where 4-LS1-1 makes structure-function relationships an explicit instructional target. Middle school teachers revisit the content at greater depth, particularly when connecting fruit structure to reproduction and seed dispersal under MS-LS1-4. The parts of a fruit printable worksheets in this set address both ranges because the diagram complexity and written-response expectations differ between the elementary and middle school versions.
Which fruits show the pericarp layers most clearly in a classroom dissection?
Drupes — peaches, plums, or cherries — give the clearest endocarp demonstration because the hard pit is unmistakable. Apples show a papery endocarp surrounding the seed cavity, which is subtler but useful for comparison. Tomatoes work well for demonstrating multiple seeds suspended in fleshy mesocarp and for opening the botanical-versus-culinary conversation. Use firm rather than overripe specimens — soft fruit tears under a plastic knife and gives students an unclear cross-section to observe and sketch.