Why Apple Anatomy Belongs in Your K-2 Science Block
A parts-of-an-apple worksheet does more than decorate a fall bulletin board. For US K-2 teachers, it hands students a familiar object to observe, label, and talk about while they practice a core science skill: identifying the external parts of a plant. Most kids have eaten an apple, but few have ever looked closely at how the stem, skin, flesh, core, and seeds work together as one system. That gap is exactly what makes apple anatomy such a productive early lesson, and it gives you an easy entry point into real observation.
The fruit is cheap, safe, and easy to slice, so a single apple can anchor an entire observation station. Pair the printable with a real apple and a labeling sheet becomes a hands-on investigation that fits a 20- to 30-minute science block. It also travels well across the year, working as a fall harvest lead-in, a plant-structures unit, or a quick review before a life-cycle lesson.
The Parts Students Label on an Apple Worksheet
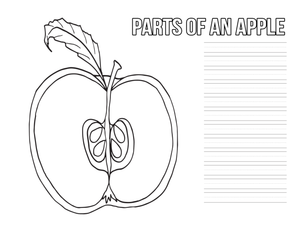
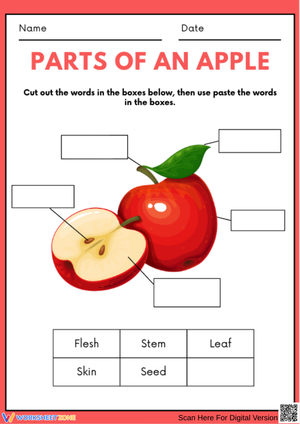
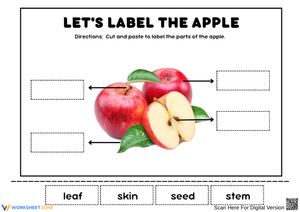
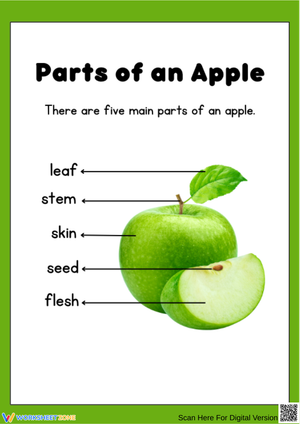
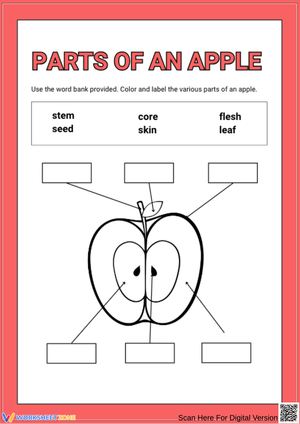
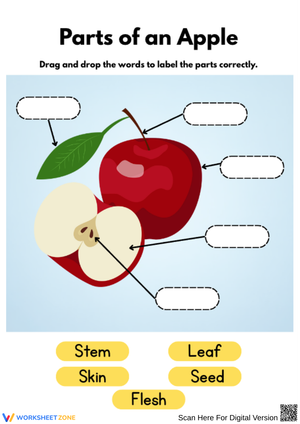
A standard parts-of-an-apple worksheet asks students to label five main structures: the stem, skin, flesh, core, and seeds. Some diagrams add the calyx, the dried blossom end that sits directly opposite the stem. Moving students from naming a part to explaining its job is where the science thinking starts, so build in time to ask what each structure actually does for the tree.
- Stem: connects the apple to the tree and carries water and nutrients while the fruit grows.
- Skin: the outer protective layer that holds moisture in and keeps pests out.
- Flesh: the thick, juicy part students taste and describe.
- Core: the tougher center that protects and holds the seeds.
- Seeds: the small brown ovals that can grow into brand-new apple trees.
- Calyx: the dried blossom end, a great challenge word for your fastest labelers.
Encourage students to use the strong science words as they talk. When a first grader says 'the stem carries water to the flesh,' you are hearing the exact reasoning NGSS asks for, built on a fruit they already know.
Connecting the Worksheet to NGSS 1-LS1-1
Apple anatomy is not just a seasonal craft. It maps cleanly onto a first-grade science standard, which makes the worksheet easy to justify in a lesson plan or a coaching walkthrough.
According to NGSS performance expectation 1-LS1-1, first graders should use materials to show that plants have external parts that help them survive and grow. A parts-of-an-apple worksheet supports this directly: students identify five external structures—stem, skin, flesh, core, and seeds—and then explain how each one helps the fruit grow and protect its seeds.
You do not need to read the standard's code to students. Instead, translate it into a kid-friendly question—'What does each part do to help the apple grow?'—and let their answers become the evidence that they understand external plant structures.
The Horizontal Cut That Surprises Students
Here is the detail that turns a routine labeling task into a memorable one: cut the apple horizontally, straight across the middle, and the seed pockets reveal a five-point star pattern. A typical apple holds between 5 and 12 small seeds, and the crosswise cut displays them in that star far more clearly than the usual top-to-bottom slice. Because most printed diagrams show only the vertical view, putting both cuts side by side gives students a comparison that genuinely sticks.
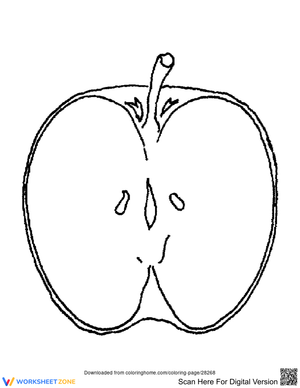
Have students predict what they will see before each cut, then label both views on the worksheet. The vertical cut shows the core running from stem to calyx; the horizontal cut shows the hidden star. That prediction step is where real science observation happens, and it costs you nothing but one extra slice of a single apple.
Keep a few extra apples on hand. Letting each small group make its own horizontal cut, rather than watching a single teacher demo, turns the star reveal into a discovery they own instead of a picture they copy.
Classroom Implementation
Run the lesson as a short observation cycle so every student gets hands-on time without losing the science focus.
- Launch: hold up a whole apple and ask students to name every part they already know.
- Observe: pass around apples, or one per table group, and have students point to the stem, skin, and calyx.
- Cut: slice one apple vertically and one horizontally so both views are visible.
- Label: students complete the worksheet, matching each word to the correct part.
- Discuss: close with one question—how does each part help the apple survive on the tree?
For a fall-harvest tie-in, add a quick taste test and chart describing words like crisp, sweet, and tart, or follow the labeling with a simple apple life-cycle sequencing task from seed to tree to fruit. Keeping the whole cycle to a single apple per group also makes cleanup and prep manageable for a busy morning.
Frequently Asked Questions
1. What are the main parts of an apple that students should learn to label?
The five core parts are the stem, skin, flesh, core, and seeds. Advanced students can also add the calyx, the dried blossom end opposite the stem. Start with the five main structures, then offer the calyx as a challenge term for students who finish early and want more.
2. What grade level is a parts-of-an-apple worksheet best suited for?
It fits kindergarten through second grade best, with grade 1 as the sweet spot. First grade lines up with NGSS 1-LS1-1 on external plant parts, so the worksheet supports required science content rather than serving as a standalone craft.
3. How can teachers turn this worksheet into a hands-on science lesson?
Pair the printable with a real apple. Let students observe and touch each part, then cut the apple to reveal the flesh, core, and seeds. Having students predict, cut, and label turns a paper task into genuine science observation. This simple predict-cut-label routine also gives you a natural moment to introduce measurement, counting the seeds each group finds.
4. Does this worksheet align with NGSS plant structure standards?
Yes. NGSS 1-LS1-1 asks first graders to show that plants have external parts that help them survive and grow. Labeling apple structures and explaining each part's job gives students a concrete way to meet that expectation.
5. What is the difference between cutting an apple horizontally and vertically?
A vertical cut, from stem to calyx, shows the core running top to bottom. A horizontal cut, across the middle, reveals the seeds arranged in a five-point star. Showing both views helps students see how the parts fit together inside the fruit.












 Interactive Worksheet Maker
 Quiz Maker
 Word Search Maker
 Crossword Puzzle Maker
 Word Scramble Generator
 Sentence Scramble Generator
 Handwriting Worksheet Generator
 Name Tracing Generator
 Fill In The Blank Generator