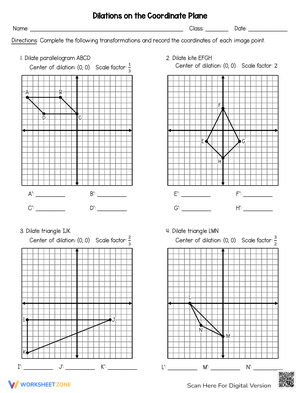
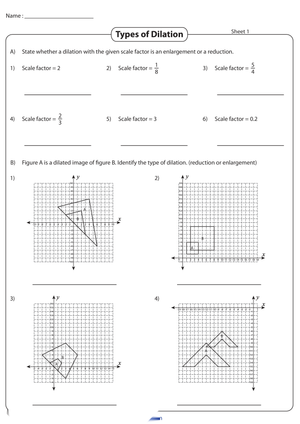
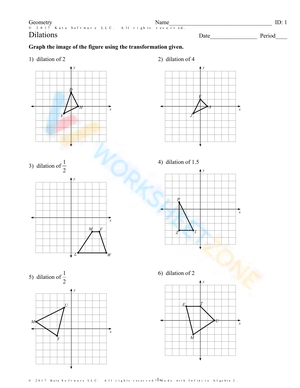
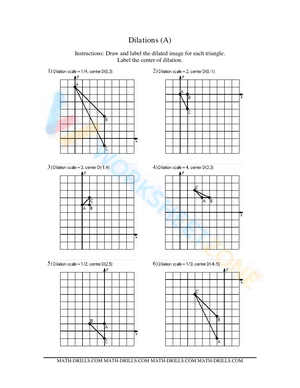
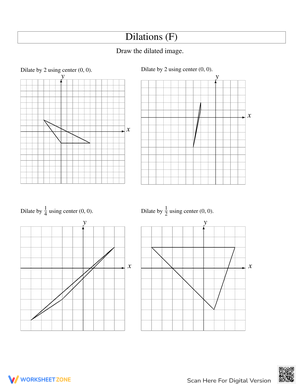
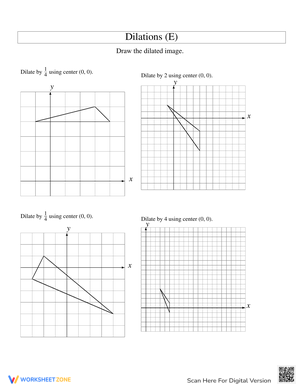
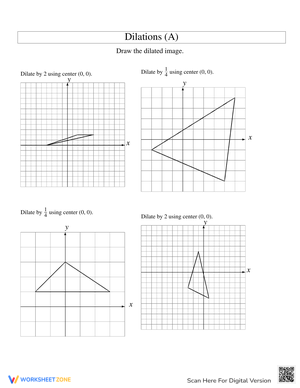
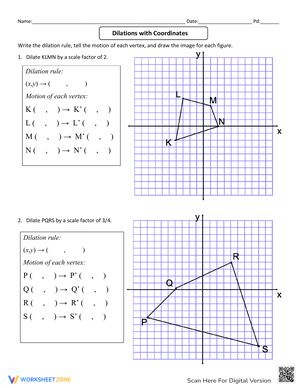
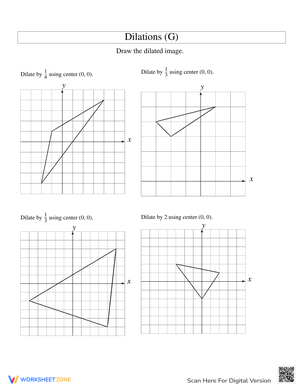
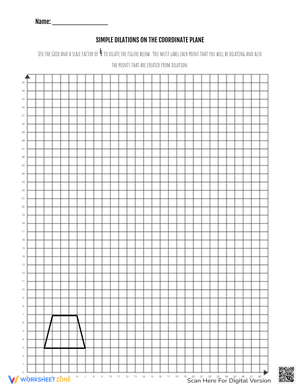
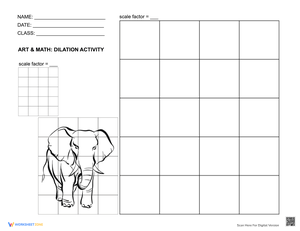
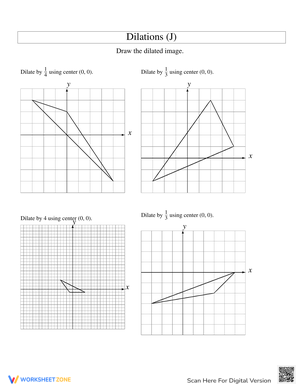
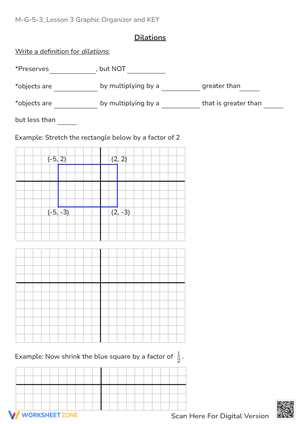
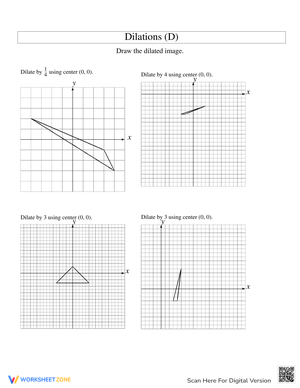
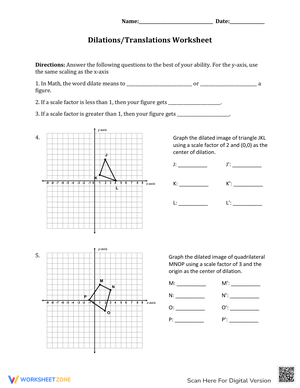
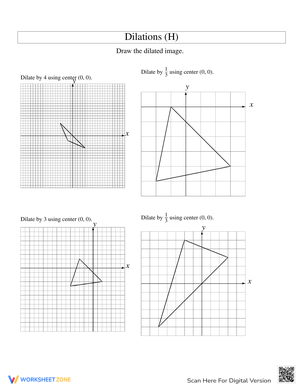
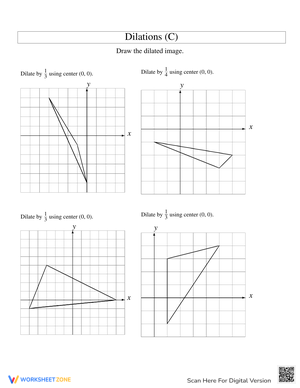
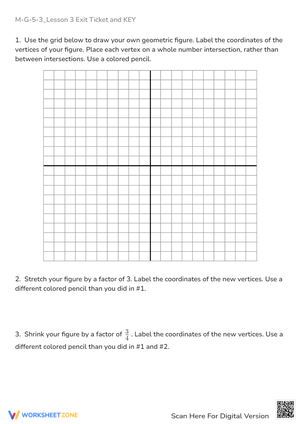
These 9th grade dilations printable worksheets give geometry teachers ready-to-use practice materials that cover the full transformation sequence — from reading scale factors on a pre-labeled coordinate graph to executing multi-step dilations where the center sits at an arbitrary point. Each worksheet isolates one discrete skill, so teachers can drop a single resource into a lesson without restructuring the unit around it.
The Specific Skills Targeted
Dilations occupy an unusual position in 9th grade geometry: they look like coordinate algebra but behave like geometric reasoning, and students often try to do one while thinking they are doing the other. These worksheets build the concept in a deliberate order:
- Identifying whether a given scale factor produces an enlargement or a reduction before any coordinates are involved
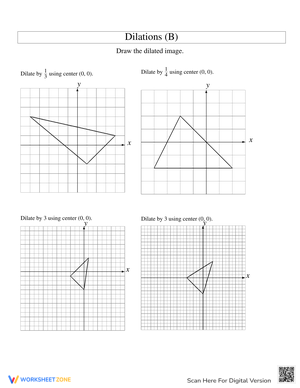
- Applying the coordinate rule (x, y) → (kx, ky) with the center of dilation at the origin
- Drawing rays from a non-origin center through pre-image vertices to locate image vertices geometrically
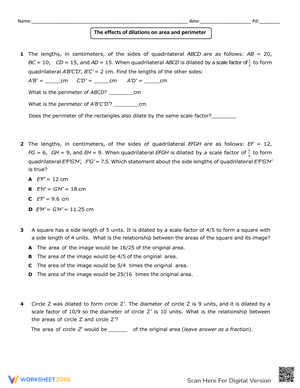
- Calculating a scale factor from a completed dilation by comparing corresponding side lengths
- Using prime notation accurately — labeling image vertices A', B', C' rather than reusing original labels
- Working backward from a given image and scale factor to reconstruct the pre-image
That last task — reverse-engineering the pre-image — is where students who have memorized a procedure without understanding it become visible. It is worth assigning early enough in the unit that the results can still inform instruction.
Mistakes Students Make That These Worksheets Help You Catch
The error that shows up most reliably across these 9th grade dilations printable worksheets is treating the scale factor as an additive value rather than a multiplicative one. A student working with a scale factor of 3 on a vertex at (2, 4) will often write the image as (2+3, 4+3) = (5, 7) instead of (6, 12). This is not carelessness — it is a direct transfer from translation work, where adding a constant to coordinates is exactly the right move. Because these worksheets ask students to plot results on a coordinate grid, the additive error lands visibly in the wrong position, giving teachers a concrete diagnostic moment rather than an arithmetic mistake buried in a table.
A second predictable trouble spot is the direction of the scale factor ratio. Students frequently divide pre-image length by image length instead of the reverse, landing on the reciprocal of the correct answer. They then classify an enlargement as a reduction. The fix is establishing prime notation from the first worksheet — when A, B, C consistently label the original and A', B', C' label the result, students are far less likely to flip the ratio accidentally, because the labeling itself encodes the direction.
Negative scale factors appear occasionally in 9th grade materials, and the near-universal student guess is that k = −2 just means a smaller figure. It does not — the negative sign also rotates the image 180 degrees around the center of dilation. Most teachers defer that detail until students are confident with positive values, and holding that sequence is reasonable.
Recommended Lesson-Planning Strategies for These Worksheets
The most productive entry point is a guided discovery activity on the first day of the unit, before scale factor has been defined formally. Give students a completed dilation on the coordinate plane and have them measure — with an actual ruler — the distance from the center of dilation to each pre-image vertex, then to each image vertex. The ratio surfaces on its own. Students who find a concept themselves retain it more durably than students who receive it as a definition, and this activity takes about 15 minutes.
After that initial session, these 9th grade dilations printable worksheets work well during the 8 to 10 minutes at the start of class while attendance is handled and students settle. One worksheet per day through the first week of the unit gives the low-stakes, spaced repetition that helps coordinate rules stick before the unit assessment. One honest caution: do not assign a worksheet as homework the night before moving on to triangle similarity theorems. Students who are still shaky on the multiplicative rule will practice their mistake, and the error calcifies in exactly the wrong place in the sequence.
Patty paper or transparent overlays used alongside printed worksheets make a real difference for students who struggle with spatial reasoning. A student who traces the pre-image and then physically expands the overlay while keeping the center fixed can feel what "proportional distance from the center" means before it becomes an algebraic rule. That tactile step is worth the three minutes it takes to set up.
Standard Alignment
These worksheets align to CCSS.MATH.CONTENT.HSG.SRT.A.1, the opening standard in the Similarity, Right Triangles, and Trigonometry domain. That standard requires students to verify experimentally that a dilation takes a line not passing through the center to a parallel line, and that a line through the center maps to itself. The worksheets produce the coordinate evidence students need to confirm both properties before those properties appear in formal proofs. Because this standard anchors everything that follows — triangle similarity theorems, trigonometric ratios, geometric means — the time invested here compounds through the rest of the year.
Adjusting the Worksheets for a Range of Geometry Learners
Students who are still unsteady on integer multiplication benefit from starting with origin-centered dilations using whole-number scale factors. The coordinate rule is clean enough in that context that students can focus on the geometric reasoning — where the image lands relative to the center — without the arithmetic pulling their attention away. Once they can reliably plot and label image vertices, fractional scale factors like 3/2 or 2/3 are the natural next step: students have to decide whether the image is larger or smaller before computing, which forces genuine interpretation rather than procedure-following.
For students ready for extension work, the 9th grade dilations printable worksheets that feature non-origin centers are the most productive challenge. A center at (−2, 3) requires students to subtract the center coordinates from each vertex, scale the result, and add the center back — three distinct moves that separate students who understand why the rule works from those who have only internalized the origin-centered version. Following that with a problem asking students to verify similarity through angle measures and corresponding side ratios creates a natural capstone that links transformation work to the similarity proofs that come next.
Frequently Asked Questions
How do students tell an enlargement from a reduction without graphing?
When the scale factor k is greater than 1, the image is larger than the pre-image. When k is greater than 0 and less than 1, the image is smaller. A scale factor of exactly 1 produces an image identical in size to the pre-image. The fastest check is to look at one pair of corresponding sides: if the image side is longer, it is an enlargement; if shorter, a reduction. Teaching students to make that judgment before picking up a pencil keeps the concept in front of the arithmetic.
What is the step-by-step process when the center of dilation is not the origin?
Subtract the center's coordinates from each vertex — for a center at (h, k), each vertex (x, y) becomes (x − h, y − k). Then multiply both values by the scale factor. Finally, add the center's coordinates back: (scale factor · (x − h) + h, scale factor · (y − k) + k). Writing those three steps explicitly in a table before starting the calculation helps students keep the arithmetic organized and makes the logic of the process visible rather than opaque.
Do students need to understand similarity formally before working on these worksheets?
No. These worksheets introduce similarity language — corresponding angles, corresponding sides, proportional ratios — as something students observe while performing dilations, not as a prerequisite they need to arrive with. A student who completes a dilation and then measures the angles of both figures is discovering the definition of similar figures from the inside out. That sequence aligns with what CCSS.MATH.CONTENT.HSG.SRT.A.1 actually asks for: experimental verification before formal treatment.
How long does each worksheet take in class?
Most students finish in 12 to 18 minutes. Worksheets involving non-origin centers or fractional scale factors can stretch to 25 minutes for students who need more time with the arithmetic. The worksheets focused on reading scale factors from completed graphs move fastest — those are useful for shorter practice windows or the last few minutes before the bell, when a full problem set would feel unfinishable.













 Interactive Worksheet Maker
 Quiz Maker
 Word Search Maker
 Crossword Puzzle Maker
 Word Scramble Generator
 Sentence Scramble Generator
 Handwriting Worksheet Generator
 Name Tracing Generator
 Fill In The Blank Generator




 BACK TOSCHOOL