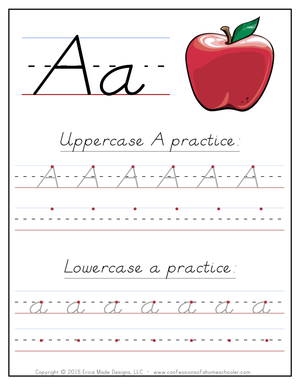
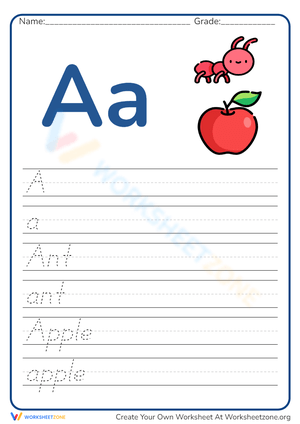
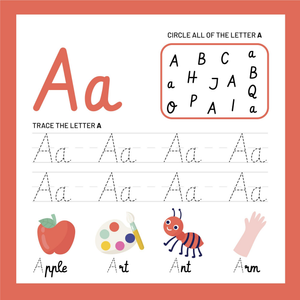
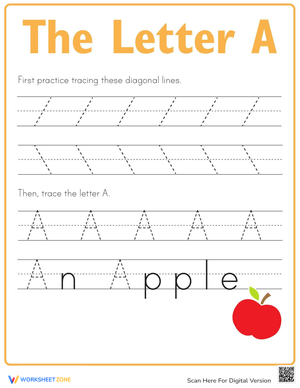
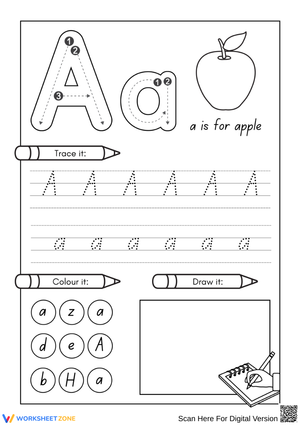
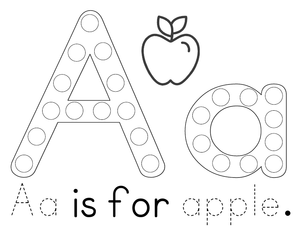
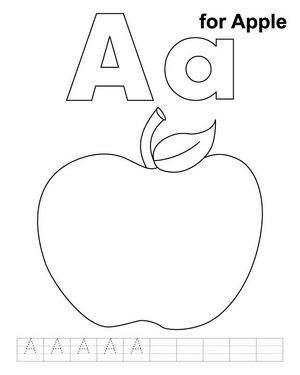
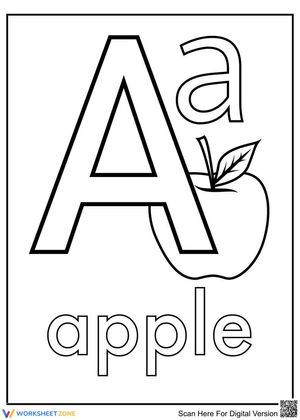
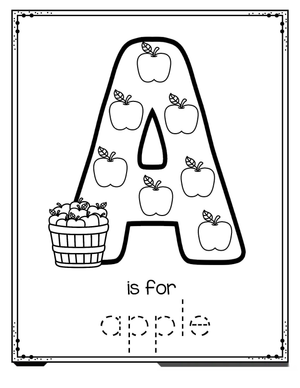
These kindergarten a is for apple handwriting printable worksheets give teachers a focused entry point for letter A instruction — uppercase and lowercase formation, directional stroke cues, and an apple illustration that ties the letter shape to the short /a/ sound students are developing in phonics at the same time. Each worksheet stands alone, so you can assign individual ones as morning work, drop them into a writing center rotation, or spread them across a Letter of the Week sequence without reorganizing your lesson structure.
What Each Worksheet Targets
The skills in this set move through the component tasks kindergarteners need before they can write the letter A reliably on their own. Tracing exercises appear first — directional arrows and dotted letter paths guide the pencil so students internalize the stroke sequence before attempting independent production. Blank lines at the end of each worksheet let students write the letter without visual support, which is the practice that actually builds lasting memory of the form.
- Uppercase A formation: two diagonal strokes from a shared apex, completed with a horizontal crossbar at the midpoint
- Lowercase a formation: a counterclockwise circle closed with a pull-down stroke along the right side
- Left-to-right directionality reinforced through consistent page layout
- Apple illustration for coloring — fine motor reinforcement that also deepens the letter-to-image connection
- Beginning sound identification: the apple image cues the /a/ phoneme alongside the written letter form
The apple image is doing more than theme work. When students color the apple while the letter A sits on the same worksheet, they rehearse the letter-sound link in a way that supports phonemic awareness. Concrete imagery keeps the abstract letter symbol attached to meaning — the same principle behind every strong alphabet chart.
Forming Uppercase and Lowercase A — What the Correct Stroke Path Looks Like
Kindergarten is the window for establishing correct formation habits. Students who develop a faulty stroke path for the letter A in September tend to carry it into second grade, where the habit is much harder to undo. Uppercase A requires students to start at the top center, pull diagonally down to the lower left, return to the top, pull diagonally down to the lower right, and then cross the middle with a horizontal stroke. That final crossbar is where most students rush — they skip the pencil lift and try to draw the crossbar as a continuation of the second diagonal stroke, which produces a shaky, inconsistent form.
Lowercase a is a genuinely different motor task. Students start just inside the two o'clock position of a circle, curve counterclockwise to close the circle at the bottom, then pull straight down from the right side. Many handwriting programs describe this as "around and down." The pull-down stroke is where errors cluster: students often loop back up instead of stopping cleanly, producing a shape that drifts toward d or g depending on where the extra loop lands. Directional arrows printed on each worksheet prevent that specific confusion by showing exactly where each stroke ends.
Mistakes Early Writers Make With the Letter A That Are Worth Catching Before They Solidify
The most persistent uppercase error is a misplaced crossbar — students put it too high, right at the peak, turning the letter into a closed triangle. When that happens, remind students that the crossbar sits in the middle, "where a belt would go." That physical anchor tends to stick better than telling them to "move it down." A second common error is drawing the two diagonal strokes from the bottom upward. Watching for pencil direction during the first few practice sessions is more informative than examining the finished letter, because a bottom-up stroke and a top-down stroke can produce shapes that look nearly identical on paper.
With lowercase a, the error pattern seen most often in actual student work is a circle that never quite closes before the pull-down stroke begins. The result looks like a lowercase u with an extra line dangling from one side. Students also frequently start the circle at six o'clock instead of two o'clock, which sends the stroke in the wrong direction from the start. If you catch that pattern during small-group time, have the student trace the directional arrow on the worksheet slowly with one finger before picking up the pencil. That tactile reset corrects directionality problems more reliably than verbal redirection alone.
Building These Worksheets Into Your Weekly Lessons
Morning work is the most practical placement. Students arriving at staggered times need a quiet, independent task, and letter tracing requires no verbal explanation once students have seen the format once. Five to ten minutes of letter A practice during arrival — while attendance is taken and morning routines wrap up — builds real muscle memory across a week of consistent repetition.
At the writing center, laminate one or two worksheets and pair them with fine-tip dry-erase markers. Students practice the letter repeatedly without consuming paper, and the erasable format removes the anxiety that stops students who freeze every time they think a pencil mark is permanent. That hesitation — "I don't want to mess it up" — shows up in a meaningful number of kindergarteners and shuts down writing practice before it really begins. The dry-erase setup sidesteps it entirely.
For teachers using a Letter of the Week structure, the kindergarten a is for apple handwriting printable worksheets fit naturally at the front of the year. Start Monday with a tracing-heavy worksheet, move to a mixed tracing and independent format by Wednesday, and by Friday give students a blank-line worksheet where they write the letter from memory. That Monday-to-Friday arc — from supported practice to independent production — mirrors the gradual release model and does not require sourcing five separate resources.
Standard Alignment
These worksheets address CCSS ELA-Literacy RF.K.1d, which requires kindergarteners to recognize and name all upper- and lowercase letters of the alphabet, and CCSS ELA-Literacy L.K.1a, which calls for students to print many upper- and lowercase letters. In classroom terms, L.K.1a is the standard most directly assessed in handwriting checks throughout the year — teachers use it to document whether students are forming letters with correct orientation and stroke sequence. Letter A instruction typically falls in the first quarter, making this set most relevant to the September through October window, though some students need continued practice well into winter.
Adjusting These Worksheets for a Range of Learners
For students with limited hand strength or underdeveloped fine motor control, reduce the demand before they touch paper. Have them trace the letter A in a shallow sand tray or press it into playdough first, then bring them to the worksheet. The large tracing portion of each worksheet is accessible for these students; the blank lines at the bottom can wait until grip and control are more stable. Rushing a student to independent writing when the underlying hand control isn't there yet produces messy letters that become habits — not progress.
Students who are already forming letter A accurately need a different kind of task. Direct them to write short /a/ words — ant, ax, am — in the blank lines instead of repeating the isolated letter. You can also use the kindergarten a is for apple handwriting printable worksheets as a consistency exercise for these students: can they write the letter A six times in a row with the crossbar in the correct position on every single attempt? That self-monitoring focus pushes accuracy and attention without requiring a different resource.
Frequently Asked Questions
What pencil grip should I be correcting during letter A practice?
The tripod grip — pencil pinched between the tip of the thumb and index finger, resting on the middle finger — is the standard target for kindergarten. Students who wrap all four fingers around the barrel, or who press the thumb flat against the side, tire quickly and produce inconsistent letter shapes. Short golf-sized pencils help because the reduced barrel length naturally encourages the fingers to spread into the tripod position. Small rubber pencil grips work well for students who need a stronger tactile signal about where each finger belongs.
Should uppercase or lowercase A come first?
Most kindergarten programs introduce uppercase first. It appears in students' names, on classroom signs, and in environmental print, so it already carries some familiarity. The uppercase A also has a more geometric, easier-to-describe stroke path. Lowercase a demands more fine motor precision and a tighter circle, so it typically follows once the uppercase form is solid. Teaching both within the same week — as part of a Letter of the Week sequence — is common and works well when each worksheet clearly separates the two letter forms and gives each dedicated practice space.
How do these worksheets work alongside a phonics program?
These worksheets handle the print side of letter A instruction — they do not deliver phonics lessons. When a phonics program is introducing the short /a/ sound, running letter formation practice at the same time reinforces the symbol-sound connection through a different channel. The apple image on each worksheet does real work in that pairing: it gives students the picture-to-letter hook that most phonics programs already use, so the two activities reinforce each other rather than competing for attention.
When should students transition off the tracing lines?
Watch for consistent correct formation across at least three or four consecutive attempts before removing tracing support. Students who trace accurately but fall apart when the dotted lines disappear are still using the lines as a drawing guide rather than internalizing the motor path. A useful bridge: have the student trace once, then immediately write the letter from memory on the blank line directly below while the movement is still fresh in the hand. The kindergarten a is for apple handwriting printable worksheets include both tracing lines and blank lines to support exactly this transition — students who are ready can move to the blank lines, and students who are not can stay with the traced portion a little longer without any disruption to the lesson.












 Interactive Worksheet Maker
 Quiz Maker
 Word Search Maker
 Crossword Puzzle Maker
 Word Scramble Generator
 Sentence Scramble Generator
 Handwriting Worksheet Generator
 Name Tracing Generator
 Fill In The Blank Generator