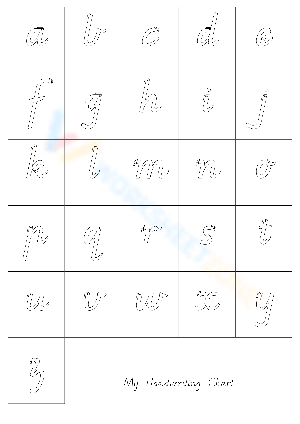
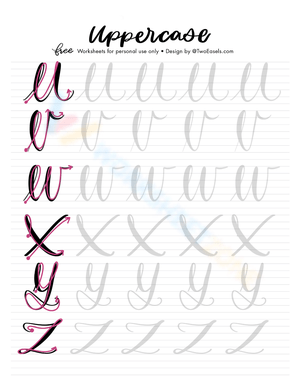
Turn a Cursive Letters Chart Into Daily Practice
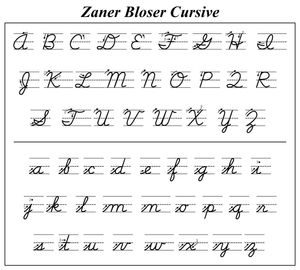
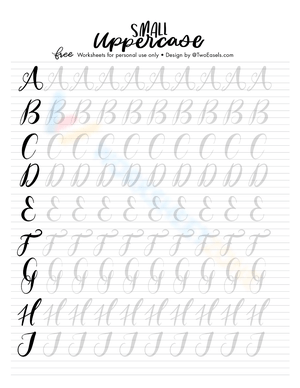
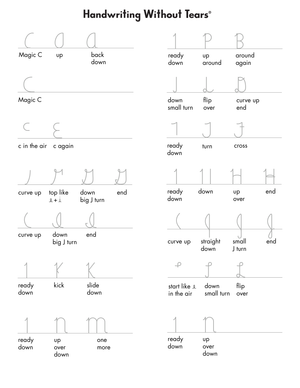
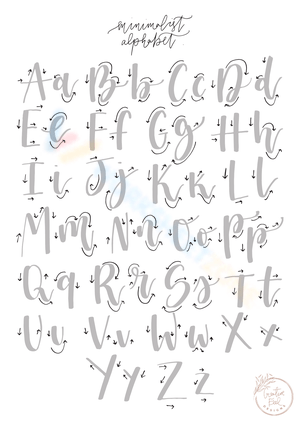
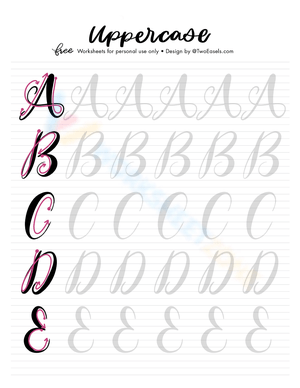
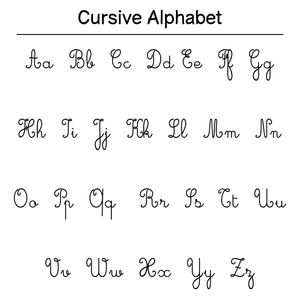
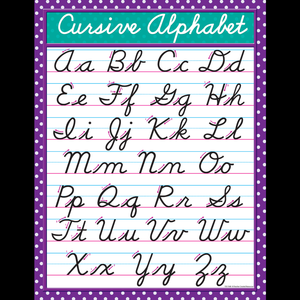
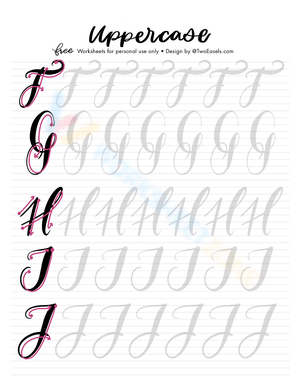
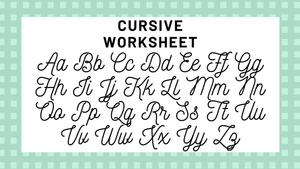
A cursive letters chart is the anchor reference your students return to every time they pick up a pencil for handwriting. It shows correct upper- and lowercase formation, entry strokes, and connections in one place, so learners in grades 2 through 5 can check their own work without waiting for you. Paired with matching practice pages, cursive letters chart worksheets give you a repeatable routine for whole-class mini-lessons, small-group intervention, and independent centers.
The goal isn't decoration for a bulletin board. It's a working tool. When the chart lives on the wall and inside student folders, you cut down on the constant "how do I make a lowercase f?" interruptions and free yourself to circulate, watch pencil grips, and give targeted feedback on letter shape.
Teach Letter Families, Not Strict A-to-Z Order
The most common sequencing mistake is marching through the alphabet in order. Cursive letters share stroke patterns, and grouping them by those patterns builds mastery faster than alphabetical drilling.
Group lowercase letters by their starting stroke: the undercurve family (i, u, t, w), the overcurve family (n, m, v, x), and the downcurve family (a, d, g, o). Teaching all four undercurve letters in one week means students practice a single motor pattern four times instead of four unrelated shapes, which is why occupational therapists who support handwriting often sequence by stroke rather than by letter name. Use your chart to color-code these families so students see the pattern before they trace it.
Once a family is solid, move to connections. Cursive is defined by the joins between letters, so worksheets that isolate two- and three-letter combinations like in, the, and and matter as much as single-letter tracing.
Match the Chart to the Right Worksheets
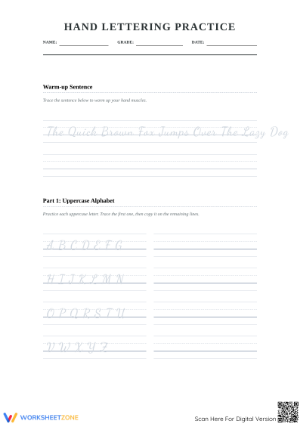
A chart alone won't build fluency; the worksheets you pair with it determine how quickly students transfer from tracing to independent writing. Choose a progression that moves through three stages so every practice page has a clear purpose.
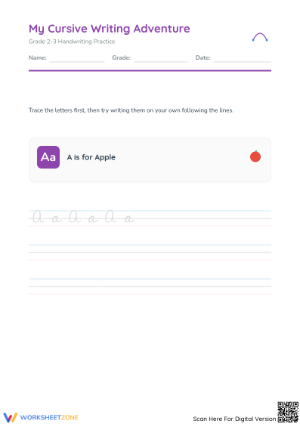
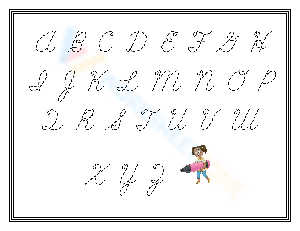
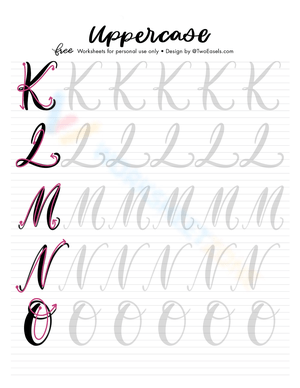
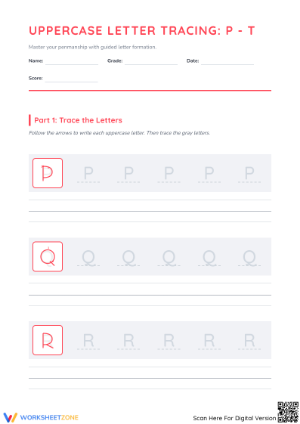
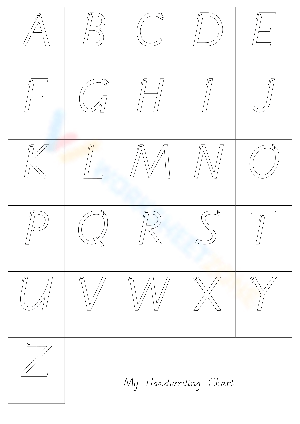
- Trace-and-copy pages for brand-new letters, with dotted models and a starting dot on each letter.
- Connection pages that drill the joins between letters, since the transitions are where legibility usually breaks down.
- Word and sentence pages that apply the target family in real context, like spelling words or a short copywork line.
Rotate these so students always have the chart nearby as their answer key. When a learner stalls, send them back to the chart before you step in; self-correction against a reference builds independence faster than teacher rescue.
Frequently Asked Questions
1. How should teachers introduce a cursive letters chart to students who have never written in cursive?
Start with a whole-class tour of the chart. Show that every letter has a starting point and a direction, then model two or three letters from the same stroke family. Let students air-trace before they touch a pencil so the motion feels familiar first.
2. What grade level is best for starting cursive instruction with a letters chart?
Grade 3 is the common starting point in state mandates, with proficiency expected by the end of grade 5. Grades 2 through 4 tend to be the sweet spot, since students have enough fine motor control to manage connected strokes.
3. How can a cursive chart support students with fine motor or handwriting difficulties?
Place the chart at eye level, use tracing pages with directional arrows, and break letters into single strokes. Raised-line paper and highlighter tracing reduce the motor demand so students can focus on one pattern at a time.
4. How often should students practice with cursive worksheets to build fluency?
Short daily practice beats one long weekly session. Aim for 10 to 15 minutes a day, focused on one letter family or connection set, and revisit earlier families weekly so the motor patterns stay automatic.
5. Do state cursive requirements change how teachers sequence chart-based instruction?
They can. With 25 states requiring cursive as of 2025, many teachers need documented instruction beginning in grade 3. Sequencing by stroke family and keeping formative samples makes it easier to show steady, standards-aligned progress.