


Want to make a worksheet quickly and easily without getting stuck in complicated tools? With Worksheetzone’s Create From Scratch feature, you can turn your ideas into a fully customized activity in just a few steps. Whether it’s a math drill, a reading exercise, a handwriting sheet, or a brain-teasing puzzle, you have the freedom to design it exactly how you want. This guide will walk you through everything – from choosing your format to adding content and making it interactive – so you can bring your vision to life in minutes.
Step-by-Step Guide to Make a Worksheet on Worksheetzone
Making your own worksheet on Worksheetzone is a simple, flexible process that works for any subject or grade level. Whether you’re designing a math quiz, a reading comprehension sheet, a handwriting practice page, or a fun puzzle, the steps below will guide you from start to finish.
Step 1: Access the “Create From Scratch” Tool
Before you start designing, you’ll need to open the tool that lets you build your worksheet exactly the way you want. There are two quick ways to get there:
Option 1: Via the Landing Page
- Go to the Worksheet Maker landing page.
- Click “Create from Scratch”.
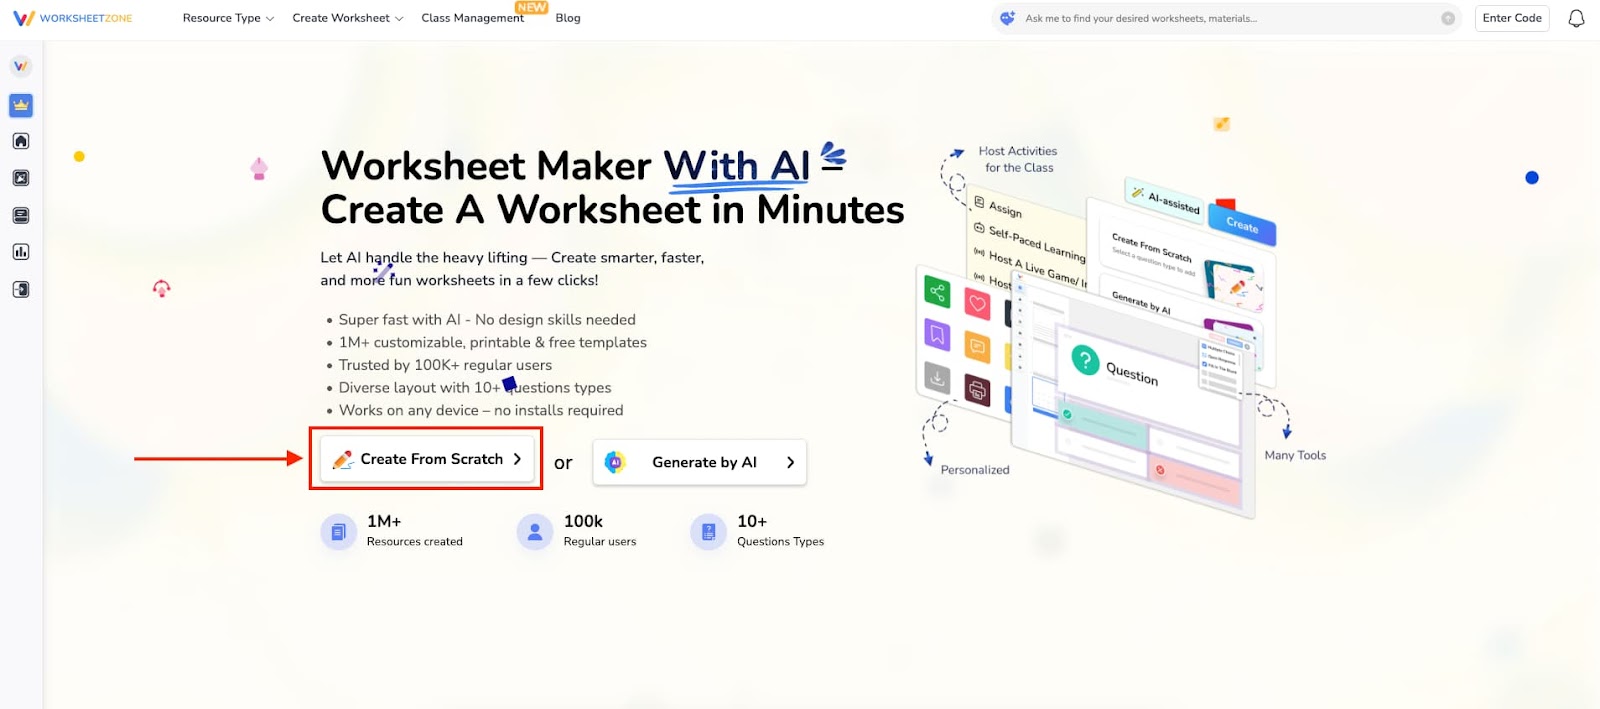
- A pop-up will appear with format options; select “Blank Page” to begin with a fully customizable canvas.

Option 2: From the Homepage
- On the Worksheetzone homepage, hover over “Create Worksheet” in the top menu and click “Create from Scratch”.
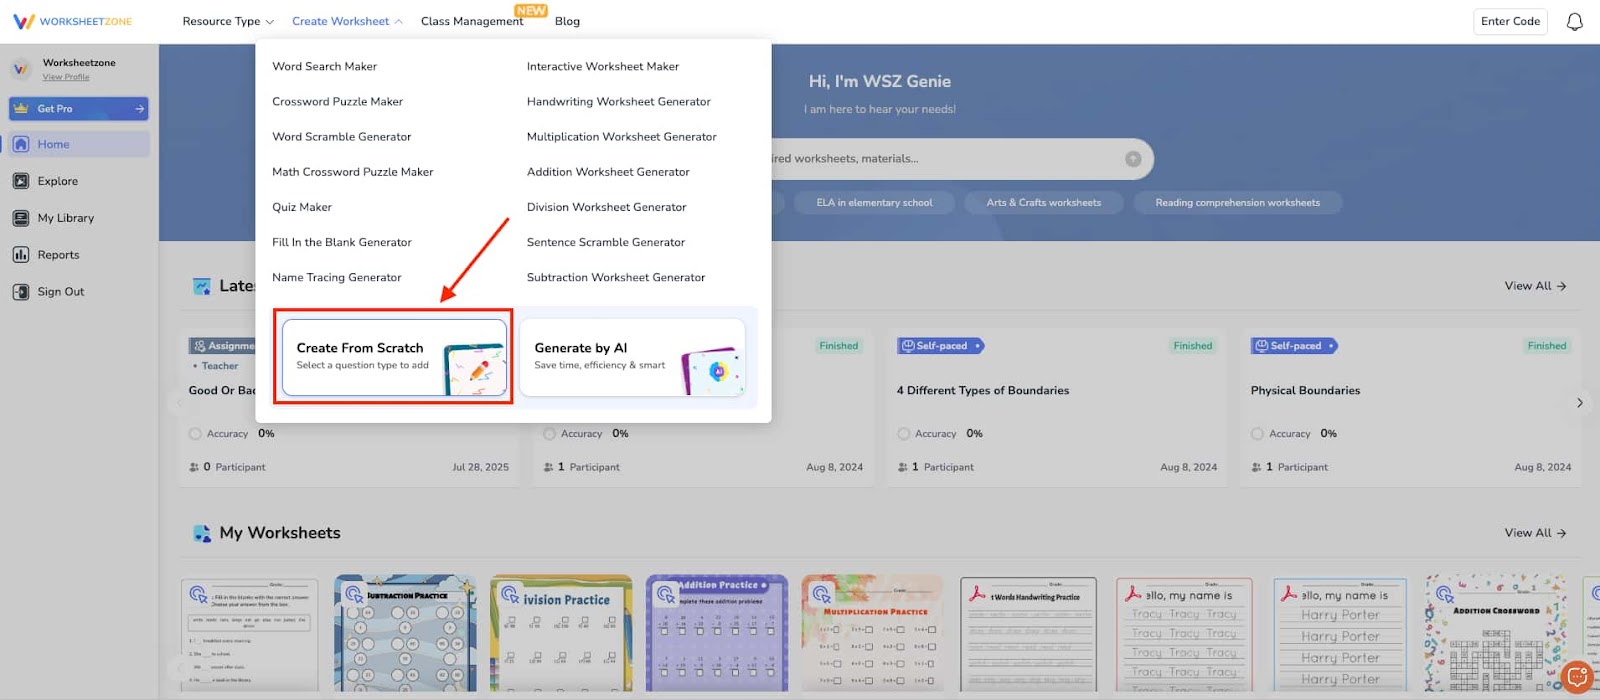
- Or scroll to the “Create” block on the homepage and select “Create from Scratch”.
- You’ll go directly to the “Blank Page” format, ready to start designing.
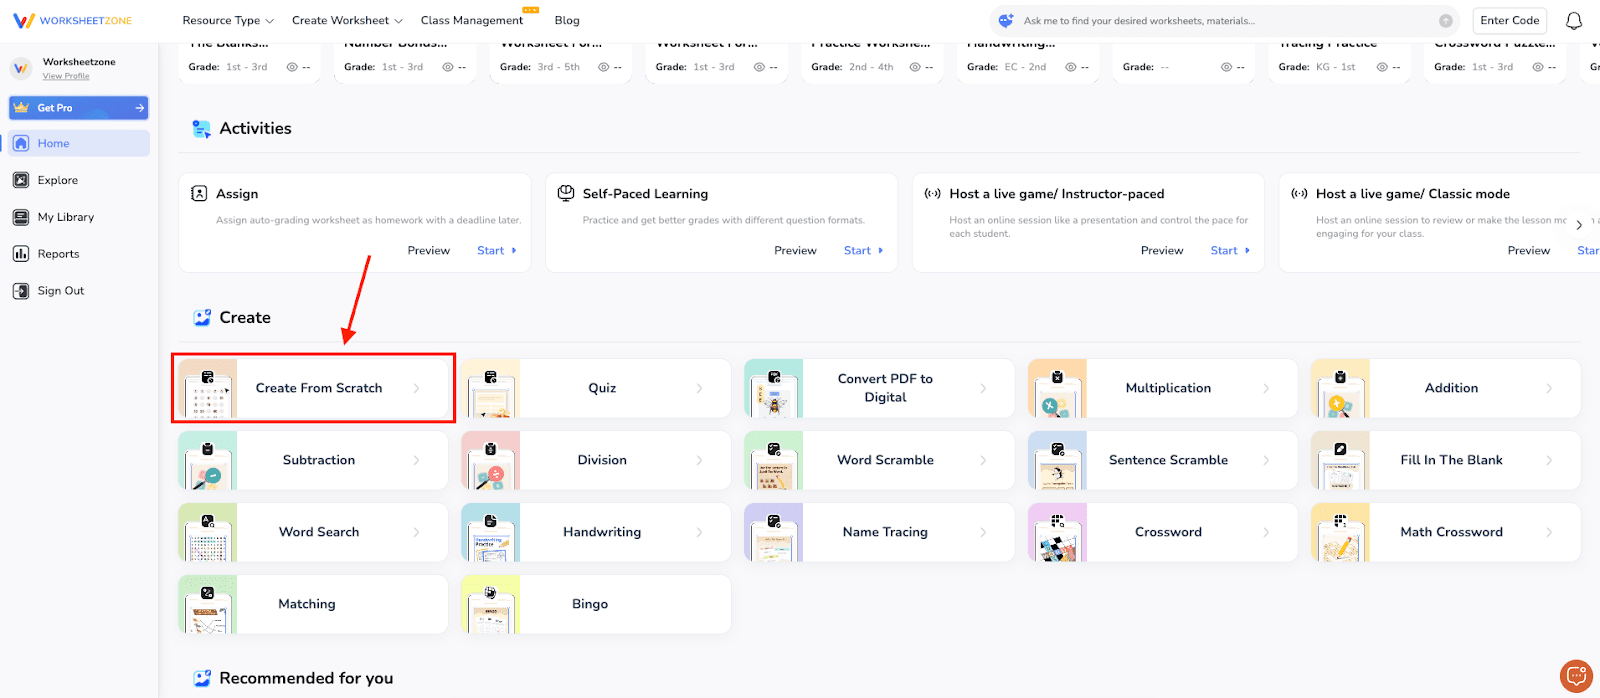
Step 2: Choose Your Worksheet Format
Once you’re in the tool, decide how you want your worksheet to be structured. You can build it question by question or pick a ready-made format:
Build Question by Question
- Multiple Choice: Students pick the correct answer from a list.
- Open Response: Allows free-form written answers.
- Fill in the Blank: Sentences or passages with missing words to complete.
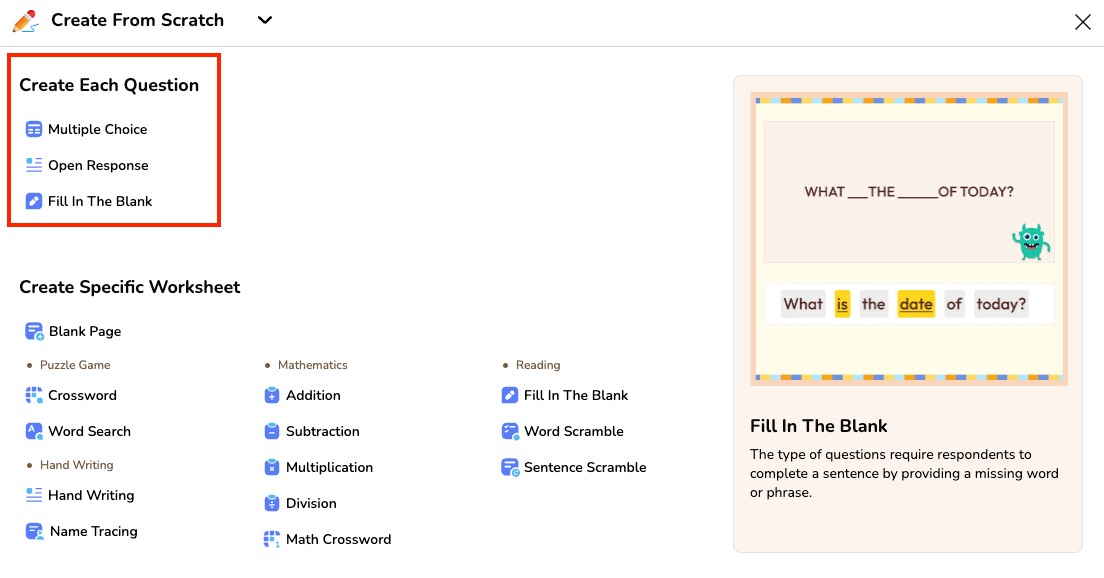
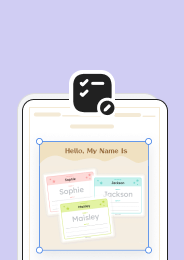
Create Specific Worksheet Types
- Blank Page: Full creative control from a blank canvas.
- Puzzle Game: Crossword or Word Search.
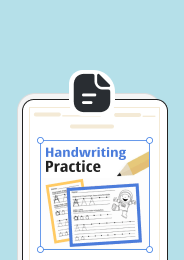
- Handwriting: Handwriting practice or name tracing.
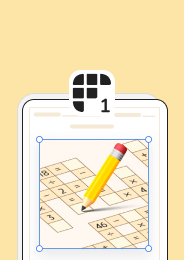
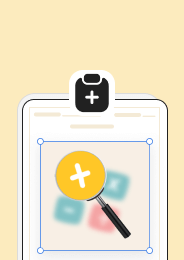
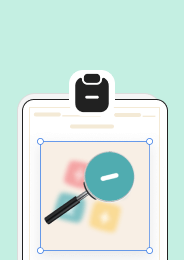
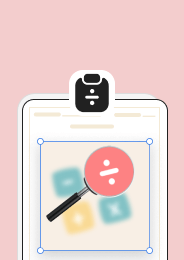
- Mathematics: Addition, Subtraction, Multiplication, Division, Math Crossword.
- Reading: Fill in the Blank, Word Scramble, Sentence Scramble.

Step 3: Get Familiar with the Workspace
Before adding content, take a moment to explore the tools and layout. The workspace is divided into three main areas.
1. Header Tools
- Zoom Control: Adjust your view from 45-200%.
- Redo/Undo: Quickly revert or restore changes.
- Save: Store your progress in My Library anytime.

2. Sidebar Tools
- New Worksheet (+): Start a new worksheet or change formats (note: current work will be lost).
- Activities: Access settings specific to your chosen format.
- Templates: Browse ready-made designs you can customize.
- Interactive Elements: Add input boxes, shapes, lines, tables, and more.
- Text Tool: Insert and style headings, paragraphs, and labels.
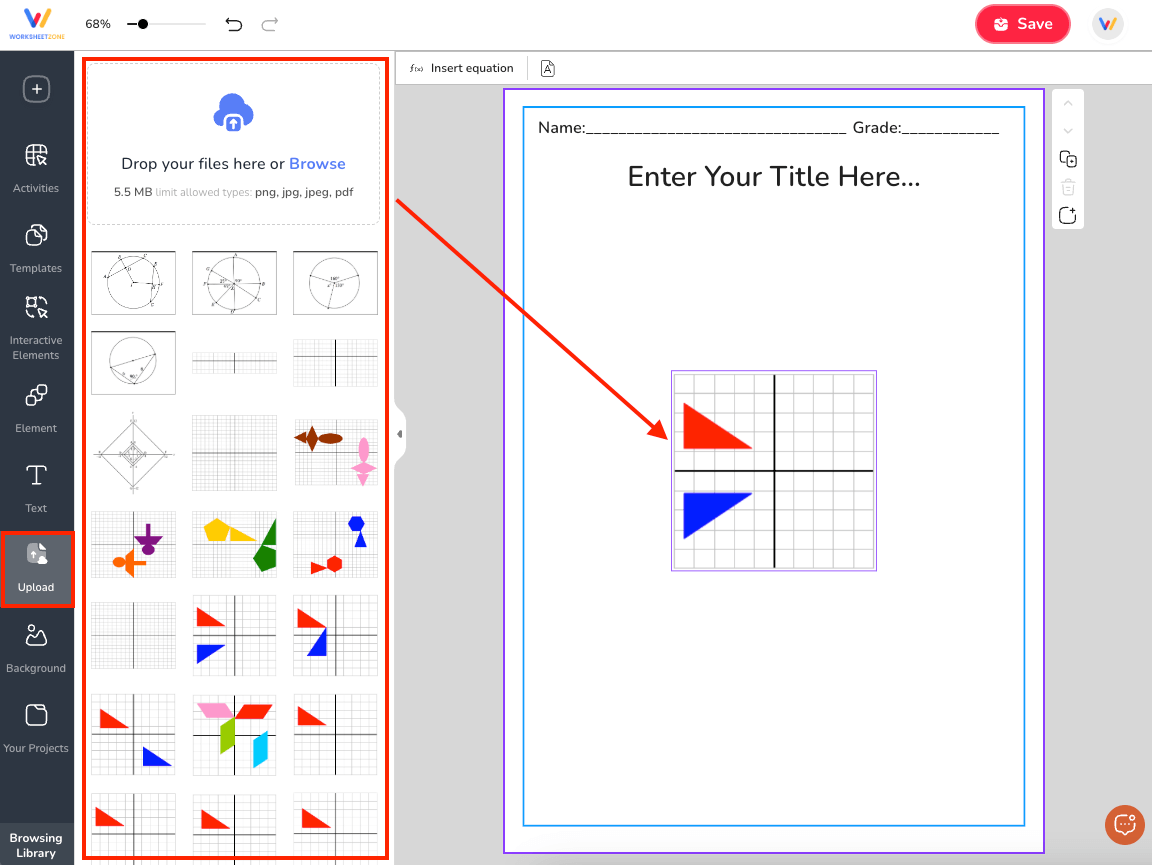
- Upload: Add your own images (PNG, JPG, JPEG, PDF up to 5.5MB).
- Background: Apply a solid color or decorative design.
- Your Projects: Quickly open previously saved worksheets.
- Browsing Library: Explore worksheets for inspiration.

3. Preview Area Controls
- Element Actions: Duplicate, delete, reorder, or set an item as the background.
- Page Controls: Switch page orientation, duplicate pages, add new pages, insert equations, or reorder pages.

Step 4: Add Your Content
Now it’s time to bring your worksheet to life:
1. Text
- Add heading, body text, or labels from the Text tool.
- Use the formatting toolbar to change font style, size, color, and alignment.

2. Images
- Upload your own visuals in PNG, JPG, JPEG, or PDF format (up to 5.5MB).
- Use images to illustrate concepts, show examples, or add visual interest.
3. Elements
- Browse the Elements library, which includes shapes, lines, tables, and stickers.
- Use shapes or lines to highlight key areas or create diagrams.
- Add tables for organized data or structured activities.
- Insert stickers for a fun and engaging touch.

4. Backgrounds
- Choose from pre-designed backgrounds or apply a solid color.
- Adjust to fit portrait or landscape layout.

Step 5: Make It Interactive
Turn your worksheet into an online activity so students can complete it digitally. You have two main options for adding answer fields:
Option 1: Text Box
- Insert a rectangular (or any shape you want) field where students can type their responses directly.
- Perfect for open-ended questions, short answers, for fill-in-the-blank activities.

Option 2: Line
- Add a straight line where students can click and type their answer.
- Works well for single words, short phrases, or handwriting-style practice.

You can combine these interactive features to create a more engaging experience.
Step 6: Save and Publish
When your worksheet is ready:
- Click “Save” in the header.
- Enter a title, description, grade level(s), and relevant tags.

After saving, you can:
- Download as PDF for printing
- Assign digitally through WSZ Classie for instant grading (available for interactive worksheets)
- Host as a live activity for a competitive, interactive learning experience
Other Popular Tools for Making Worksheets
While Worksheetzone offers a complete set of features for building custom activities, you may also want to explore other well-known worksheet creation tools. Here are some other tools to make a worksheet:
1. My Worksheet Maker
An easy-to-use online platform designed specifically for teachers who want to create printable worksheets quickly.
What’s Great About It:
- Simple interface that’s beginner-friendly.
- Offers customization for fonts, colors, and layout.
Things to Keep in Mind:
- Limited visual design options compared to graphic-focused tools.
- Mostly geared toward static printables without interactive features.
2. Canva
A versatile design with thousands of templates for all kinds of projects, including educational worksheets.
What’s Great About It:
- Extensive template library for creative, visually appealing worksheets.
- Allows saving in formats like PDF, PNG, and JPG.
Things to Keep in Mind:
- Some of the best design assets require a paid subscription.
- Requires more manual setup for specific classroom activities like quizzes or math drills.
3. Education.com Worksheet Generator
An educational resource site offering a variety of worksheet generators for different subjects and grade levels.
What’s Great About It:
- Subject-specific worksheet generators, including math, reading, and writing.
- Customizable settings for difficulty level, layout, and problem types.
Things to Keep in Mind:
- Many features are locked behind a membership plan.
- Design options are functional but less creative compared to design-focused platforms.
Final Thoughts
Designing your own worksheet doesn’t have to be complicated – with the right tools, you can create engaging, tailored activities for any subject or grade in just a few steps. Whether you start with a blank page or use ready-made templates, Worksheetzone’s Create from Scratch tool gives you the flexibility to add text, images, elements, and interactive features exactly how you want them. Once your design is complete, saving, publishing, or assigning it to students takes only moments. Try it today and see how easily you can bring your teaching ideas to life while making learning more interactive and fun.