


WSZ Classie, the class management tool on Worksheetzone, is designed to make online teaching simple, organized, and effective. Whether you’re setting up your first digital classroom or managing multiple student groups, this tool offers everything from classroom creation to real-time performance tracking. In this guide, we’ll walk you through the quick and essential steps to get started with the WSZ Classie Classroom—perfect for teachers looking to streamline their workflow and maximize student engagement. Let’s explore!
Step 1: Access the Classroom Feature
To get started:
- Go to Worksheetzone.org and log in.
- In the sidebar or header, click “Class Management” to enter WSZ Classie.

- First-time users will see a guided setup screen with buttons like “Create Now” or “Join Class.”
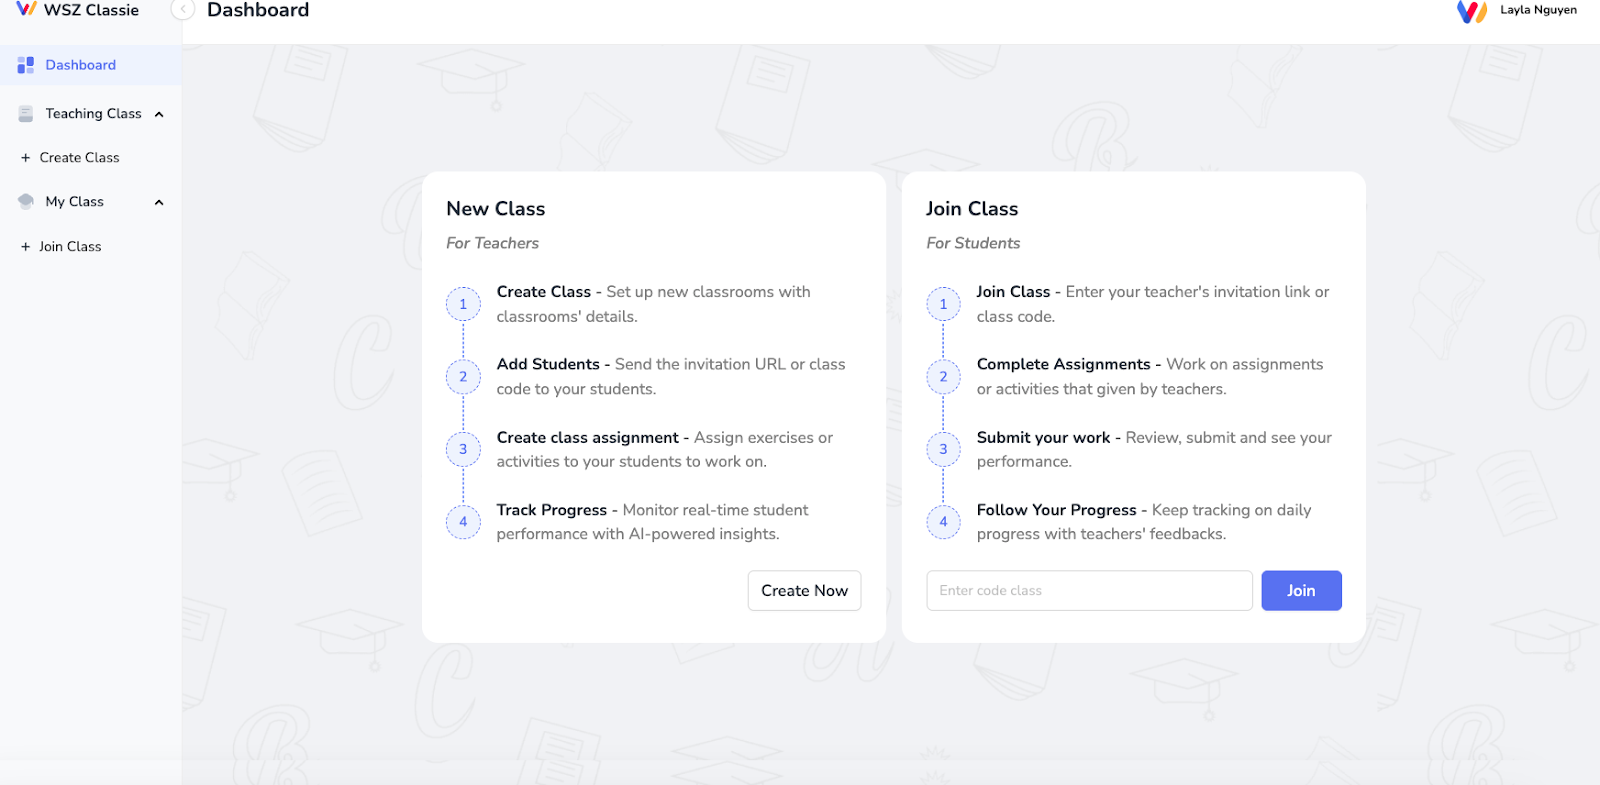
This feature is intuitive and doesn’t require technical experience—perfect for teachers transitioning to digital tools.
Step 2: Create a Class
Once inside WSZ Classie:
- Click “Create Class” or “Create Now.”

- Enter your class name and select a grade level.

- Click Create, and your classroom will be created instantly.
You’ll now be taken to your Class Dashboard, which displays:
- A unique Class Code
- A Join Link for students

These tools make it easy for students and co-teachers to join quickly.
Step 3: Invite Students and Co-Teachers to Your Class
To invite students:
- Share the class code or link via email, chat apps, or your learning platform.
- Students can join by clicking “Join Class” on the dashboard and entering the code or using the direct link.

To invite co-teachers:
- Enter their email in the co-teacher section.
- Click “Invite” to send them an email invitation.
- Co-teachers have full access except for the ability to remove students.

Step 4: Approve Student Requests
Students need approval before entering the class:
- Navigate to the Class Members tab.
- You’ll see a list of pending requests under “Pending Approval List.”
- Click “Approve” to admit them or “Deny” if needed.

After approval:
- Students will appear in your student roster.
- You can click on any student’s name to access their learning profile, showing scores, submissions, and improvement areas.

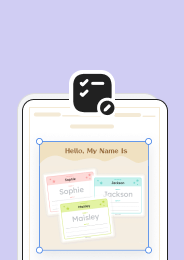
Step 5: Assign Exercises to the Class
Now that your class is ready, let’s add learning content.
- Head to the Activities tab of your class dashboard.

- Click “Create Topic” to organize lessons (eg, “Week 1: Fractions”).

- Within each topic, click “Create Exercise.”
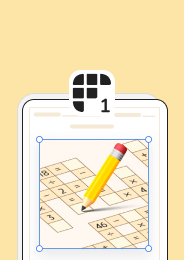
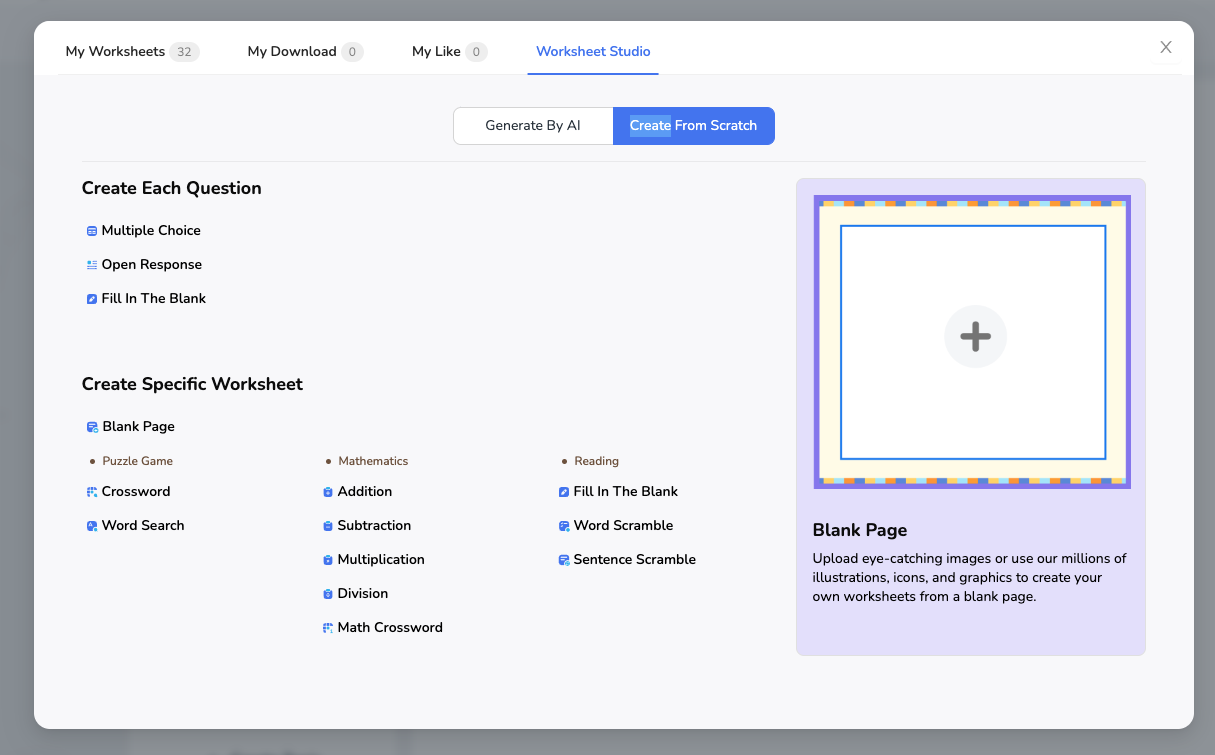
You’ll have multiple content sources to choose from:

- My Worksheet: Worksheets that you’ve previously created and saved directly on Worksheetzone.
- My Downloads: Worksheets that you’ve downloaded to use or assign later.
- My Likes: Worksheets that you’ve favorited by clicking the Like button.
- Worksheet Studio: You can create new worksheets in two ways:
- Generate by AI: Automatically generate worksheets using AI. You can input a keyword, paragraph, or even upload a document to convert into worksheet format.

- Create from Scratch: Start creating a completely new worksheet manually, giving you full control over structure, content, and layout.
After choosing your class materials, it’s time to set up your assignment:
- Select Start Date and Due Date
- Timer (Optional): Turn this on if you want to limit how long students can spend on the worksheet once they begin.
- Set the number of attempts
- Enable or disable:
- Instant feedback
- Late submissions

Once all settings are configured, click “Continue” to finalize and assign the worksheet to your class.
Step 6: Track Student Progress
After students start working on assignments, track how they’re doing:
- Go to the List Exercise section to view submission status, accuracy, and progress for each assignment.

- Click on any assignment to access the detailed performance, where you’ll get:
- Student Overview: Instantly see which students didn’t finish or may need support.
- Score Distribution Chart: Visual bar graph showing how students performed overall.
- Scores Summary: View the minimum, maximum, and average score for the whole class.
- Time Taken: Displays minimum, maximum, and average time students spent on the assignment.
- Quick Sharing Tools: You can quickly copy the invite link, class code, or QR code.

Step 7: Use the Report Tab for Data Insights
Go deeper into learning analytics with the Report Tab. This section provides AI-powered visuals to support instructional decisions, including:
- Average Score
- Participation Rate
- Average Time
- Completed Exercises

Below that, you’ll see visual reports to help you understand class performance:
- Average Score Chart compares how students performed on each topic or exercise.
- Participation Rate Chart is the percentage of participation in topics and exercises.
- Score Over Time shows trends—great for spotting improvement or sudden drops.
- Score Distribution—group students by performance levels (excellent to weak).

Use this data to personalize instruction, assign follow-ups, or celebrate class wins.
Ready to Take Off with WSZ Classie
WSZ Classie takes the stress out of classroom management—so you can focus on what really matters: teaching and supporting your students. From setting up your first class to tracking assignment progress with real-time reports, every feature is built to be fast, flexible, and teacher-friendly.
Whether you’re managing one subject or an entire curriculum, Classie gives you the tools to stay organized, engage students, and make data-informed decisions with ease.